He Was Drowning in Bills and Burnout Until a Simple Daily Ritual Rewired His Brain for Wealth in Less Than a Week
>>> Start Your Shift Today <<<

Worry less about open networks and more about what stays private. Many people don’t realize that auto-joining open WiFi can expose sensitive data the moment your phone detects a signal. Hackers can watch traffic, steal logins, and slip in malware if you’re not careful.
This post shows you exactly how to stop your phone from joining those networks automatically, so you regain control with simple steps for both Android and iPhone. You’ll also learn practical safety habits for public WiFi and quick troubleshooting tips if you run into issues.
By the end, you’ll know how to keep your information safer on the go, without the hassle. We’ll cover quick, clear steps, best practices for public WiFi, and common fixes you can apply right away.
Why auto joining open WiFi is risky
Public WiFi can feel convenient, but it hides real dangers. When your phone automatically joins open networks, you bypass a key moment of choice. You connect before you’ve had a chance to evaluate the network’s legitimacy or the security of the connection. This section explains why that automatic behavior is a red flag and how it can expose your data on networks you don’t trust.
He Was Drowning in Bills and Burnout Until a Simple Daily Ritual Rewired His Brain for Wealth in Less Than a Week
>>> Start Your Shift Today <<<
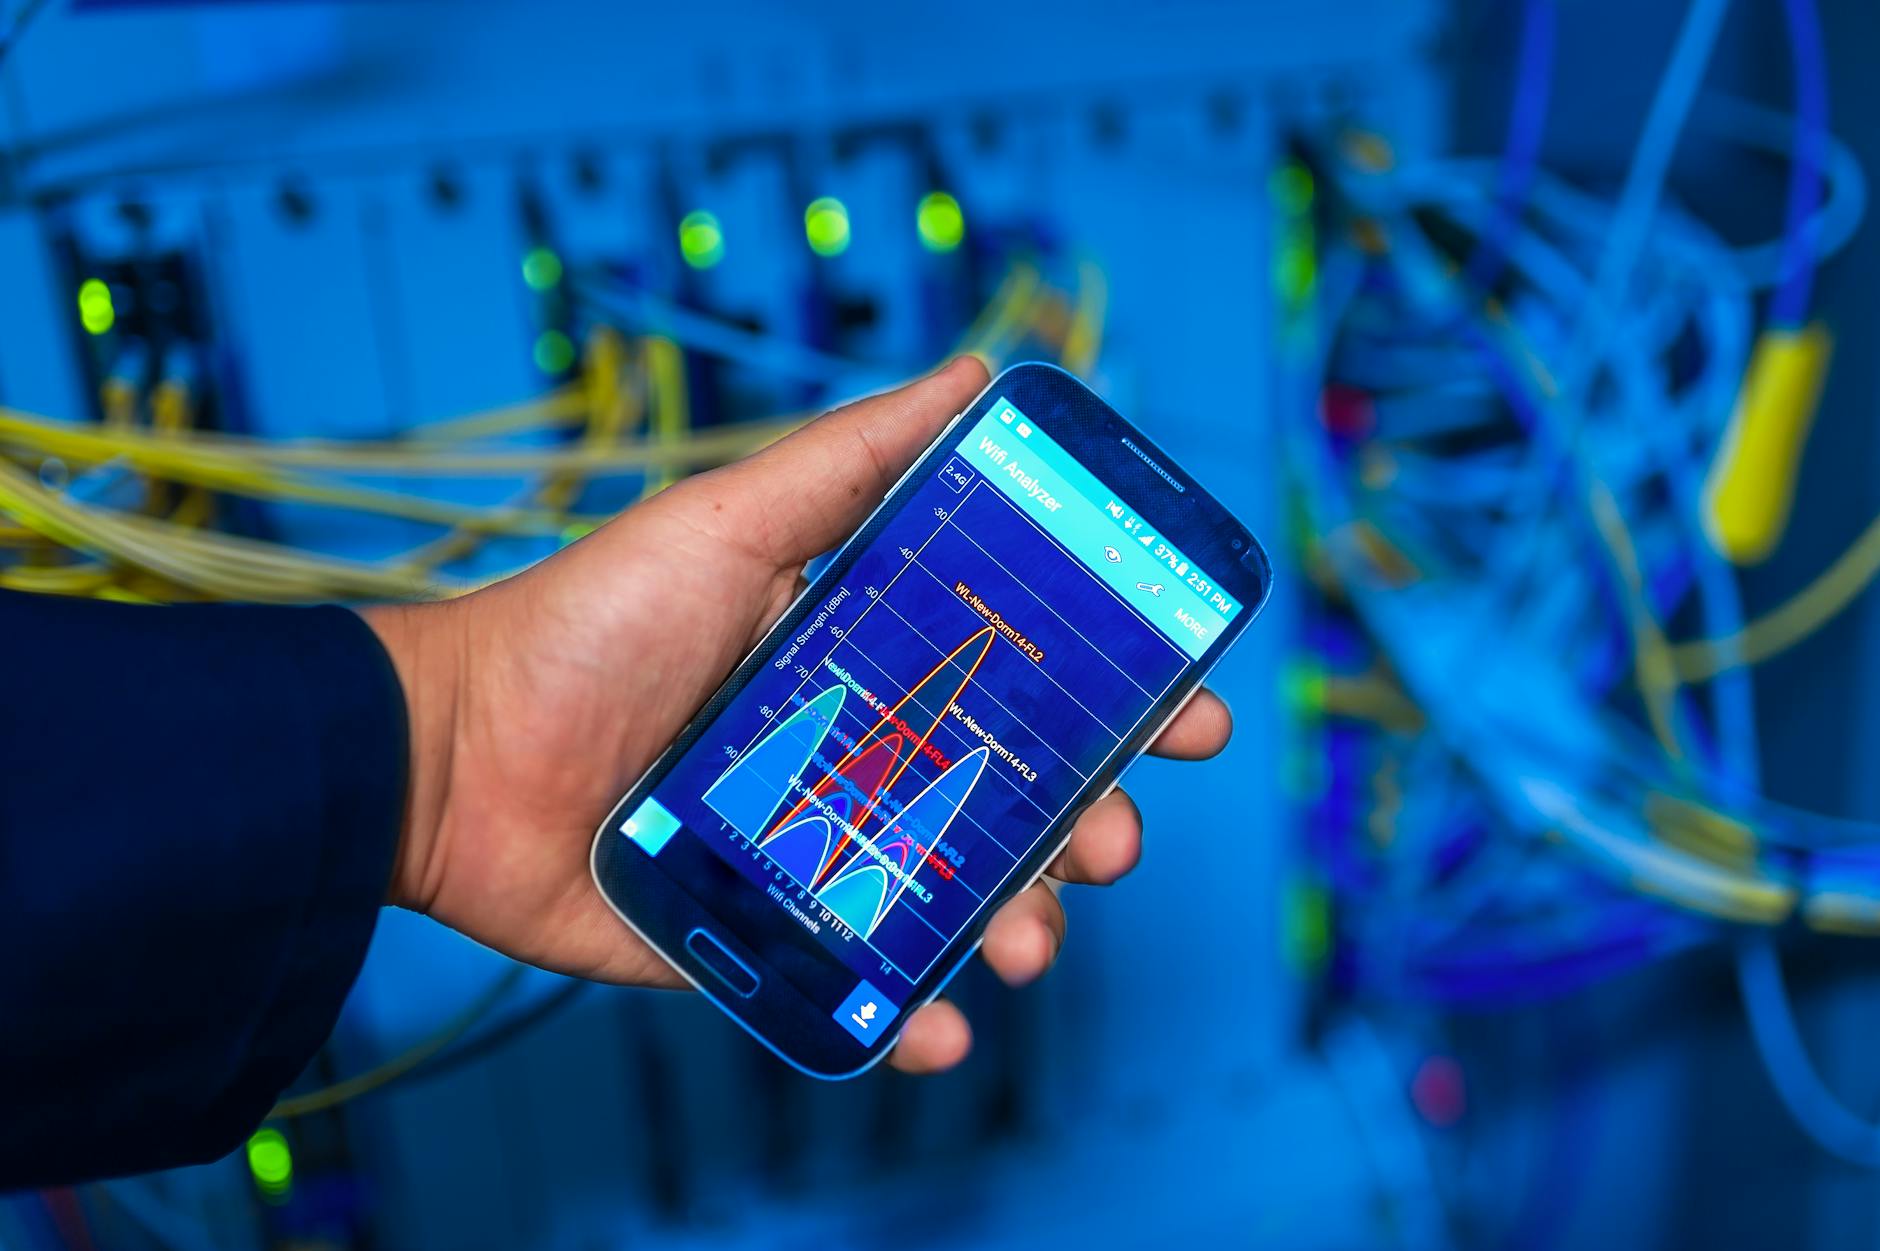 Photo by panumas nikhomkhai
What happens when your phone auto joins
When auto join is enabled, your phone connects to a nearby open network the moment a signal is detected. There’s no confirmation prompt, no user review, just a seamless handoff from one network to the next. This means you could be connected to a bogus hotspot set up by someone nearby. On untrusted networks, data traffic can be visible to anyone monitoring the connection. Even basic activities like checking email or logging in to apps can reveal sensitive information if that traffic isn’t encrypted. That’s why turning off auto join is a smart, practical step toward keeping your data private. For more about how auto join increases risk, see industry overviews and practical guides from security researchers and large vendors.
- Related reads: The hidden dangers of free public WiFi, and how to stay safe when you travel.
Common threats you should know
- Eavesdropping: Unencrypted data can be intercepted on public networks. Even if a site uses HTTPS, other traffic and metadata can be observed on the network level.
- Rogue hotspots: An attacker can set up a fake WiFi network with a name that looks legitimate. Your phone might connect automatically, and you could expose credentials or personal details.
- Man in the middle attacks: A malicious network position can quietly alter or inject content between you and the services you use, leading to credential theft or data tampering.
These threats aren’t theoretical. They’re well documented by security researchers and industry guides. If you’re unsure about a network, err on the side of caution and avoid sending sensitive information over it.
Why this matters in everyday places
Public spaces like coffee shops, airports, and hotels are designed for convenience, not security. In a café, you might grab a quick login to a streaming service or check banking alerts on your phone. If your device auto connects to a rogue hotspot, those tasks can expose login tokens, session cookies, and other sensitive data. At an airport, you’re likely dealing with busy networks, overlapping signals, and many devices sharing the same airwaves. In a hotel lobby, guests often connect to a shared network with weak or misconfigured protections. In all these scenarios, auto joining removes the first line of defense: a deliberate user decision about joining a network. The result can be fast access now, with imperfect security later. To stay safer, treat public WiFi as a potential risk and keep sensitive activities offline when possible.
- Practical tip: Use your mobile data connection for important tasks whenever you can, or use a trusted VPN to add a layer of encryption on public networks. Learn more about staying safe on public WiFi from trusted security resources.
References and further reading:
- The Hidden Dangers of Free Public WiFi. Access practical guidance on recognizing risk and protecting data on public networks. https://helpcenter.trendmicro.com/en-us/article/tmka-19398
- Why you should disable the auto-join setting on your phone. https://tbtech.co/cloud/why-you-should-disable-the-auto-join-setting-on-your-phone/
- Public Wi-Fi: A guide to the risks and how to stay safe. https://us.norton.com/blog/privacy/public-wifi
Quick steps to regain control on both Android and iPhone
- Turn off auto join: In WiFi settings, disable “Auto-Join” or “Ask to Join Networks.”
- Favor trusted networks: Only connect to networks you recognize and trust.
- Use a VPN: A reputable VPN encrypts traffic, making it harder for attackers to read what you send and receive.
- Keep OS updated: Security patches help protect against new threats on public networks.
- Monitor connections: If you notice unexpected prompts or unfamiliar networks, forget them and run a quick security check on your device.
Practical scenarios to illustrate the risk
- Scenario 1: You grab a quick coffee and your phone automatically joins a network named CoffeeHouse_Free. It looks legitimate, but a nearby attacker is monitoring traffic. You log in to your email, and session data is exposed before you even realize you’re online.
- Scenario 2: At the airport, you open a banking app after your device connects to an open network. The attacker uses a man in the middle setup to steal credentials as you type them. A VPN could have protected the data, but only if it was active before you started the login.
- Scenario 3: In a hotel lobby, your phone connects to a network with a similar name to the hotel’s official network. You end up sending sensitive information over a network controlled by someone local to the venue.
By staying vigilant and adjusting settings, you reduce exposure and keep your data safer while you move about your day. For more on practical public WiFi habits, check out reputable guides on how to stay safe online.
Quick fixes you can do now on Android and iPhone
Small, practical changes can dramatically reduce the risk of open WiFi. These quick fixes are easy to apply and work across most devices. Think of them as a shield you can snap on before you head out the door. Below, you’ll find specific steps for Android and iPhone, plus a few bite-sized tips that keep you safer on the move.
Android: stop auto joining open networks
Most Android devices offer a straightforward path to stop automatic connections to open networks. Start with the broad controls and then customize if you want more strict behavior.
- Turn off auto join in WiFi settings: Open Settings > Network & Internet > WiFi. Look for an option labeled “Auto-connect,” “Auto-join,” or similar, and switch it off. This prevents your phone from joining an open network the moment it sees a signal. If you don’t see an auto-join toggle, check within the network preferences where older devices may label it differently.
- Disable nearby network notifications: Some Android builds push alerts when a public network is available. To reduce noise and risk, turn off notifications for public networks. This stops the on-screen prompts that tempt you to tap through and join.
- Turn off Wi-Fi scanning where available: Wi-Fi Scanning can keep looking for networks even when Wi-Fi is off. If your device supports it, disable “WiFi scanning” in Location or Privacy settings. This reduces unsolicited network activity that could lure you into joining a risky hotspot.
- Limit background connectivity: Review app permissions related to location and network access. Restrict apps that routinely scan networks in the background to minimize exposure.
Practical reminder: you’ll still be able to connect to trusted networks when you want. You’re just avoiding automatic jumps to unknown networks you didn’t review. If you ever need to re-enable auto-join for a known, trusted network, do so selectively and after confirming the network’s legitimacy.
For further guidance on Android network behavior, these resources cover the nuances of auto-connect and related settings:
- Auto connect to open networks. https://support.google.com/android/thread/27297926/auto-connect-to-open-networks?hl=en
- Stop scanning for all available WIFI. https://support.google.com/pixelphone/thread/273981117/stop-scanning-for-all-available-wifi?hl=en
- Why some public networks prompts appear and how to manage them. https://support.google.com/android/thread/133810098/why-is-the-option-to-toggle-on-off-connect-to-public-networks-missing-in-android-12?hl=en
If you’re curious about how Android handles cross-device connectivity and how it ties into auto-joining behavior, you can explore guidance on instant hotspots and related cross-device features. These can influence how your devices “share” network information and can be useful to review when you manage open network habits. https://support.google.com/android/answer/14993633?hl=en
iPhone: stop auto joining open networks
iPhone users have clear, simple controls to curb auto joining and to set how new networks are handled. Here’s the quickest path to stronger privacy right away.
- Disable auto-join for known networks: Go to Settings > Wi‑Fi. Tap the information icon (the “i” circle) next to a known network, then choose Forget This Network to remove it completely. If you don’t want a network to rejoin automatically, ensure that the network isn’t in your saved list or reconfigure its settings.
- Use Ask to Join for new networks: In Settings > Wi‑Fi, turn on “Ask to Join Networks” or a similar option if available. This prompts you to approve each new network before joining, giving you a chance to verify legitimacy.
- Consider private Wi-Fi addresses: Apple devices may rotate MAC addresses to protect privacy on each network. Enabling private addresses helps prevent tracking but may affect network compatibility in some cases. Review Settings > Wi‑Fi > Private Address to understand how this affects your networks. https://support.apple.com/en-us/102509
- Review auto-join behavior: iOS and macOS decide which networks to auto-join based on a scoring system that tracks your interactions. You can influence this by manually connecting to trusted networks and disconnecting when needed. Understanding this helps you decide when to let a network auto-join or not. Learn more about how iOS and macOS handle auto-join here: https://support.apple.com/en-us/102169
A quick habit to adopt: forget networks you no longer use. This not only reduces clutter but also minimizes the chance of a rogue network taking advantage of an old credential. If you need a step-by-step on forgetting networks on iPhone, this guide covers the process: https://support.apple.com/en-us/102480
Bonus privacy tip: keep using private Wi-Fi addresses for stronger privacy on Apple devices. It’s a simple change that helps limit tracking across different networks: https://support.apple.com/en-us/102509
Extra quick tips
Here are bite-sized actions you can perform in minutes to reduce risk and keep your device responsive to safer networks.
- Forget old networks frequently: Periodically review saved networks and remove ones you don’t recognize or don’t need. If you’ve connected to a new network recently, consider removing legacy entries that might tempt automatic rejoin.
- Test after changes: After you adjust settings, test by turning Wi-Fi off and walking away, then turning it back on to see which networks your device chooses. This confirms the new behavior is in effect.
- Turn Wi‑Fi off when not needed: If you’re at home or in a place with reliable mobile data, keep Wi‑Fi off to avoid constant scanning. It conserves battery and reduces exposure.
- Use a trusted VPN on public networks: A reputable VPN encrypts traffic even on open networks, adding a critical layer of protection. Enable it whenever you connect to public Wi‑Fi.
- Keep devices updated: System updates often include important security improvements for how your device handles networks and encryption.
Concrete steps you can take now include quickly forgetting unused networks, enabling Ask to Join for iPhone, and turning off auto join on Android. If you want to deepen your practice, pair these steps with a reliable VPN and a routine check of network settings every few weeks.
For readers seeking more in-depth reading on network behavior, Apple’s and Google’s official guides provide deeper context on auto-join logic and best practices for securing Wi-Fi connections:
- How iOS, iPadOS, and macOS decide which wireless network to auto-join. https://support.apple.com/en-us/102169
- How to forget a Wi-Fi network on iPhone, iPad, Mac, or Apple Vision Pro. https://support.apple.com/en-us/102480
- Auto connect to open networks. https://support.google.com/android/thread/27297926/auto-connect-to-open-networks?hl=en
By applying these quick fixes, you keep your smartphone safer on the go. The goal is to preserve convenience while reclaiming control over when and where you connect. Your future self will thank you for choosing caution over ease.
Best practices for safe public WiFi use
Public WiFi can be a convenience, but it also brings real risks. This section covers practical, actionable habits you can adopt to protect your data while you stay productive on the go. Think of it as your quick-start guide to safer connections for your smartphone and other devices. You’ll learn how to vet networks, decide when to rely on cellular data, keep software current, and minimize exposure by tweaking Bluetooth and file sharing settings.
Use a reputable VPN and verify networks
A reputable VPN creates a private tunnel for your online activity, so anyone monitoring the local network sees only encrypted data. That makes it much harder for attackers to read passwords, login tokens, or private messages, even on a shared public hotspot. Choose a well-known VPN with a transparent privacy policy and a solid track record, then connect before you start any sensitive tasks.
To verify a network is genuine, use these simple checks:
- Confirm the exact network name with staff or signage. Rogue hotspots often spoof legitimate names.
- Look for encryption indicators on the login page. If the site asks for sensitive data over an unencrypted connection, back away.
- Try a quick search from a trusted source to confirm the venue’s official network details.
- When in doubt, switch to cellular data and only use trusted networks you explicitly approve.
For ongoing protection, keep your VPN app running in the foreground when you’re online in public. If you ever forget to enable it, enabling it mid-session is better than leaving a session unprotected. For deeper guidance, see industry resources that discuss public WiFi risks and VPN protections.
External references to help you learn more:
There Is a Frequency That the Wealthiest Families Have Used for Generations and Most People Will Never Know It Exists
>>> Open the Door <<<

- Wireless Connections and Bluetooth Security Tips
- Best VPNs for public WiFi hotspots: A comprehensive guide
- Best VPN for Public WiFi: Work and Travel Securely in 2025
When to rely on cellular data
Cellular data is typically more secure than open public WiFi because you’re not sharing a nearby network with strangers. Use cellular data for tasks that involve login credentials, banking, or sending sensitive documents.
Quick decision tips for common tasks:
- Check banking or financial apps: use cellular data or a VPN over public WiFi.
- Access email or messaging with sensitive content: prefer cellular data or a VPN when on public WiFi.
- Casual browsing or streaming without logins: you can use public WiFi, but enable a VPN for extra protection.
- File downloads or app updates: if you’re unsure about the network, wait and switch to cellular data.
If you frequently need access on the road, plan ahead with an affordable data plan. This reduces the temptation to use risky networks for urgent tasks. When you do connect to public networks, treat them as untrusted by default and verify the network before joining.
External resources discussing cellular data vs public WiFi and security considerations:
- Cellular Data or Public Wi-Fi: Which is More Secure?
- What’s the Difference? WiFi vs. Cellular
- Mobile data on or off: what happens when you turn it on or off
Keep software and apps updated
Software updates are one of the simplest yet most effective ways to close security gaps. Updates often fix vulnerabilities attackers could exploit on public networks. Turn on automatic updates where possible so your devices stay protected without you having to remember.
What to do now:
- Enable automatic updates for your OS and key apps. Check that critical security updates install promptly.
- When prompted, restart your device after updates to ensure patches take effect.
- Periodically review installed apps for those with pending updates and install them quickly.
Keeping software current reduces the window of opportunity for attackers who rely on known flaws. It also helps ensure compatibility with modern encryption and security standards when you connect to public networks.
Helpful references about the importance of updates and public WiFi security:
- Update Software
- Public Wi-Fi: a practical guide to staying safe
Turn off Bluetooth and file sharing in public places
Bluetooth and file sharing can open back doors for attackers on crowded networks. By turning these features off when you’re in public, you reduce the risk of unauthorized access and inadvertent data exposure.
There Is a Frequency That the Wealthiest Families Have Used for Generations and Most People Will Never Know It Exists
>>> Open the Door <<<
Practical impact:
- Bluetooth left on can expose your device to close-range attacks or unsolicited file transfers.
- File sharing enabled means others on the same network could attempt to access shared folders or devices.
What to do:
- Disable Bluetooth when you’re outside trusted environments. If you need it for a specific task, turn Bluetooth back on only for that moment and then switch it off again.
- Turn off file sharing in system preferences or settings. Keep discovery off and rely on secure transfer methods when needed.
- If you use a private network in a trusted setting, you can re-enable Bluetooth and sharing, but always revert to off when you’re in public.
This simple habit makes a big difference. It protects both your device and the data you carry, especially when you’re scrolling, checking messages, or logging in on open networks.
External references that reinforce these practices:
- Wireless and Bluetooth security considerations from trusted sources
- Public Wi-Fi safety tips from IT security guides
In this section you’ve learned practical steps to stay safer on the road. By using a reputable VPN, verifying networks, choosing cellular data for sensitive tasks, keeping software updated, and turning off Bluetooth and file sharing in public places, you build a strong defense around your data. Your smartphone becomes a safer companion for travel and everyday use as you move through coffee shops, airports, and hotels.
Troubleshooting and when things go wrong
Even with careful setup, tech can surprise you. When auto joining open WiFi balks after an update or a glitch sneaks in, you’ll want a clear, practical playbook. This section gives you targeted steps to diagnose and fix issues on both Android and iPhone. You’ll find quick checklists, what to expect from resets, and concrete actions you can take right away to reclaim control over your connections.
What to do if auto join returns after updates
If an OS update nudges your device to re-enable auto join, use this concise checklist to reestablish protections and confirm settings across both platforms.
- Android quick verification
- Revisit the WiFi settings and confirm the auto-join toggle is off for open networks. Some devices label it as “Auto-connect” or similar, so scan the WiFi subsection carefully.
- Disable any on-device network prompts that suggest connecting to new networks. This reduces the temptation to join without review.
- Turn off WiFi scanning in Location or Privacy settings if available. This minimizes background network detection that can trigger auto joins.
- Review app permissions that touch location or network access. Restrict background network scanning by apps you don’t trust.
- Test the behavior: toggle WiFi off, then back on, and confirm the device chooses known, trusted networks rather than auto-joining unknown ones.
- If you want to re-enable auto-join for a specific trusted network, do so only after you’ve manually connected to it and verified its legitimacy.
- iPhone quick verification
- In Settings > Wi‑Fi, verify that a known network isn’t set to auto-join. Forget networks that you don’t trust or no longer use.
- Enable “Ask to Join Networks” so you review each new network before joining.
- Consider Private Address (MAC randomization) under Settings > Wi‑Fi to reduce tracking, then test connectivity after turning it on or off as needed.
- Understand auto-join behavior by reviewing Apple guidance on how iOS decides which networks to auto-join; this helps you fine-tune manual connections vs automatic ones. For a detailed explainer, see Apple Support.
- After updates, perform a quick test by turning off Wi‑Fi, then turning it back on to see which networks appear and which get auto-connected.
- Quick cross-platform sanity checks
- Keep your device OS and security patches current, since updates often include improved handling of Wi‑Fi authentication and encryption.
- Use a reputable VPN when on public networks and ensure it stays active during sensitive tasks.
- If auto-join reappears unexpectedly, forget the suspicious network and run a brief security check to confirm no rogue access points are present.
Helpful references:
- How iOS, iPadOS, and macOS decide which wireless network to auto-join. Apple Support
- How to stop iPhone from auto joining Wi‑Fi. Apple Community discussions for practical tips
- Android auto-connect to open networks guidance. Google Support articles
- Why auto-join behavior may return after updates on Android devices. Community forums and vendor guides
If you want to dive deeper into the official guidance, Apple’s support pages explain the auto-join scoring system and how known networks influence automatic connections, which helps you decide when to trust a network again after updates. Apple’s guidance on auto-join logic can be valuable when you’re tweaking settings after an OS update.
Resetting network settings and other fixes
Sometimes a fresh slate is the fastest path back to predictable behavior. Resetting network settings on Android or iPhone wipes out saved networks, VPNs, and paired devices, then restores core networking capabilities. Here’s what to expect and how to approach it.
- What a network reset does
- Android: A network reset clears all Wi‑Fi, mobile data, and Bluetooth settings. It forgets saved SSIDs, disconnects tethering, and removes paired devices. This is a targeted fix if you notice plummeting connection stability or stray auto-join behavior after an update. After the reset, you’ll need to reconfigure Wi‑Fi networks and re-pair Bluetooth devices.
- iPhone: Resetting network settings turns Wi‑Fi off and back on, clears saved networks, and resets VPN and cellular settings to defaults. You’ll reconnect to preferred networks from scratch and re-enter passwords as needed.
- What you should expect after a reset
- Lost networks: All saved networks disappear, so you must rejoin你的 trusted networks manually.
- VPN and APN reconfiguration: If you use VPNs or mobile network profiles, you’ll add them back after the reset.
- Bluetooth devices: Any previously paired peripherals must be re-paired.
- How to perform the reset
- Android: Settings > System > Reset options > Reset network settings. Confirm and follow prompts. The operation may restart the device.
- iPhone: Settings > General > Reset > Reset Network Settings. Enter passcode if prompted and confirm.
- After the reset, reconfigure with care
- Re-add only trusted networks and re-check their security settings.
- Reinstall essential VPNs and verify their startup behavior.
- Re-pair Bluetooth devices that you regularly use, and test connectivity to ensure everything behaves as expected.
If you’re curious about the specifics of what gets cleared and what remains, the most reliable sources from device makers offer detailed, device‑specific steps. Android articles discuss how resets affect Wi‑Fi, mobile data, and Bluetooth, while iPhone guides cover the network reset process and its effects in detail.
External references to help you learn more:
- How do I reset network settings on Android devices (Android 9.0+). Sony Support
- What happens when you reset network settings on Android. GadgetBridge overview
- What does Reset Network Settings do on iPhone. Apple discussions
- How to reset network settings on iPhone (and what happens). SlashGear
- Quick note on what to expect on iPhone
- Resetting network settings on iPhone cancels saved Wi‑Fi networks, cellular settings are refreshed, and VPN configurations are removed. After the reset, you’ll reconnect to familiar networks by re-entering passwords and re-establishing any VPNs or enterprise profiles you use.
- Quick note on what to expect on Android
- A network reset clears saved SSIDs, Bluetooth pairings, and VPN or APN configurations. It can fix stubborn connection issues caused by corrupted network data and misconfigured settings, but you’ll need to re-add trusted networks and re-authenticate Bluetooth devices.
Extra tips to smooth the process
- Do a quick backup of important network credentials if you have them stored separately (password managers can help).
- After resetting, test on a known, trusted network first before trying public networks again.
- If you rely on devices like wearables or smart home gadgets, plan for re-pairing them after the reset.
If you want deeper, device-specific steps, consult the official support guides for Android and iPhone. They walk you through every screen you’ll see during the reset and explain what each option does so you’re never left guessing. For quick context, you can review how Apple and Google describe reset network settings and their effects on saved networks and connectivity.
External references:
- How to reset network settings on iPhone (SlashGear)
- What does Reset Network Settings do (Hello APN)
- How do I reset network settings (Sony Asia)
By following these steps, you can recover stable, predictable network behavior and prevent auto joining from sneaking back in after updates. If you’re ever unsure, perform a targeted reset of only the network settings rather than a full device reset, and reconfigure gradually to keep control over which networks your device trusts.
Conclusion
Stopping auto join on open WiFi is a simple, high-impact step for a safer smartphone experience. By turning off auto-join, forgetting unfamiliar networks, and using a trusted VPN, you gain control over every connection and reduce exposure to risky hotspots. The benefits show up in faster, safer browsing and fewer prompts to connect in public spaces. Try these changes now, test the behavior, and share any questions or results in the comments so others can learn from your experience. Your smartphone will thank you for the clearer, safer path to on the go connectivity.
He Was Drowning in Bills and Burnout Until a Simple Daily Ritual Rewired His Brain for Wealth in Less Than a Week
>>> Start Your Shift Today <<<