Turn an old phone into a time-lapse camera by using its built-in Time-lapse mode when available, locking it to a stable mount, and testing the frame, power,
and storage before a long recording. For a plant or a hands-on project, keeping the camera in the same place matters more than adding complicated gear.
The official camera guides describe a built-in Time-lapse mode.
The exact controls depend on the phone and software version, so start with the camera already on your device and confirm that it can finish a short clip.
Choose the capture mode your old phone supports
Open the camera and look for Time-lapse. The official camera guide says to select the mode, frame the subject, set the phone on a stable surface or tripod, and start recording.
The official camera instructions place Time Lapse under Video mode and include a speed-up setting. Controls vary by phone and software version.
If the stock camera has no time-lapse option, check the phone’s operating-system version and the current camera-app requirements.
Confirm interval controls, local saving, and screen-off behavior in the app documentation, then test the setup; permissions and background limits differ by phone.
The official camera guide gives two examples of its speed control: 5x turns 50 seconds of real time into 10 seconds of video, while 120x turns 20 minutes into 10 seconds.
These examples describe one camera’s controls, not a setting shared by all Android phones.
Fix the camera position before you press record
Put the phone on a tripod, clamp, or solid shelf that cannot wobble when someone walks by or touches the work surface.
The official camera guide recommends a stable surface or tripod for time-lapse recording.
Aim the rear camera at the subject, then tighten the mount and check that the phone stays in place when you connect its charging cable.
For a plant, include the pot, the full stem, and the space where new leaves may appear.
For a build or craft project, include the work area and the tools or materials that will enter the frame.
Keep the subject away from the very edge so small changes in framing do not cut it off. Use a background that will remain in place throughout the recording.
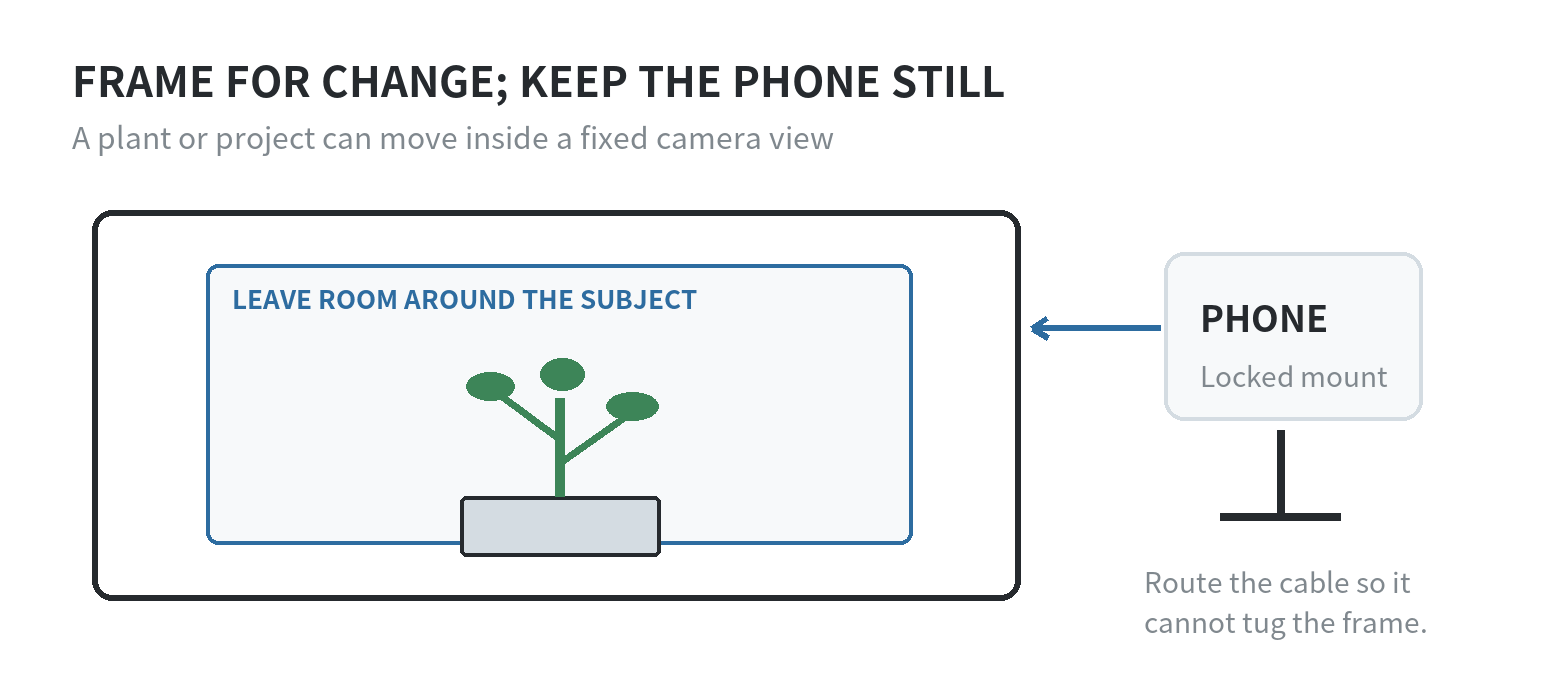
Take a still photo or short test clip. Check for clutter, reflections, glare, or anything blocking the lens.
Make adjustments before the long recording, then mark the mount position with removable tape so you can return the phone to the same spot.
Choose portrait or landscape orientation based on where the finished video will be viewed, and keep it for the whole recording.
Avoid digital zoom unless the crop is essential; a closer view makes movement from a bumped mount easier to notice.
Match the time-lapse speed to the change you want to show
Use a shorter capture period for a project with visible movement during one sitting, such as assembling an object.
A plant changing over a longer period needs a more compressed result.
The useful question is not “What is the best interval?” but “How much real time should each few seconds of finished video represent?”
Some built-in cameras expose a speed-up control instead of a frame interval.
The official speed-control instructions include Auto and selectable speed options.
The camera guide describes recording at selected intervals but does not give one interval for every subject.
Start with the automatic setting if your camera offers it, or choose a moderate speed for a brief trial. Review the clip before committing to a longer session.
For a separate interval-camera app, pick an interval based on the subject’s pace: a fast-changing hand task needs closer captures than a slow-growing plant.
Make one test clip and check whether the action looks jumpy, barely changes, or finishes too quickly. Adjust the interval once, then keep it fixed for the planned run.
Do not compare a plant’s growth from clips with different framing or different time spans as if they were one continuous recording.
Plan power, heat, and storage together
For a recording longer than the old battery can handle, connect a charger and route the cable so it cannot pull on the mount. Leave air around the phone and charger.
The official phone support guide says camera recording and charging can contribute to warmth; if the phone gets too hot, disconnect power and let it cool.
The official phone support guide also warns that extended camera use in hot conditions or direct sunlight can affect performance.
Keep the phone uncovered, out of direct sun, and in a ventilated place. A bright plant window can heat the device and change the light across the frame.
If a charger or cable is damaged, stop using it and replace it with compatible equipment.
Check free storage before recording. The official camera guide notes that higher video resolutions and faster frame rates create larger files; options vary by model.
If space is tight, transfer old clips or select a lower available setting, then confirm that the result is still clear enough and saved where you expect.
The official built-in camera instructions do not list a SIM prerequisite.
If the old phone has no active SIM, test the stock camera directly; check a separate app or cloud backup for its network requirements.
Keep repeat recordings easy to compare
For a plant series, choose a viewing point that shows the pot and the likely direction of new growth. Keep the lens at the same height and distance each time you set up the phone.
A mark on the shelf or a small piece of removable tape can show where the stand belongs.
Decide what should stay in the frame, such as the pot rim or a corner of the work surface. Those fixed edges help you spot a shifted mount when you review clips.
Leave room above a plant for leaves to grow, and keep tools out of that space if the scene will be recorded over many sessions.
Light can change the look of a scene even when the phone does not move.
For a plant near a window, note whether the camera faces direct sun or indirect daylight, then use a similar time and room lighting for later recordings.
For a craft project, keep the work light in a fixed position and avoid moving lamps between sessions.
Before restarting after a pause, compare the live frame with the previous clip or a reference still. Check the subject edges, background objects, and cable route.
If anything moved, restore the original arrangement before recording so the finished sequence does not jump between views.
Run a short trial, then review the whole setup
Before a long session, record and watch a brief test using the final mount, cable, and framing.
Look for a shifting frame, a cable crossing the subject, an interruption, exposure changes, or a clip too short to show the activity.
Replay the beginning and end, not only the middle. Confirm the audio or silent result is what you expect, and check that the file appears in the intended photo or video library.
Confirm the file exists, opens, and has enough detail. If the phone paused, overheated, or ran out of space, change the setup before recording again.
A short trial can reveal problems while adjustments are easy.
For later reference, note the camera mode, speed setting, start and stop time, and mount location. These notes help you repeat the setup without guessing.
For other uses, see the site’s guides to using an old phone as a backup webcam and turning an old phone into a dedicated camera. Keep the time-lapse phone aimed at one fixed view.
Last updated: 2026-10
FAQ
Does an old phone need a SIM card to record a time-lapse?
A SIM card is not part of the built-in camera steps in the official instructions.
Try a short recording with the phone’s stock camera; keep Wi-Fi available if the camera app, a separate interval app, or backup service asks for it.
Can I check the plant while the phone is recording?
You can inspect the setup, but touching the phone or moving its support can shift the frame.
If you must adjust the plant or camera, note the pause and check whether the camera mode resumed before leaving it again.
Can I use a time-lapse app if the old camera has no Time-lapse mode?
Yes, if a compatible app supports the phone’s current operating system and the interval behavior you need.
Confirm its saving and background rules in the current app documentation, then test it with the screen in the state you plan to use.
What should I do if the phone gets warm during recording?
Stop the recording, disconnect the charger, and move the phone out of direct sunlight to a cooler, ventilated place.
The official phone support guidance advises letting an overheated device cool before using it again and describes temperature-related performance changes.