A greenhouse kit can save you from sourcing a frame and panels separately, but the listing is only a starting point.
Match the assembled footprint to your site and check the anchoring method, door, and vents before choosing a kit.
Read the dimensions as a footprint, not a label
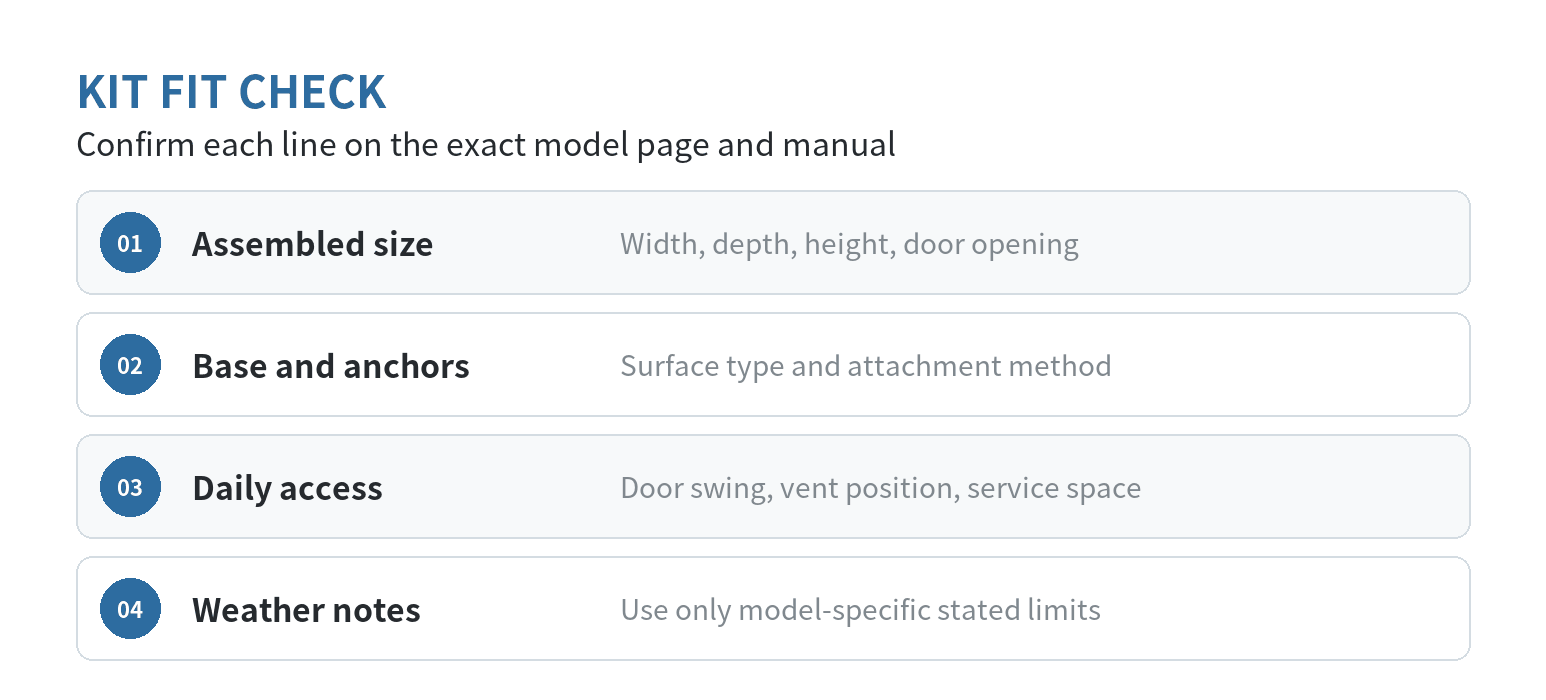
A listing may call a kit “6 by 8 feet” while its assembled measurements show a different width and depth.
One product page, checked October 5, 2026, lists a nominal 6-by-8-foot greenhouse at 74.65 inches wide, 100.12 inches deep, and 80.43 inches high.
Its door opening is about 23.34 inches wide. The maker’s 6-by-8-foot kit manual also includes base measurements.
Use assembled measurements, not a rounded title, to plan the site.
Measure the ground area and add room to carry panels, open the door, and reach vents or fasteners. Mark the footprint with stakes and string or a garden hose.
Walk the route to check door position and access for repairs.
Sketch the walkway, benches, and containers before judging the interior capacity. Plants and shelves can take up an aisle that looked clear on paper.
If trays are part of the plan, check shelf height and reach to the rear.
If you plan to carry a cart, bucket, or wide pot inside, measure its widest point and compare it with the door opening.
A cardboard mock-up can help you trace the turn from the path through the doorway.
Compare the parts that affect daily use
Greenhouse listings describe the frame and covering in separate fields. The category page shows aluminum or wood frames and panel materials including polycarbonate.
The filtered category listing was checked October 5, 2026.
Open the exact model’s specification sheet and manual: material names do not give panel thickness, hardware, anchoring, or weather limits.
Check the frame instructions for how sections join, how the base is secured, and how damaged parts are replaced. Confirm that the stated anchoring method fits your surface.
Ask which parts touch wet ground and whether the manual specifies treatment or clearance.
Do not infer wind or snow capacity from a product photo or “heavy-duty” label. Use only a model-specific rating the manufacturer provides.
Ask for the panel construction and written coverage for the exact kit.
A broad label such as polycarbonate does not tell you whether panels are single-wall or multiwall, or how defects are handled.
For panels, find the outside-face marking and protective-film instructions. One manufacturer manual says its UV-protected face must point toward the sun.
Check the exact kit manual because panel markings and installation steps differ.
Read the cleaning section, too. Use the care method listed for that material.
Roof vents and doors affect daily access. Locate the openings on the diagram and check whether you can reach the latch or whether a fence blocks it.
Confirm how vents open and whether openers are included.
For hot days, plan how you will monitor and manage temperature.
A roof vent alone does not guarantee conditions suited to every plant; University of Florida extension guidance explains that ventilation affects greenhouse heat.
Check whether the vent is manual or includes an opener, and where its handle sits.
If you cannot reach it from the main path, you may need to move trays or step around benches to adjust it.
Make the foundation and route part of the decision
Choose the site before treating the base as an afterthought.
One kit assembly manual calls for a flat, level surface, a sunny position away from overhanging trees, and anchoring to a solid foundation.
Those instructions are model-specific.
A greenhouse project guide discusses ground stability and attachment when choosing a foundation. Check the exact kit manual alongside the site.
A kit may specify another arrangement, so follow its manual for the actual dimensions.
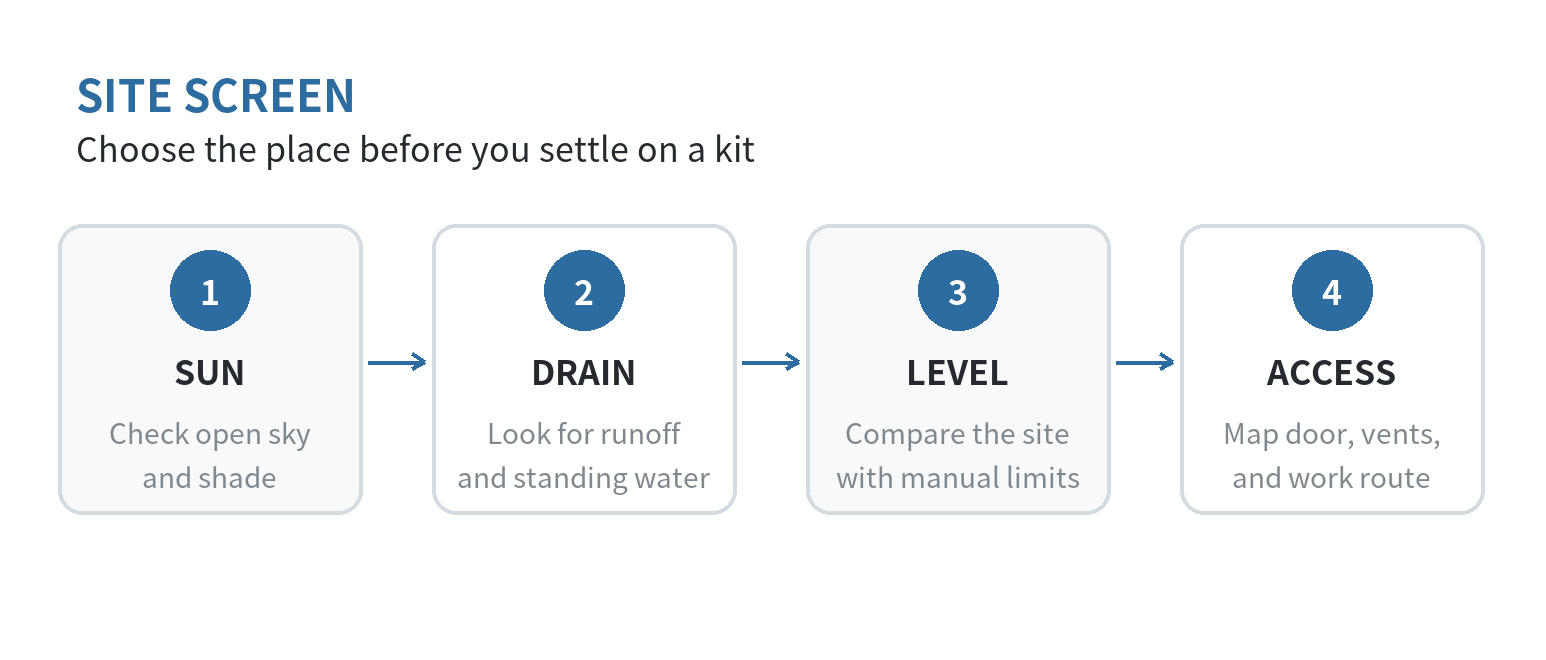
Walk the yard after rain and look for standing water or runoff toward the proposed base.
Check branches, fences, walls, and nearby structures that could shade panels or block access. Note where a hose can reach and whether the path crosses steps or soft ground.
If the area slopes, measure the high and low points and compare them with the manual’s surface-preparation instructions.
Check property lines and local restrictions before installing anchors.
Call the local utility-locating service before driving stakes or digging; the national 811 service directs users to their state contact and process (811 In Your State page, checked October 6, 2026).
Ask the local building department about zoning, permits, and setbacks before choosing a permanent position.
A raised bed serves a different purpose from a walk-in greenhouse. The site’s raised-bed kit overview and raised-bed layout guide cover open planting spaces.
Use the manual to plan assembly, not just construction
Read the full instructions before opening the boxes. Confirm the parts list, tools, helper requirements, and assembly order.
Some kits place vents only in designated roof sections, as shown in the model assembly manual.
One manufacturer assembly manual recommends two people for its multi-part assembly and allows at least half a day.
Treat that as guidance for that model, then check your kit’s instructions and schedule help.
The same manual identifies a parts list and asks the installer to lay pieces out before starting. Compare the hardware with that list while there is room to keep pieces sorted.
It also calls for side clearance to insert roof panels. Include that temporary work space in the site layout, even if a fence or wall would not block the finished greenhouse.
Lay out the parts against the diagram before lifting the frame. If a piece is missing or bent, note its part number before requesting a replacement.
Prepare the base and check that its corners are square and its surface level as directed. Keep the work area clear of fences and walls while handling long panels.
Wear the protective gear listed in the instructions. Follow any limits on weather or leaving a partly assembled frame exposed.
Follow the panel sequence and orientation marks. Leave protective film in place until the specified step, then remove it when directed.
Tighten fasteners in order; forcing a panel or skipping a connector can make later sections harder to align.
When finished, check the door and vents before adding plants and shelving.
Check maintenance and weather limits before settling on it
Plan for panel cleaning, gutter clearing if included, and inspection of fasteners and anchors. Follow the manual’s cleaning limits and keep its replacement-part information.
Use wind and snow ratings stated for the exact model, and compare them with conditions at your property. Ratings do not transfer across sizes or anchoring setups.
If documentation lacks a rating you need, ask the manufacturer. Follow its instructions for securing or preparing the kit before severe weather.
Before choosing a listing, record its assembled dimensions, door opening, vent layout, foundation type, anchoring method, and stated load rating.
Check them against the marked site and exact manual.
FAQ
Can one person assemble a walk-in greenhouse kit?
Check the exact manual before planning a solo build. One manufacturer’s assembly instructions recommend two people and allow at least half a day for that kit.
Does a greenhouse kit come with a floor?
Do not assume it does. One product listing marks its floor option as “without floor”; check the exact model’s included-parts list.
How can I find out if my greenhouse needs a permit?
Ask your local building department before setting the base or anchors. A greenhouse project guide directs readers to check local zoning and permit requirements.
Last updated: 2026-10