For a garden with recurring deer visits, plan a complete enclosure around the beds and use a fence close to 8 feet tall as your starting point. University of Minnesota Extension recommends a well-built 8-foot fence; University of Maryland Extension describes 8- to 10-foot barriers and notes that shorter fences carry a greater chance of deer jumping over. Then choose plastic mesh or wire mesh based on how long you need the barrier to last and how much inspection you can do.
The layout matters as much as the roll of fencing. A gap at the ground, a gate left open, or a bed outside the enclosure gives deer an entry route. Sketch the garden first, mark every access point, and measure the actual fence line before comparing materials.
Start with height and the space you need to protect
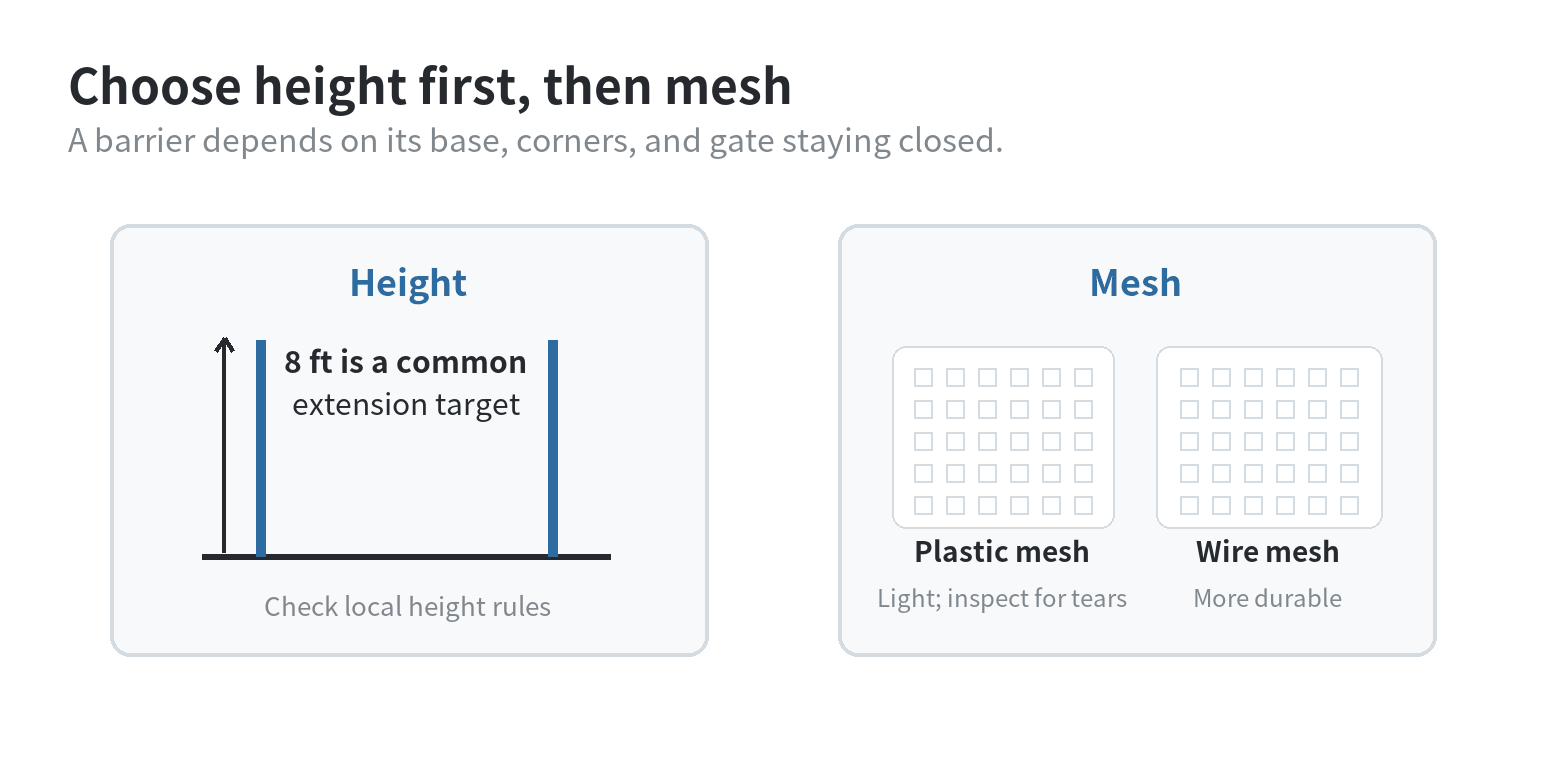
Use 8 feet as a planning reference, not a guarantee for every yard. University of Minnesota Extension says fences should be 8 feet high and well built; it also notes that a motivated deer with room to run can clear a higher barrier. University of Maryland Extension discusses 8- to 10-foot fencing and says the chance of a deer jumping increases as height falls below 8 feet. Local deer pressure, terrain, and the way a fence meets the ground all affect the result.
Decide whether the enclosure will protect one vegetable patch, a group of raised beds, or a wider planting area. Fencing just the plants you care about can reduce the amount of line you need to maintain. If the garden has beds in separate corners, bringing them inside one simple perimeter may be easier than building several small enclosures with separate gates.
A lower fence may make sense for a small, defined space, but it is a compromise. Cornell Small Farms describes 7- to 8-foot wire or plastic fencing as an option for urban gardens, while the University of Maryland guide says lower fences are less reliable than an 8-foot barrier. Treat six-foot or decorative fencing as a boundary or a partial deterrent, rather than assuming it will exclude every deer.
Pick mesh for the amount of upkeep you can manage
Plastic mesh is light and easier to handle across a garden perimeter. University of Maryland Extension notes that plastic mesh can provide a high barrier but is less durable than wire and can break when struck by branches or animals. Check for tears, sagging, loose ties, and damage from falling branches or animals.
Woven or welded wire is a heavier choice for a more permanent enclosure. The Maryland Extension guide describes wire fencing as a longer-term, more durable option; it can also use smaller openings near the bottom and larger openings higher up. That graduated pattern can be useful when smaller animals are also getting into the garden, though the exact opening size should match the animals you are trying to exclude.
For a temporary or seasonal garden, plastic mesh may be easier to take down and store. For a fence intended to stay in place through multiple growing seasons, compare wire options and the support posts, tensioning, and corner bracing they require. Cornell Cooperative Extension lists both woven wire and plastic as deer-fence materials; the choice depends on your installation and maintenance priorities, not on a single mesh opening that works for every yard.
Check the product label for the finished height, material, mesh opening, and recommended support spacing. A roll’s stated height is not necessarily its installed height if the bottom is raised or the mesh is stretched unevenly. Confirm that posts, fasteners, and a gate can work with the same material before you build the shopping list.
Draw the garden perimeter before measuring
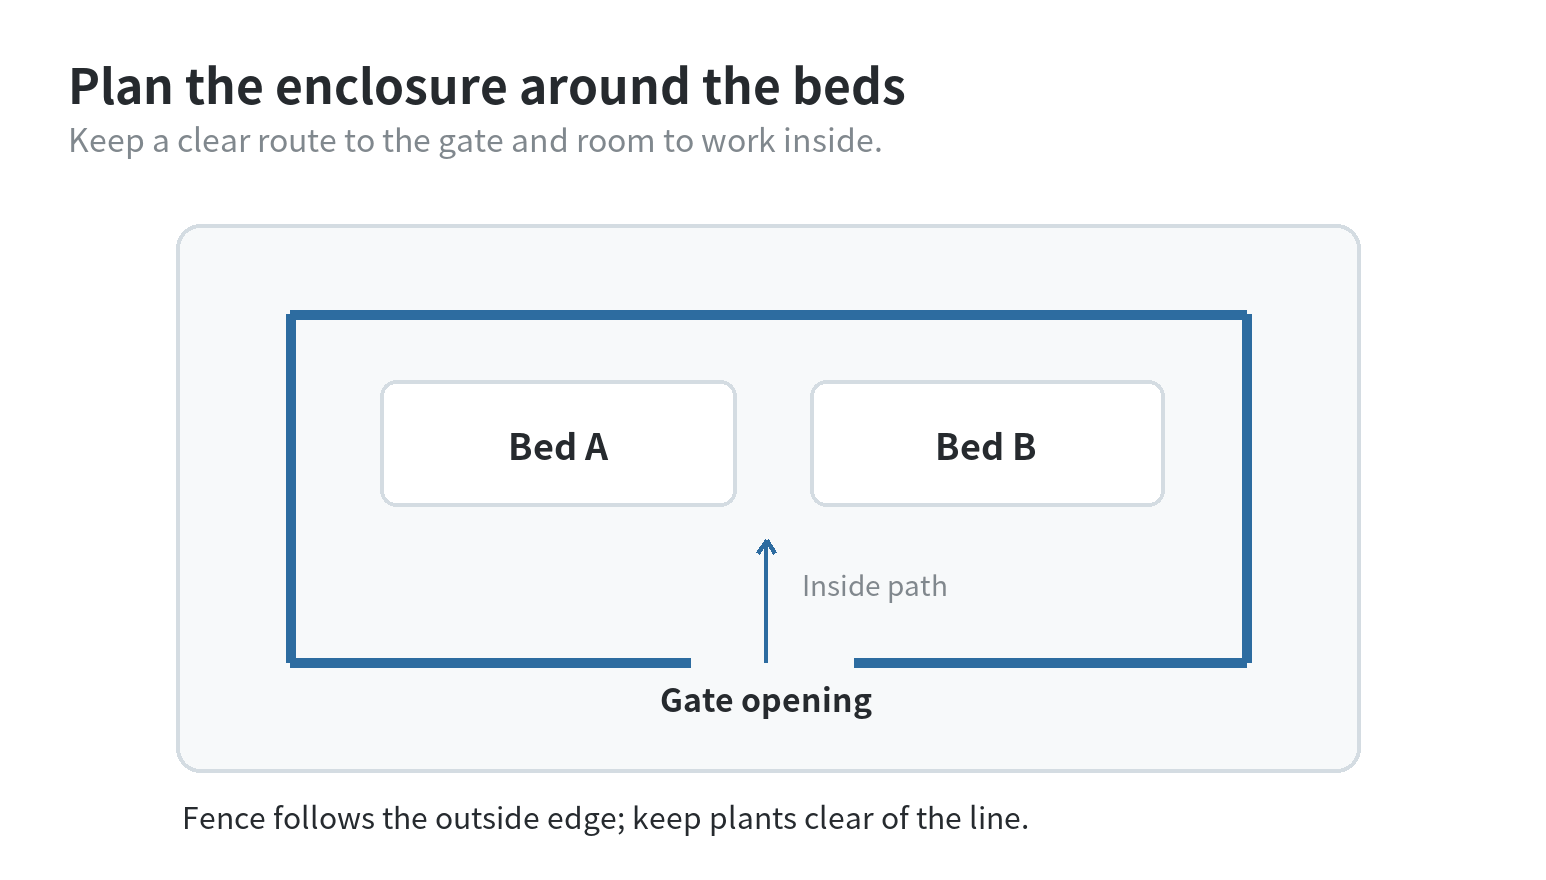
Sketch the beds as simple rectangles and draw one line around the area to be protected. Put the gate where you already walk in with tools, compost, or a hose. Leave a clear path from the entrance to the beds so routine work does not require stepping over the fence or leaving the opening unattended.
Measure each straight run separately, then add the lengths for a perimeter total. Measure around corners and obstacles rather than estimating from the garden’s widest point. Note slopes, tree roots, hard paving, and spots where a post cannot be driven. These details can change the number and type of supports needed.
Keep the protected plants inside the line, with working room between foliage and mesh. If branches or tall plants press into a lightweight net, they can pull it loose or hide a tear. Place beds so you can reach both sides without leaning heavily on the fence. A basic garden map can also help you plan irrigation and paths; see the site’s [simple garden trellis guide](/how-to-build-a-simple-garden-trellis-using-home-depot-materials/) for another example of planning around growing space.
Close the bottom and make the gate part of the fence
Keep the lower edge close to the ground and inspect dips where the yard changes grade. University of Maryland Extension’s fence-maintenance guidance says gaps between a fence and the ground must be plugged. Apply that check where the line passes a raised bed, retaining edge, or uneven soil, and secure mesh so it does not lift when you brush against it or move a hose.
Make the gate opening match the fence’s height and barrier material as closely as the design allows. Cornell Cooperative Extension’s deer fact sheet says functional gates should be closed after entry and exit. Choose a latch you can operate while carrying tools, then build the habit of closing it each time. A gate that is hard to use can become the weakest part of an otherwise sound enclosure.
Walk the entire boundary after installation. Look for a loose corner, a low spot, a section pulled away from a post, and a gap under the gate. Repeat the inspection after wind, falling branches, or work that moves soil near the fence. Plastic mesh calls for checks for tears; wire calls for checks at joints, posts, and any place the wire has loosened.
Check local rules before setting posts
Before buying material, check city or county rules and any neighborhood restrictions that apply to fence height, placement, and construction material. University of Maryland Extension advises checking local rules, and Cornell Small Farms also flags city codes for garden fencing. If you rent, get the property owner’s approval before installing posts or attaching a fence to an existing structure.
For an in-ground fence, mark the perimeter and identify buried utilities before digging. If the enclosure crosses a shared boundary or blocks access, settle the line and gate location with the affected neighbor first. For help turning the sketch into a cut list for wood framing, the site’s project planning checklist can help organize measurements and materials.
Once the rules and layout are clear, compare products by installed height, mesh material, support needs, gate compatibility, and repairability. That gives you a useful comparison without relying on a package photo or a broad label such as “deer fence.”
FAQ
Can I use a six-foot garden fence for deer?
A six-foot fence is a lower barrier and may not exclude deer reliably. University of Maryland Extension says the chance of deer jumping rises below 8 feet; choose the height with local rules and the space you need to protect in mind.
Should the mesh touch the ground?
Keep the bottom edge close to the ground so there is no open gap beneath it. University of Maryland Extension’s fence-maintenance guidance calls for plugging ground gaps; include the gate threshold and uneven sections of soil in that check.
What should I check after a storm?
Walk the perimeter and look for fallen branches, torn mesh, loose posts, open gates, and newly exposed gaps at the base. Repair damage before relying on the enclosure again.