This guide covers a garbage disposal replacement using parts selected through an e-commerce platform.
For shopping context, review its garbage disposal installation overview alongside the model manual.
Match the sink flange, drain route, dishwasher connection, and power method.
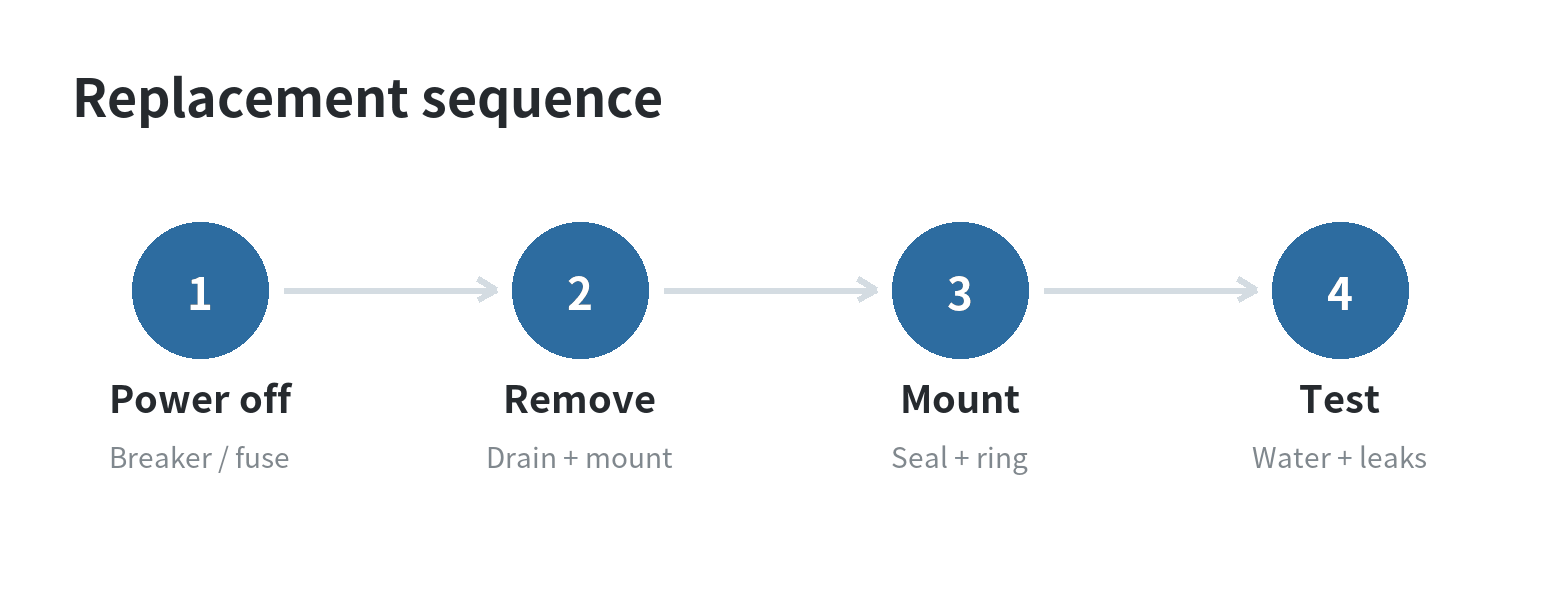
A typical sequence is to isolate power, remove the old disposer, prepare the mount, connect wiring and plumbing, and test for leaks.
Your model manual controls the steps.
Check the fit before removing anything
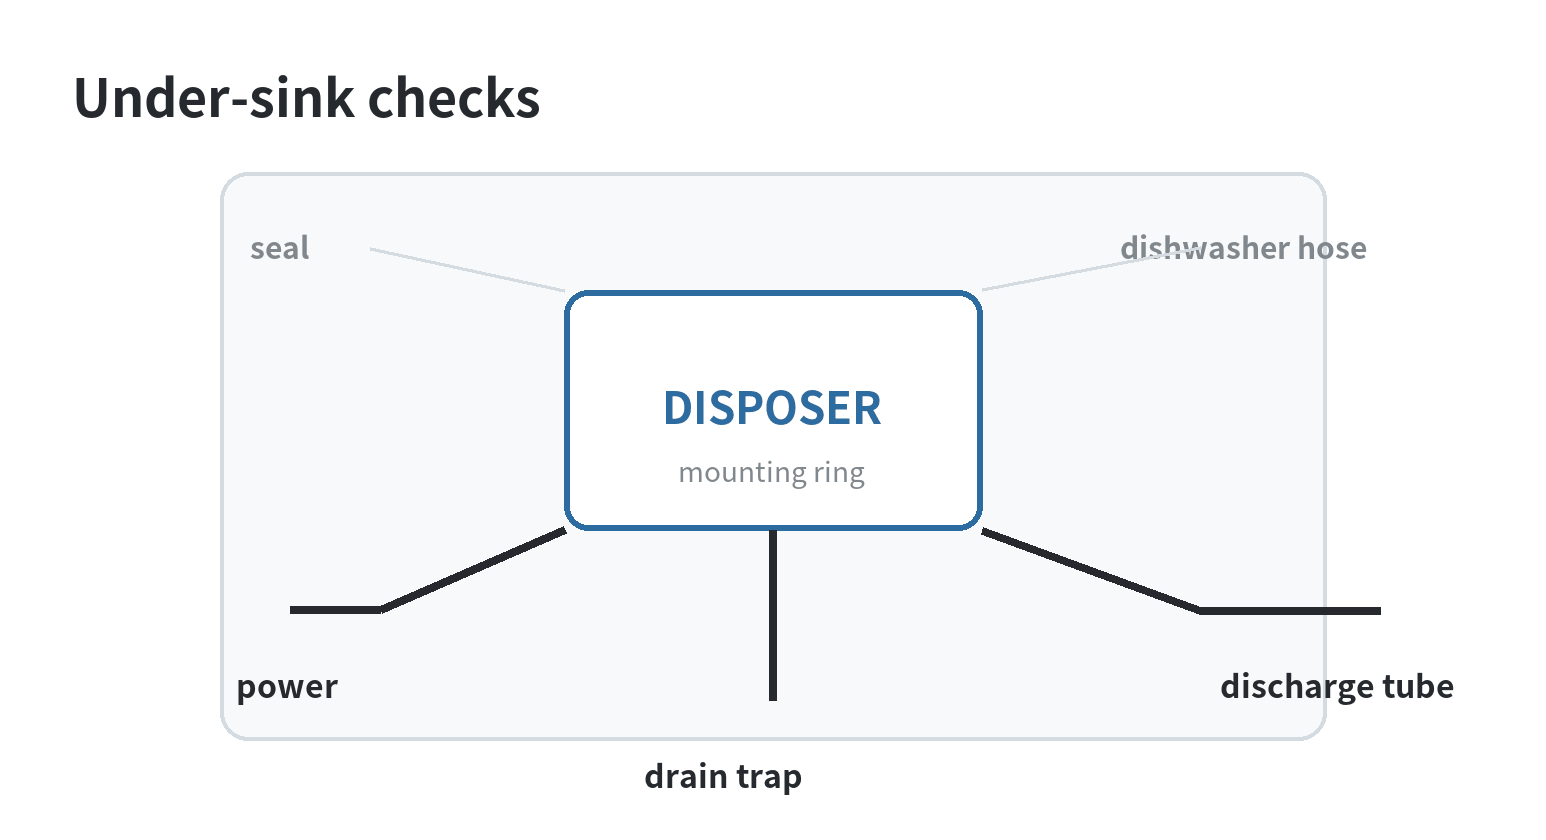
Measure the space below the sink and note where the discharge tube meets the drain trap.
A taller body, different outlet position, or mounting assembly can require a drain-pipe change.
Check whether a dishwasher hose enters the disposer.
If a dishwasher is connected, the replacement disposer may have an inlet plug.
Remove that plug before attaching the hose only when the model instructions call for it.
The linked InSinkErator installation guidance treats this as a separate preparation step. Read the inlet-plug instructions.
Confirm whether power comes through a cord and receptacle or hardwiring in the electrical compartment.
Follow the model manual and local requirements.
If grounding or wiring is unclear, use a qualified electrician.
Prepare tools and replacement parts
Set out channel-lock pliers, flat and Phillips screwdrivers, and a pipe wrench if required.
Also prepare a bucket, a sturdy support, wire connectors specified by the model manual, and mounting hardware.
Possible materials include plumber’s putty, a dishwasher drain connector kit, a discharge tube, and a clamp.
The linked InSinkErator guide lists putty, wire nuts, hand tools, and a pipe wrench. Check that materials list.
Clear the cabinet and put the bucket below the drain connection.
Prepare a platform or second person to support the old disposer.
Keep your head and body out from below the old disposer while it is being loosened.
Disconnect power and remove the old disposer
Turn off the switch, then switch off the circuit breaker or remove the fuse.
Follow the manual and local requirements to confirm the circuit is de-energized with an appropriate tester before opening the electrical compartment.
For a corded power connection, unplug it after the circuit is off.
For a hardwired power connection, remove the cover and separate the conductors as the manual directs.
Do not rely only on the switch position.
Disconnect the dishwasher hose and loosen the drain connection so residual water falls into the bucket.
Keep the old disposer supported.
Use the specified tool to release the mounting ring, then lower the old disposer.
The linked guide puts power isolation and electrical work before lowering; your model manual governs the sequence. Review the removal sequence.
Install the sink flange and mounting assembly
After removing the old flange, scrape away old putty and wipe the sink opening clean.
If the replacement disposer uses a separate flange, apply the specified sealant and insert the flange from above.
Install the gasket, backup ring, and mounting ring below.
Tighten the screws in rotation so the ring pulls up evenly.
Some models use a supplied rubber gasket instead of plumber’s putty.
Use the exact model’s method.
Keep the mounting tabs aligned with the flange ramps.
If the ring will not engage, inspect alignment instead of forcing it.
Compare the old disposer and replacement disposer outlets before lifting the replacement disposer.
Check outlet height, elbow direction, and mounting-ring clearance.
Place the discharge tube and trap together and check their alignment before final tightening.
Confirm that the tube reaches the trap without forcing either connection out of line.
The tube should meet the trap without pushing it out of line, and the dishwasher hose should reach its inlet without a kink.
Mark required trim, then cut only as directed.
Clean sealing surfaces, tighten flange screws evenly, and wipe away displaced sealant.
Keep the replacement disposer supported until the mounting ring is fully engaged and the discharge connection is aligned.
Check that the reset button and power cord remain reachable after the cabinet is closed.
Reconnect wiring and plumbing
With the replacement disposer supported, make the power connection inside the electrical compartment according to the model manual.
The linked InSinkErator cord guidance identifies the ground connection and calls for the cover plate to be secured.
Keep connectors inside the compartment; do not leave loose grounding conductors or exposed copper.
Attach the discharge tube with the specified gasket or flange.
Reconnect the drain trap and dishwasher hose, if used, with the correct gasket and clamp.
Align each joint before tightening.
A twisted trap or stretched hose is a condition to correct before testing. Review the plumbing connection details.
Test the replacement before cleanup
Confirm the mounting ring is locked, the electrical cover is installed, and drain connections are tight.
Restore power and run cold water only when the model manual permits.
Keep hands and tools away from the opening, then run the replacement disposer briefly.
Watch every joint.
Run water through the assembly and check the flange, discharge connection, trap joints, and dishwasher connection.
A dry paper towel can help identify moisture.
If an area becomes damp, switch off power, stop the water, and correct that joint before testing again.
Listen for rubbing, humming without grinding, or movement at the mounting ring.
Switch the replacement disposer off for vibration or a sharp sound change.
Do not loosen a connection while energized or use the replacement disposer to test an obstruction.
Keep hands out of the grinding chamber.
If the replacement disposer will not start, switch off the circuit before checking the reset button, wiring, or a possible obstruction.
For a visible object, the linked InSinkErator safety guidance recommends tongs or pliers. Read the safety guidance.
When to stop the DIY installation
Stop if the breaker trips, wiring does not match the manual, or the sink flange is damaged.
Stop if the cabinet cannot support the replacement disposer or a drain connection remains wet.
A qualified electrician can assess circuit and grounding concerns.
A licensed plumber can address a damaged drain, incompatible mount, or persistent leak.
Keep the model manual with the home records.
It is the reference for the foods and materials listed for that model, cleaning, reset procedures, and replacement parts.
Match the flange, cord, and discharge tube before removal.
FAQ
Can I reuse the old sink flange when replacing a garbage disposal?
Reuse it only when the replacement disposer’s mounting system is designed for that flange and the seal is sound.
Compare the manual with the installed hardware; replace a corroded, bent, or incompatible flange before mounting.
Do I need a separate dishwasher connection for the replacement?
Use the replacement disposer’s dishwasher inlet and a suitable hose or connector when the dishwasher drains through the disposer.
Remove the inlet plug before attaching the hose only when the model instructions call for it.
What should I do if the replacement disposer leaks?
Turn off power and water, dry the area, and identify the wet joint.
A flange leak concerns the mounting seal; a discharge or trap leak concerns alignment, gasket placement, or tightness.
Persistent leakage needs a plumbing assessment.
Is a cord or hardwire connection better for a replacement?
Neither is universally better.
Use the connection method permitted by the model manual and existing circuit.
Have an electrician handle uncertain grounding, damaged wiring, or a circuit that does not match the installation requirements.
Last updated: 2026-09