
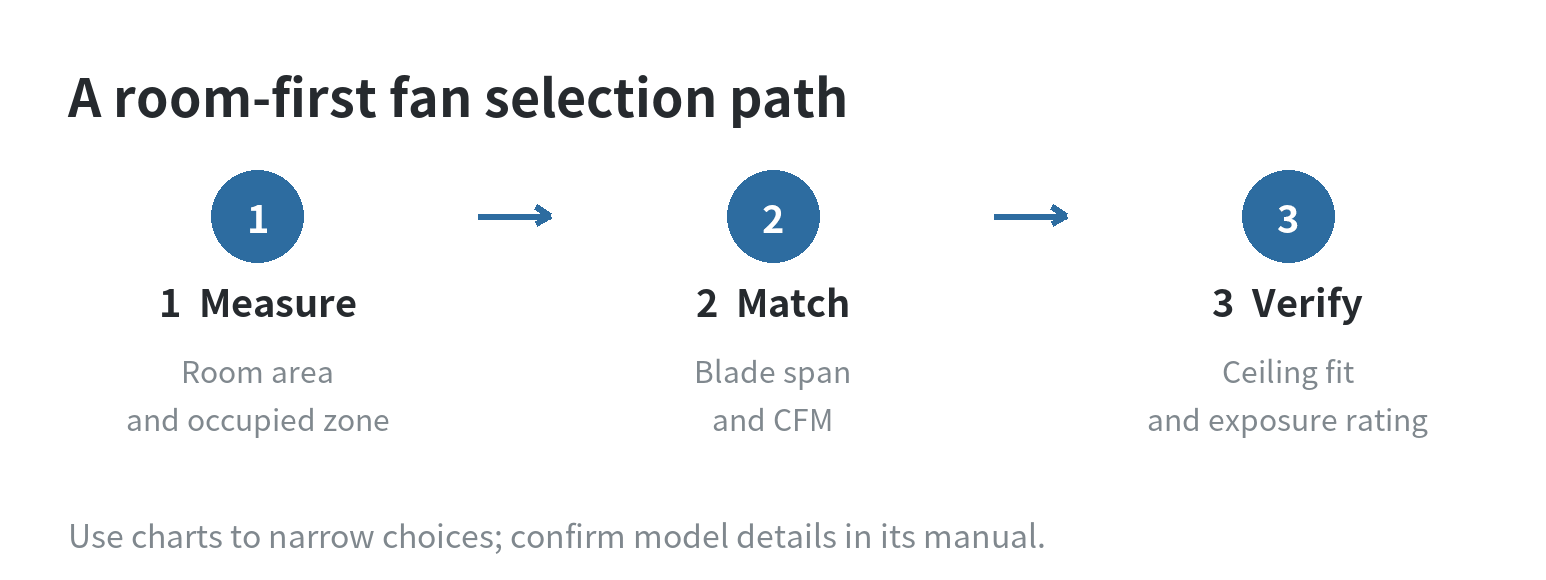
If you’re deciding how to choose a ceiling fan, match its blade span to the room’s usable area, then check ceiling height, airflow, and the location rating before comparing finishes or controls. For an enclosed room, start with the area ranges in a sizing chart; for a porch or damp room, the exposure rating can rule out an otherwise suitable fan.
Measure the area the fan needs to serve
Measure the room’s length and width, then multiply them to get square footage. For an L-shaped room, split the floor plan into rectangles, calculate each one, and add the areas. If furniture or a partial wall separates a large room into zones, measure the area where people sit or work as a second reference point; a single whole-room number may not describe how the space is used.
Blade span is the diameter of the circle made by the rotating blades. The ENERGY STAR size chart gives starting ranges rather than a model-specific guarantee. Use the published room-size range to narrow options, then check blade clearance and airflow for the actual room.
| Room area | Starting blade-span range | What to check next |
|---|---|---|
| Up to 75 sq. ft. | 29–36 in. | Low-profile mounting if the ceiling is low |
| 76–144 sq. ft. | 36–42 in. | Blade clearance from walls and fixtures |
| 144–225 sq. ft. | About 44 in. | Compare the model’s rated room area and CFM |
| 225–400 sq. ft. | About 50–54 in. | Check whether one fan covers the occupied zone |
The chart’s bands meet or overlap at their edges, so treat them as a starting point rather than an exact universal cutoff. If a room falls near a boundary, compare the model’s stated room area and clearance before deciding. In a room larger than 400 square feet, check each model’s rated area and whether the occupied space is one open zone or several separated zones; a single fan position may not serve every seating area equally. For a connected living-and-dining area, think about where people sit before measuring the whole open floor. ENERGY STAR recommends mounting the fan in the middle of the room, so the useful center may be the center of the occupied zone rather than an empty pass-through.
If the room has a long shape or a partial divider, make a quick floor-plan sketch and mark the seating or work area first. Compare that sketch with the fan’s blade circle and the door swings; a fan should not be placed where a door or nearby fixture cuts into the blade clearance.
Read CFM with the room size
CFM means cubic feet per minute: the amount of air a fan moves at a stated speed. It is useful for comparing airflow, but a larger CFM figure by itself does not settle the choice. The Department of Energy’s test definitions describe airflow at a specific speed setting in CFM, while ENERGY STAR’s criteria distinguish airflow from efficiency, which is measured in CFM per watt.
When comparing two fans with a similar span, check whether their product information reports CFM at the same speed. Also look at the wattage and CFM-per-watt figure when available: airflow describes how much air moves, while the efficiency ratio relates that output to electrical power. ENERGY STAR’s program criteria set minimum high-speed airflow thresholds by fan diameter, so that figure is a useful reference point, not a promise about how a particular room will feel.
Blade pitch, blade shape, motor, and speed all affect airflow. ENERGY STAR notes that pitch alone does not determine air movement. That is why a tall blade-pitch number or a large blade count is not a substitute for the model’s tested airflow and power information. For a room where the fan will run at low speed during quiet activities, compare the low-speed airflow too, rather than choosing from a high-speed number alone. Product labels and specification tables may list airflow and power separately for each speed. Compare like with like: high-speed CFM against high-speed CFM, and low against low.
A fan can move more air at its highest setting while using more power there, so the CFM-per-watt figure helps describe efficiency but does not tell you the noise level or how air reaches a particular seat. Check sound information and controls separately when those details matter to the room.
Match the ceiling and the hanging height
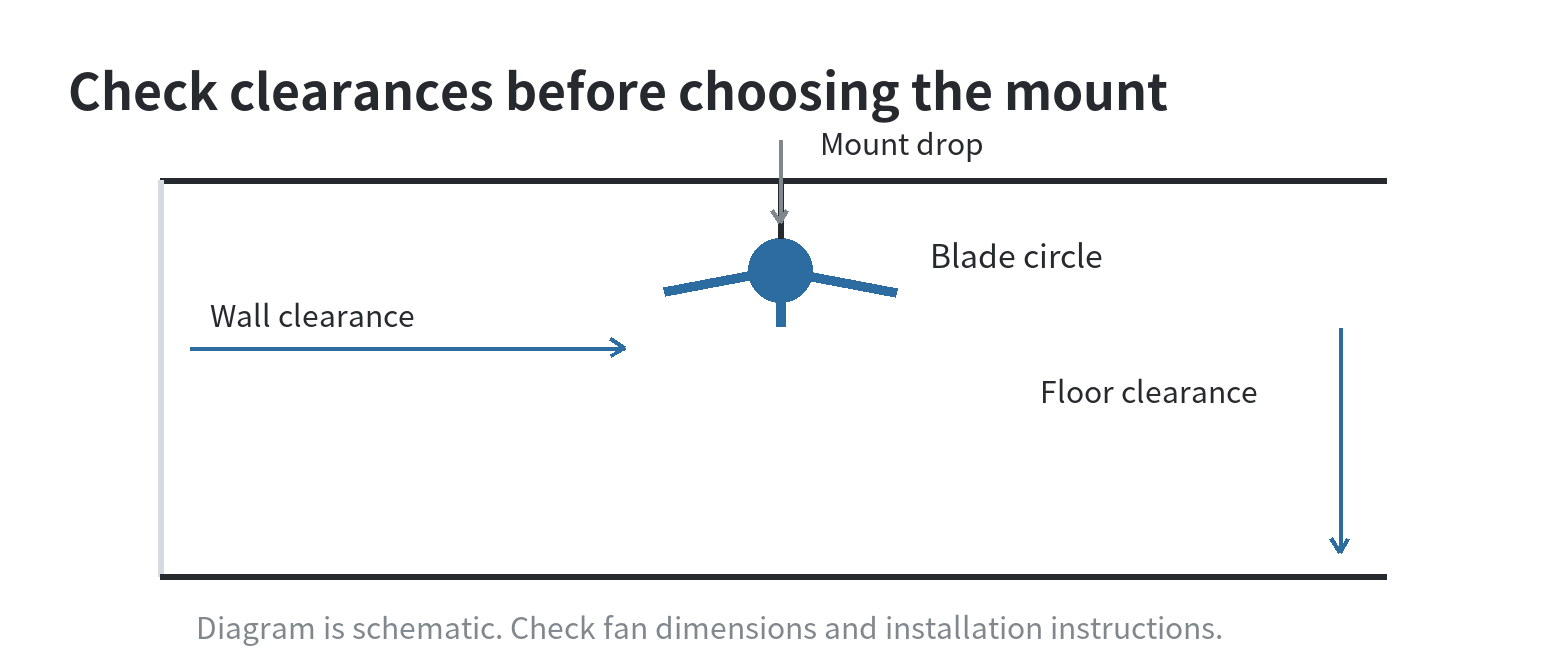
Measure from the finished floor to the ceiling, then include the fan body and any light kit in the hanging-height calculation. ENERGY STAR recommends keeping fan blades at least 7 feet above the floor and 18 inches from walls; if the ceiling allows, its guidance places the blades 8–9 feet above the floor. Check the assembled fan dimensions, because a light kit adds to the total drop. For related room-lighting ideas, see our living-room ceiling-light guide and bedroom lighting guide.
A flush-mount or hugger design places the blades closer to the ceiling. That can solve a clearance problem in a low room, but the blades’ proximity to the ceiling can reduce airflow compared with a standard mount, according to ENERGY STAR’s mounting guidance. For a high ceiling, a downrod lowers the fan; confirm the needed length against the fan body height, desired blade height, and the manufacturer’s chart. A light kit changes the total drop, so use the assembled dimensions rather than the motor housing alone.
For a sloped or vaulted ceiling, check whether the fan and mounting system allow that installation angle. ENERGY STAR identifies sloped mounts for angled or vaulted ceilings. Also check the location of beams, lights, and other obstructions before selecting a position; the blade circle needs open space, not just a clear-looking spot directly beneath the canopy.
Choose a dry, damp, or wet rating for the location
For a dry indoor room, check that the fan is listed for indoor use. A bathroom, laundry area, or covered porch can expose a fan to humidity without direct rain; a damp-rated model is designed for those conditions. An uncovered patio exposed to rain needs a wet-rated model. ENERGY STAR’s ceiling-fan basics distinguishes damp locations from places with direct water exposure, and the manufacturer’s damp-versus-wet rating explanation makes the same covered-versus-exposed distinction.
Use the rating printed for the specific model and its manual, rather than inferring the rating from a fan’s appearance or from the room name. A roofed porch may still have wind-driven rain at its edge; if water can reach the installation point directly, check the product documentation for a wet rating. Outdoor suitability also depends on the mounting hardware and any included light or control components, so make sure the full assembly is rated for the intended location.
Keep installation planning at the safety-check level
Before work begins, identify the existing electrical box and verify that it is secured to the building structure and marked or approved for fan support. A standard light-fixture box may not be suitable for the fan’s movement and weight. ENERGY STAR advises checking for an electrical box marked for ceiling-fan use and reading the manufacturer’s instructions before installation. The exact hardware and wiring steps differ by model.
Use the instructions supplied for the selected fan to check the support box, mounting type, downrod, ceiling angle, and electrical connections. If the existing box’s rating is unclear, the wiring needs changes, or the ceiling structure needs reinforcement, have a qualified electrician assess the setup before choosing an installation approach.
A compact decision order keeps the comparison focused: measure the room, narrow the blade span, compare CFM and power data, check hanging height and clearances, and match the damp or wet rating to exposure. If one model misses a clearance or location requirement, remove it from consideration even if its size chart looks right.
FAQ
Does a five-blade fan move more air than a three-blade fan?
Blade count alone does not tell you the airflow. Compare the model’s CFM at the speed you plan to use, along with its blade span and power information. Hunter explains the factors that affect ceiling-fan airflow.
Can I use a wet-rated ceiling fan indoors?
Yes, if the model’s instructions allow indoor installation. A wet rating describes exposure resistance; still check that the mounting and electrical setup suit the indoor location. The manufacturer’s guidance confirms that outdoor-rated fans can be installed indoors.
What should I measure before replacing an existing ceiling fan?
Measure the room, ceiling height, blade span, and the distance from the blades to walls and the floor. Record the existing box type and the full drop including the light kit, then compare those measurements with the replacement fan’s manual.
Last updated: 2026-10