Thousands of People Were Struggling With Money Until They Discovered This One Ancient Secret Hidden in Sound
>>> Unlock It Now <<<

The silent buzz of a phone that won’t vibrate for notifications can feel almost like a missing sense. If you’ve ever missed an alert in a busy room or a noisy street, you know why this small feature matters. In this guide we’ll walk through why a device might stop vibrating and how to fix it quickly when the problem is on Android or iPhone.
You’ll learn practical, safe steps that don’t require professional help. We cover global settings, per app checks, and quick software fixes that get you back to feeling every ping. By the end, you’ll know how to diagnose whether the issue is a simple setting, a software quirk, or something hardware related.
If you’re dealing with a phone vibration not working, this post aims to give you clear paths forward. We’ll explain why vibration for notifications matters, and what to try first before you consider a repair. The steps are designed to be easy to follow, with real world tips you can use right away on both Android and iOS.
Quick checks to confirm the vibration issue
Before diving into deeper fixes, run through a couple of quick hardware and software checks. These tests help confirm whether the vibration motor is functional and if any system settings are muting the feature. Think of this as a sanity check to separate physical problems from misconfigurations. A fast, focused ping of the device can save you from chasing ghost issues.
Thousands of People Were Struggling With Money Until They Discovered This One Ancient Secret Hidden in Sound
>>> Unlock It Now <<<
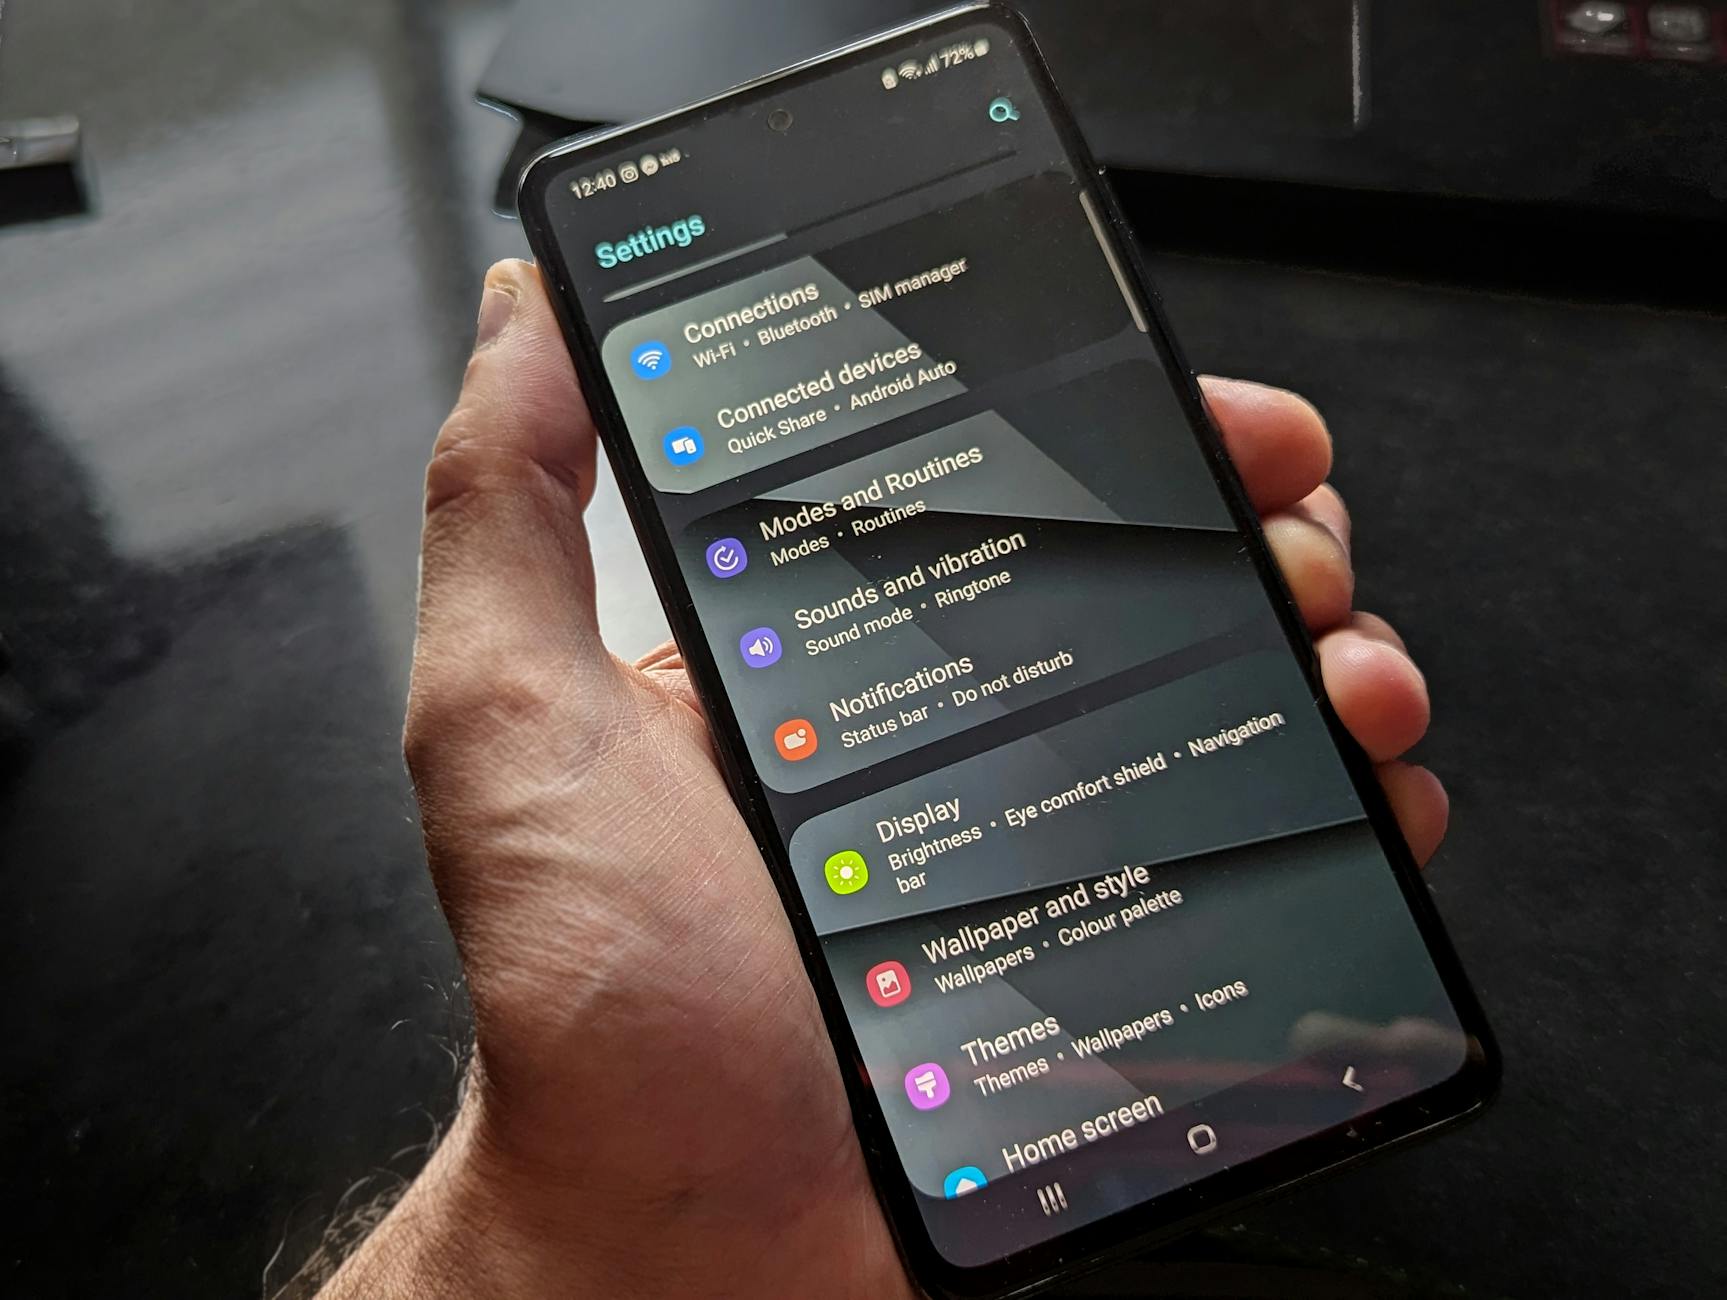 Photo by Watford London Media
Test the basic vibration hardware
- Power on the device and set the volume to a comfortable mid level. You want to feel the feedback clearly without distortion from loud alerts.
- If your device offers a built-in vibration test in the settings, run it. A short vibration pattern is enough to confirm the motor is spinning distinctly and consistently.
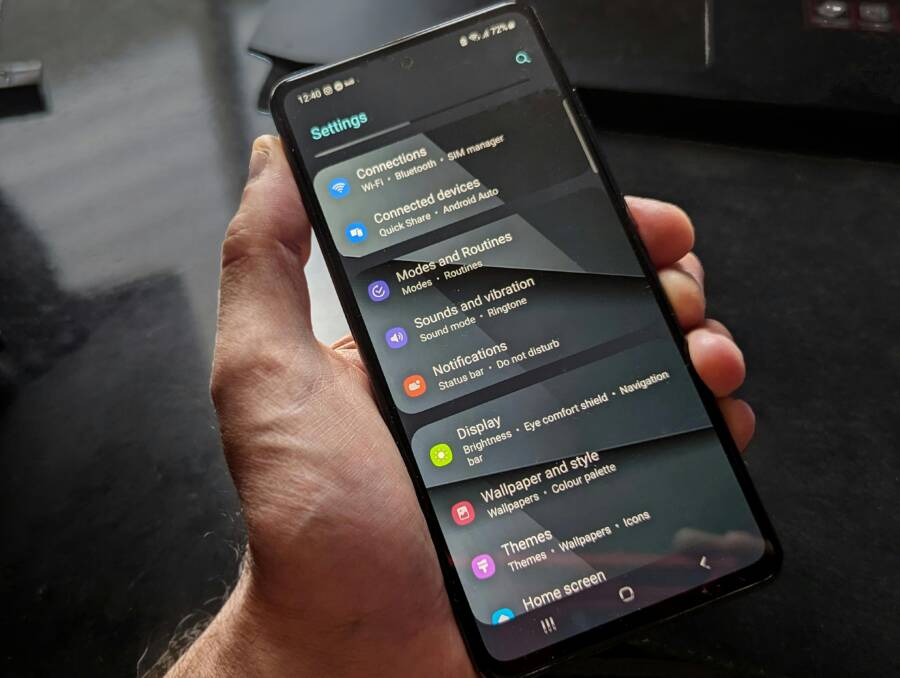
- If there isn’t a dedicated test, trigger a brief system vibration from the Sounds or Notifications section and listen for a clean, recognizable buzz. You should be able to distinguish this from any motor rattling or weak pulses.
- If the motor feels weak or is completely absent, note this as a hardware issue that may require professional service or a replacement device.
Useful reference: see guides on testing vibration on Android and iPhone for practical steps and patterns (these resources walk you through the exact taps in Settings). Test your phone vibration for context on how others verify vibration strength and pattern. For a broader Android approach, check a comprehensive Android vibration test guide. A Comprehensive Guide to Testing Phone Vibration on Android
Check Do Not Disturb and Focus modes
- Do Not Disturb or Focus modes can mute vibrations even when sounds are allowed. If DND or Focus is on, the phone might not vibrate for alerts.
- Quickly disable these modes to test the vibration, then re-enable if you prefer to keep alerts quiet at certain times.
- On iPhone, Focus can silence alerts across apps, while Android handles DND with platform-specific toggles. After testing, confirm the mode you want in place or adjust exceptions for important apps.
- If you find DND/Focus is the culprit, reference official setup guides to fine-tune which notifications can still vibrate. For iPhone, Apple’s official support outlines turning DND/Focus on and off and managing exceptions. How to turn Do Not Disturb on or off on your iPhone
Adjust global vibration and haptic settings on Android and iPhone
Vibration and haptic feedback play a big role in how you notice alerts. If you’ve been missing calls, texts, or app notifications, tuning global vibration settings on both Android and iPhone can restore that tactile cue. This section walks you through quick, practical adjustments so you get the right feel without turning your device into a loud party.
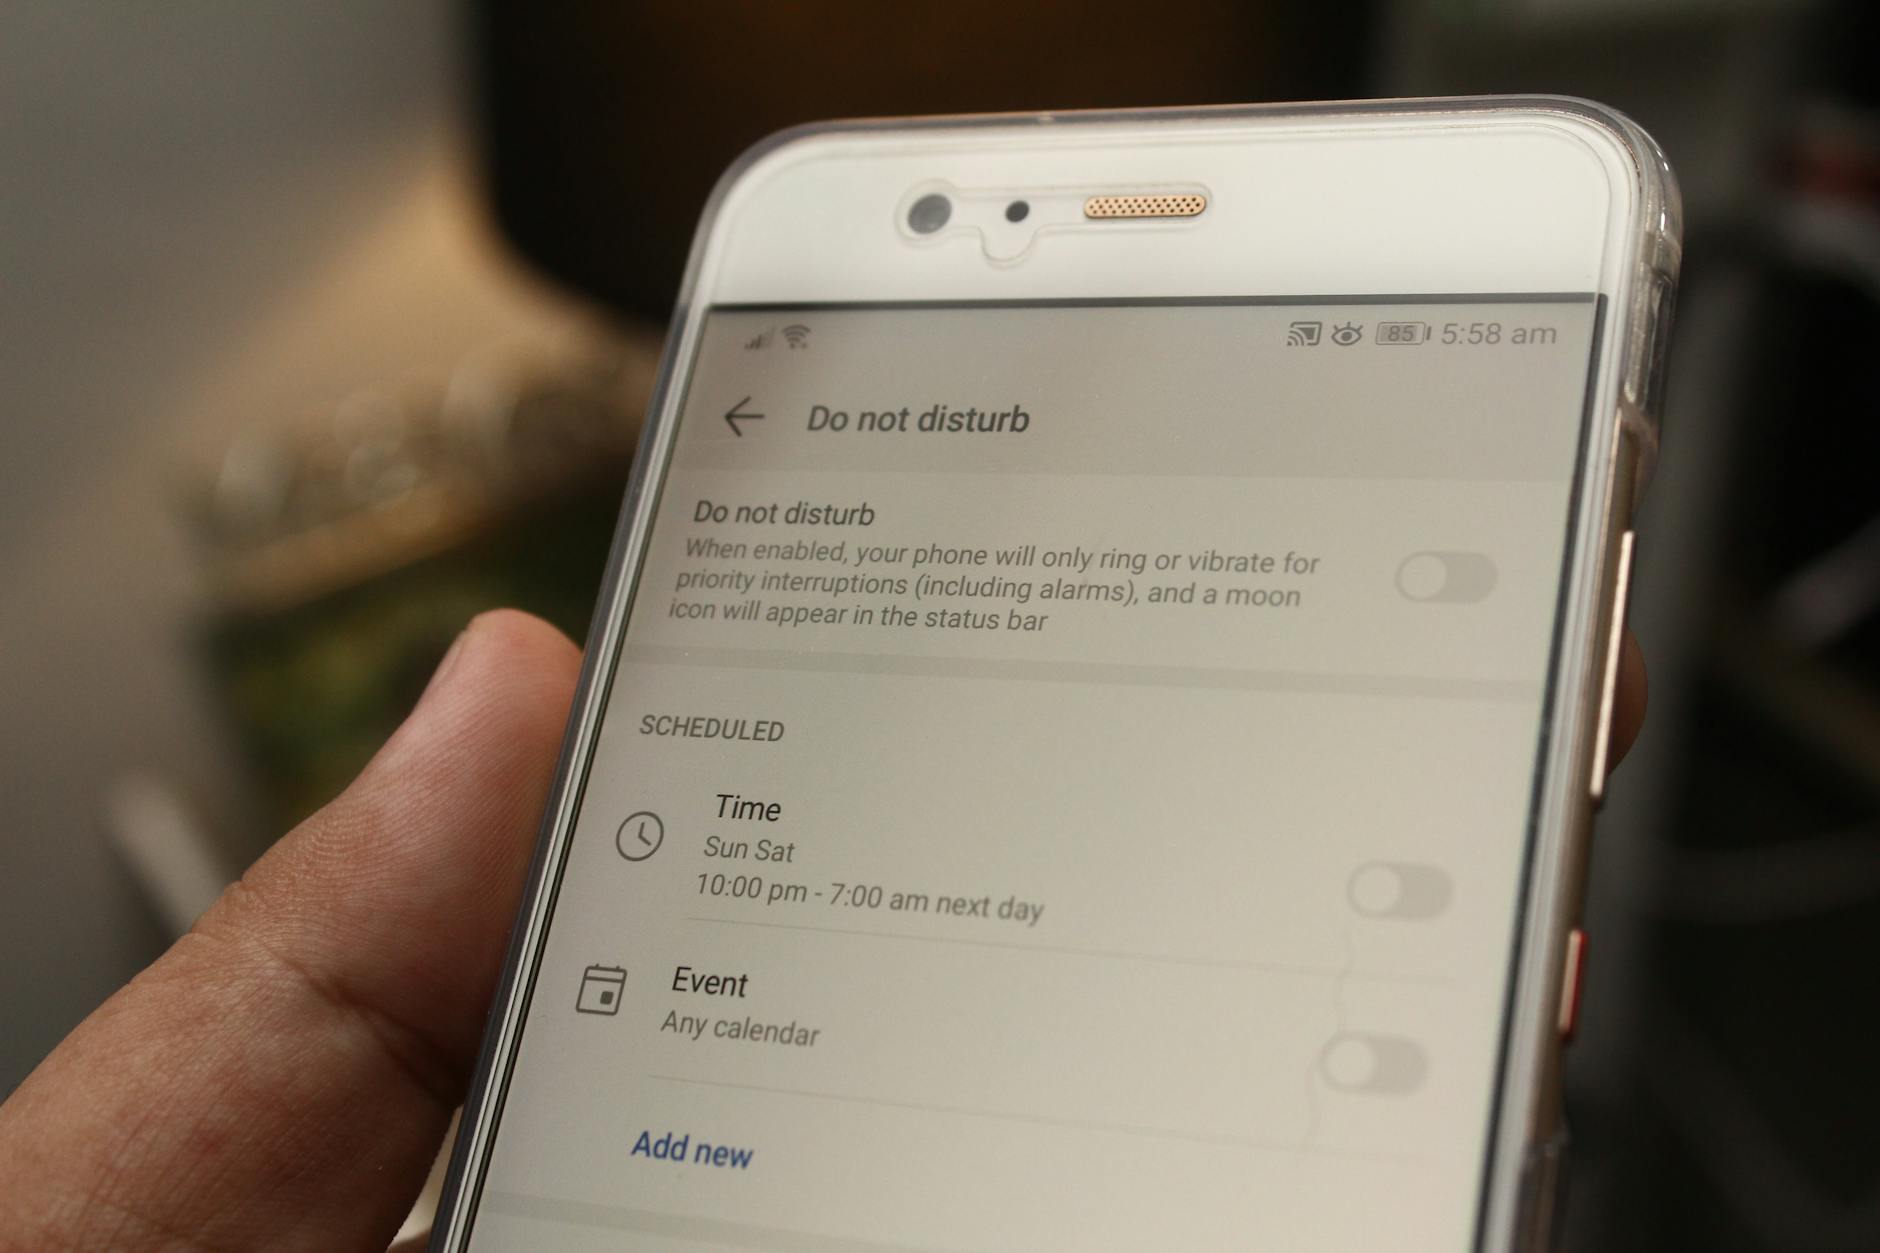 Photo by Daniel Moises Magulado
Android: set vibration intensity and system haptics
If your Android device vibrates too softly or too aggressively, you can tailor both the feeling and the coverage. Start by checking the global vibration intensity and then confirm system haptics are enabled for on-screen interactions. You’ll want a balance where you can feel alerts without them becoming distracting in quiet spaces.
Steps:
- Open Settings and go to Sound & vibration (or just Sound on some models).
- Find Vibration or Vibration intensity (the exact label varies by device). Set separate sliders for Vibration for calls, Notifications, and the overall Vibration intensity.
- Enable Vibrate for both calls and texts if you want tactile alerts across communications.
- If your device supports system haptics, turn on System Haptics to feel tactile feedback when you interact with the UI.
Tip: If you’re on a Samsung or another brand with Android 13 or newer, you’ll see specific controls for notifications, alarms, and media vibrations. Tweak each one to your preference for a consistent feel.
For deeper guidance, see how to adjust your Android vibration settings on How-To Geek and other reliable guides:
- https://www.howtogeek.com/703506/how-to-adjust-the-vibration-intensity-of-your-android-phone/
iPhone: enable and adjust haptics
On iPhone, you can fine-tune haptic feedback to suit your environment. Start by enabling system haptics and then verify general vibration is active. This ensures you feel alerts even when sounds are off or muted.
Steps:
- Go to Settings > Sounds & Haptics and switch on System Haptics.
- Then open Settings > Accessibility > Touch > Vibration and ensure vibrations are enabled.
- Confirm that both Haptics and the general Vibration toggle are on. On iOS 17 and later, you may see slight variations in path or wording, but the core settings stay the same.
- If you use Focus or Do Not Disturb, review exceptions so important alerts still vibrate.
Helpful reference: Apple’s official guide covers changing sounds and vibrations and explains where to find the toggles across iOS versions:
- https://support.apple.com/guide/iphone/change-sounds-and-vibrations-iph07c867f28/ios
External guidance on iPhone vibration customization for quick wins:
- https://www.lifewire.com/change-iphone-vibration-settings-6832805
In both ecosystems, a thoughtful spread of vibration levels helps you notice notifications in different contexts. Start with a moderate, consistent level and adjust per-app alerts if some apps drown others out. If you ever need to reset, both platforms offer quick defaults to fall back on, so you can re-tune from a clean slate.
Check app by app notification settings
When vibration stops working, the cause is often tied to individual apps rather than the device as a whole. Some apps have their own notification settings that override system defaults. By inspecting each popular category—messages, email, and social/other apps—you can quickly pinpoint the culprit and restore tactile alerts. Picture your smartphone as a control center: a few precise taps per app, and the whole notification experience returns to normal.
Messages and messaging apps
Messages and chat apps are the most common culprits for missing vibrations. Start by checking both the app’s internal notification settings and the system settings. On Android, open the app, look for Notifications inside Settings, and verify that vibration is enabled for new messages. If the app supports per-chat tones, turn on vibration there as well. On iPhone, head to the app’s notification settings, confirm that alerts are allowed, and enable vibration if the option exists. If you intervalize DND or Focus, ensure exceptions exist for the messaging app so alerts still vibrate. If you want to test hardware alone, perform a quick vibration test and compare it against in-app alerts. For further guidance, explore general vibration testing resources and Do Not Disturb nuances across platforms, which show how app-specific alerts can bypass or respect system rules. If you need a quick hardware check reference, you can find practical steps in guides that walk you through taps and patterns to verify the motor is functioning. Test your phone vibration and related Android-focused tips can help you validate the baseline behavior, while per-app settings are covered in platform-specific help pages like Apple’s on how to change sounds and vibrations. Change vibration settings – Android Accessibility Help and Set email notifications on iPhone provide concrete starting points for tuning app alerts.
If you’re using a popular messenger with optional vibration patterns, keep the pattern simple at first so you can hear it in noisy environments. Also, remember that third party apps may request permission to post notifications, so re-check permissions after any updates. If a single app still won’t vibrate, try reinstalling it or clearing its cache (Android) or reinstalling the app (iPhone). These steps often resolve misbehaving notification channels without wiping your data. For a broader reference on Gmail and notification behavior, see Gmail notification guidance and related Android tips. Change Gmail notifications – Android
Smartphone tip: some chat apps have “quiet hours” that mute vibrations during certain times. Double-check these schedules so you’re not expecting alerts when they’re tucked away.
Email and productivity apps
Email and productivity apps often have separate notification controls that survive across device reboots. Start with the app itself: disable and re-enable notifications, then confirm vibration is toggled on for new mail or task reminders. On Android, you can adjust these from the app’s notification settings or from the system Notification category for the app. In Gmail, you can tailor whether a new mail alert vibrates or not, depending on your preference and battery saver mode. On iPhone, ensure the mail app has permission to deliver notifications with vibrations enabled, and verify Focus or Do Not Disturb isn’t silencing them. If you use Outlook or other productivity suites, check their in-app notification toggles and update them to match your expectations. Battery saver modes can mute background activity, so test vibration with battery saver enabled and disabled to spot any conflicts. For a quick read, see resources that cover changing email notifications on iPhone and Android, including the official iPhone guidance. Set email notifications on iPhone
If you rely on Gmail or Outlook, verify that the corresponding notification settings in- app align with your system-level preferences. Some apps offer “vibrate on new mail” as a separate switch, which you should enable for a tactile cue. If you notice reduced vibration when Battery Saver is on, consider adjusting background activity or adding the email app to the battery optimization exception list. This helps ensure fresh alerts arrive with the expected buzz rather than being throttled by power-saving rules. For practical steps, refer to Android’s accessibility vibration settings to align ring and notification vibrations with your needs. Change Gmail notifications – Android and Change vibration settings – Android Accessibility Help
What If the Only Thing Between You and the Life You Deserve Is a Hidden Wealth Code Waiting to Be Activated
>>> Open the Door <<<

Pro tip: many productivity apps offer notification channels. If one channel is muted, you may still hear vibrations from other channels. Review each channel and keep the ones that matter audible, while quieting others if needed.
Social and other apps
Social media and other active notification hubs push a lot of alerts, which can drown out the feel of a vibration if any one app is misconfigured. Start with the basics: ensure that the app is allowed to send notifications with vibration. On Android, go to Settings > Apps & notifications > [App] > Notifications and confirm the vibration option is on for new messages, mentions, and alerts. On iPhone, open Settings > Notifications > [App], and verify that the Vibration toggle is on along with the Allow Notifications setting. Some apps require you to adjust per-category vibrations; for example, social apps might have separate toggles for messages, comments, and live updates. If you recently updated the app, re-check the settings as defaults can shift after updates. When you enable vibration for push notifications, make sure Do Not Disturb or Focus modes aren’t silencing those alerts. For guidance, see official help pages on Gmail and iPhone notification setup, along with general app notification management that covers third party apps. Set email notifications on iPhone and Change Gmail notifications – Android
If you want to validate the experience, test with a friend’s message in a chat app or send yourself a test notification through the app’s built-in tools. This helps confirm that the vibration pattern is perceptible in real-world scenarios, like a crowded coffee shop or a gym. If you still hear nothing, consider joining a focused check for app updates or reinstalling the app to reset its notification channels. For broader context on in-app vibration settings, iPhone and Android guides offer concrete steps to tailor vibration strength and patterns to your environment. Test your phone vibration
Smartphone hardware and apps work best when the settings align. A little per-app tuning goes a long way in ensuring you never miss a ping, whether you’re at home, at work, or on the move.
Software fixes you can safely try
If your phone’s vibration for notifications isn’t working, you’re not out of luck. Some fixes are quick, safe, and don’t require a trip to a repair shop. Think of this as a short, practical checklist you can run through in about 10 minutes. These steps focus on software, not hardware, and they apply to both Android and iPhone users. A well-tuned set of settings can bring back the tactile buzz you rely on.
Restart the phone and apply updates
A simple restart can clear minor software glitches that mute vibration. After the device boots, check for system updates and install any available ones. Updates often include fixes for notification and haptic issues. Once updated, test the vibration by sending yourself a test notification or triggering a system alert. If the buzz returns, you’re done; if not, proceed to deeper checks on your smartphone.
For Android and iPhone, updates are the first line of defense against small firmware quirks. If you’re unsure where to find updates, see guides that outline the steps for both platforms. A quick restart plus an update is a lightweight, non destructive approach to rule out software glitches. If you want a reference point, this general guide covers how to verify and apply updates efficiently.
Clear app data, cache, and reset app preferences
Over time, apps can store cached data that interferes with notifications. On Android, clearing an app’s cache and data can resolve odd behavior without removing the app itself. After clearing, reopen the app and reconfigure notification preferences, then test vibration again. Resetting app preferences restores default notification settings across all apps, which can fix misconfigurations that block haptic feedback. Always test vibration after these steps to confirm results.
On iPhone, you may not clear cache in the same way, but you can reinstall apps or reset specific notification settings. If a single app misbehaves, clearing its data or reinstalling it often fixes the issue without impacting other apps. After these actions, recheck vibration by sending a test alert. For expanded guidance, consider per platform resources that walk through app-specific notification controls and the impact on vibration.
Reset all settings before considering a factory reset
If vibration still acts up, a non destructive reset helps restore core behavior without wiping data. On Android, you can reset network settings and app preferences, which often clears misconfigurations affecting haptics. On iPhone, a non destructive reset involves similar steps that reset system settings while preserving content. After performing a reset, reboot and run a quick test to see if vibrations behave normally again. If not, you may need to explore a full restore as a last resort.
Resetting settings is a measured approach. It differs from a factory reset in that it leaves your apps and data intact while returning system behaviors to defaults. This balance lets you reestablish reliable vibration without the risk of data loss. If you want to review platform specific steps, browse official support pages for iOS and Android, which outline non destructive reset options and what to expect after the reset.
If the vibration still fails, check hardware and repair options
If you’ve run through the software checks and the buzz is still gone, it’s time to look at hardware and repair paths. In many cases, a vibration motor or its connector may need professional attention. This section lays out what to expect from repairs, how to choose a service, and what costs look like in the US. You’ll gain a clear sense of when to DIY versus hand it to pros, plus practical tips to minimize downtime.
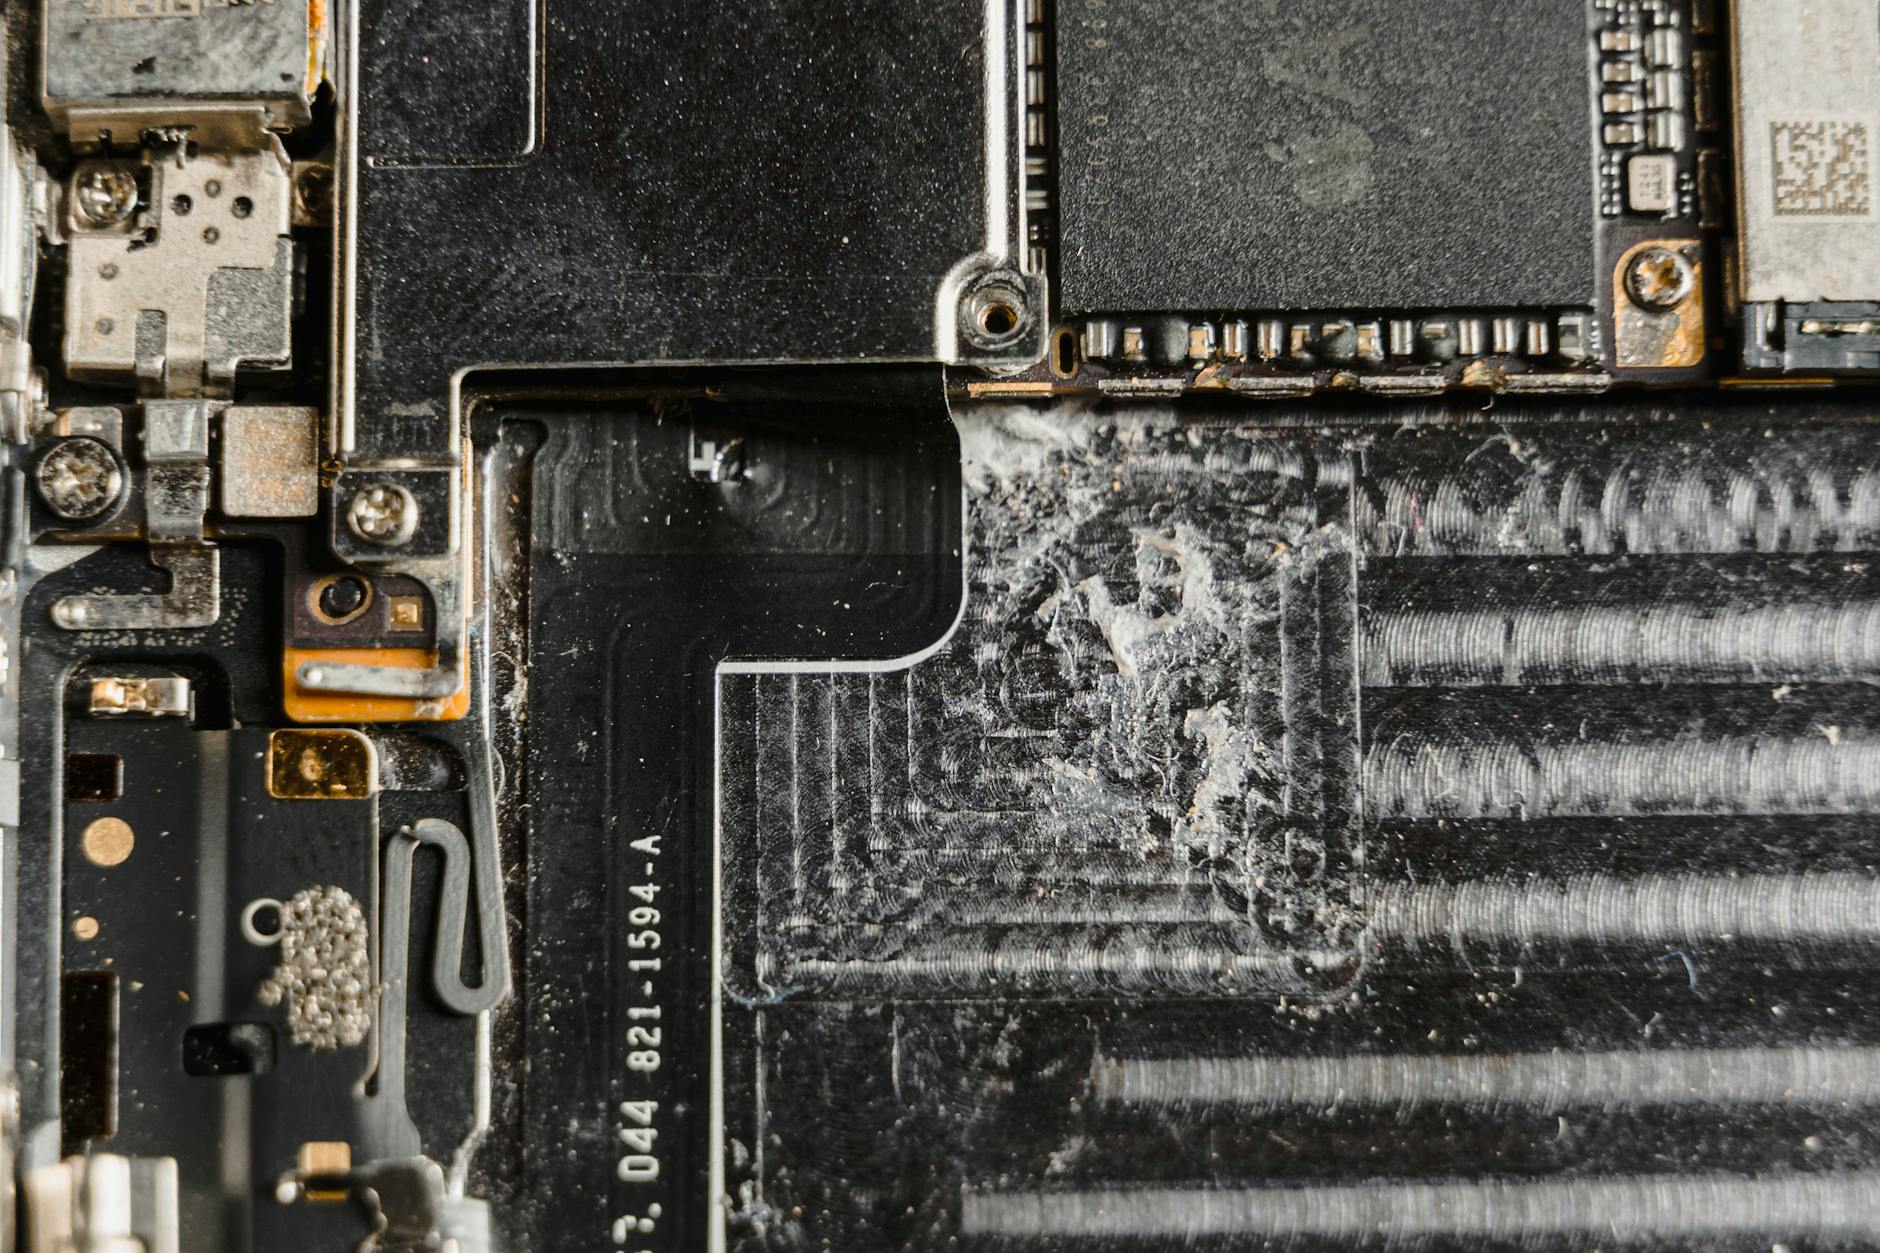 Photo by Tima Miroshnichenko
There Is a Frequency That the Wealthiest Families Have Used for Generations and Most People Will Never Know It Exists
>>> Open the Door <<<

Repair options and what to expect
When the vibration motor isn’t responding, you have a few paths. A hardware repair or part replacement is common, but you’ll want to weigh costs against the age of the device. Authorized service centers often bill for diagnosis plus part replacement, with warranty considerations. Third party repair shops can be cheaper but may affect warranties. Expect timelines from same-day to a week, depending on parts availability. If you’re within warranty, start there; otherwise compare quotes and read reviews for reliability. For a quick starting point, see options like iPhone and Android vibration motor replacements from reputable repair services, and consider whether your model requires a whole-board service or a simple motor swap.
- Typical costs: repair shops may charge between $60 and $200 for a replacement motor plus labor, while OEM parts at authorized shops can push higher.
- Timelines: most repairs take 1–5 days, with express options sometimes available.
Sources and guidance to inform your decision include expert repair guides and service pages. For a practical overview of what to expect, you can reference repair options and typical pricing from US providers, plus product-specific motor replacement kits if you’re exploring DIY with proper tools.
- Example repair guidance: read about common vibration motor replacements and the expected price range from service shops.
- For model-specific parts, check official parts suppliers and repair guides.
If you’re considering a DIY route, be mindful of delicate hardware and warranty terms. Replacing a vibration motor requires careful handling of small components and precise placement. A misstep can affect screen assemblies or other connectors. When in doubt, contact an authorized technician first to confirm the scope of work and ensure you don’t void coverage.
Protect and prevent future vibration issues
Prevention matters as much as repair. After you fix the current issue, take steps to protect the motor and related components. Avoid drops that can loosen internal connections, and use a sturdy case with a little cushioning. Regularly cleaning dust from ports and speakers reduces debris that might interfere with movement. Battery health also plays a role; a failing battery can affect overall device performance, including haptics. Keep software up to date, and monitor any new apps after an update that might disrupt vibration behavior. For more on protecting vibration hardware, see repair resources and maintenance guides that walk through safe handling and common failure modes.
- Use a well-fitting case and screen protection that absorbs shock.
- Schedule periodic checks for loose connectors, especially after repairs or battery replacements.
- Monitor battery health and avoid running on very low capacity for extended periods.
If you want deeper reading, check repairs and maintenance pages from credible sources that discuss vibration motor replacement and protective strategies.
- For hardware specifics, consult repair guides and parts suppliers that detail motor replacements and compatibility.
Optional: when to replace the device
If the motor is failing due to age or multiple components show wear, a full device replacement may be the most economical choice. Compare the cost of a repair to the price of a new phone with similar specs. Consider your current device’s performance, warranty status, and how long you plan to keep it. In some cases, upgrading to a newer model with improved haptics and power efficiency makes the most sense. If you’re weighing this option, look at model reviews and user experiences related to vibration reliability over time. Consulting a local shop for a written estimate helps you make a confident decision.
External references and practical insights for repair and parts availability can support your choice. For instance, you might explore iPhone and Android vibration motor replacement services, or look at third party parts options to gauge price ranges and compatibility.
- See repair service listings and parts sources for up-to-date pricing.
- Compare official repair vs. third party options to find the best balance of cost and reliability.
If you decide to go with a repair, ask for a parts warranty and a clear diagnosis before any work starts. A written estimate helps prevent surprises and ensures you understand what’s being replaced and why. You’ll likely leave with a fully functional motor and a documented repair path for peace of mind.
Conclusion
Most phone vibration issues for notifications come down to a few clear steps, followed in order. Start with quick checks to confirm hardware works and that Do Not Disturb or Focus modes aren’t muting alerts. Next, tune the global vibration and haptic settings on Android and iPhone, then inspect app by app notification controls to rule out per-app overrides. If the problem persists, apply safe software fixes like restarting, updating, clearing cache, or resetting settings, and only consider hardware repair if the motor shows signs of failure. Remember to back up your data before any reset or repair, so you don’t lose important information.
These steps cover both major ecosystems and common edge cases, so most readers can restore that tactile buzz without a visit to a shop. If you found this guide helpful, share your experience or questions in the comments. For more practical, hands-on help, check related guides on iPro+ 知識酷, including per-app notification tuning and device maintenance tips.
- Per-app notification management: iPro+ 知識酷: Adjust per-app vibration settings
- System and battery considerations: iPro+ 知識酷: Vibration and power saving tips
- Hardware health and repair options: iPro+ 知識酷: When to repair or replace your device
She Pressed Play on a Strange Audio Track and Within Days Her Financial Reality Started Shifting in Ways She Could Not Explain
>>> See How It Works <<<
