To stop a winter draft at an exterior door, first locate where air passes: weatherstripping seals the top and sides, while a door sweep addresses the bottom gap. Check the threshold and door alignment before choosing a part. A thicker strip cannot correct a sagging door, and a sweep that drags across the floor can make the door difficult to use.
The U.S. Department of Energy’s 2024 exterior-door job aid calls out visible daylight or a loose fit as signs of air leakage, and says the door should still operate smoothly after sealing. The Home Depot’s weatherproofing instructions also recommend checking the threshold and identifying the gap before installing a sweep. Both were checked October 17, 2026.
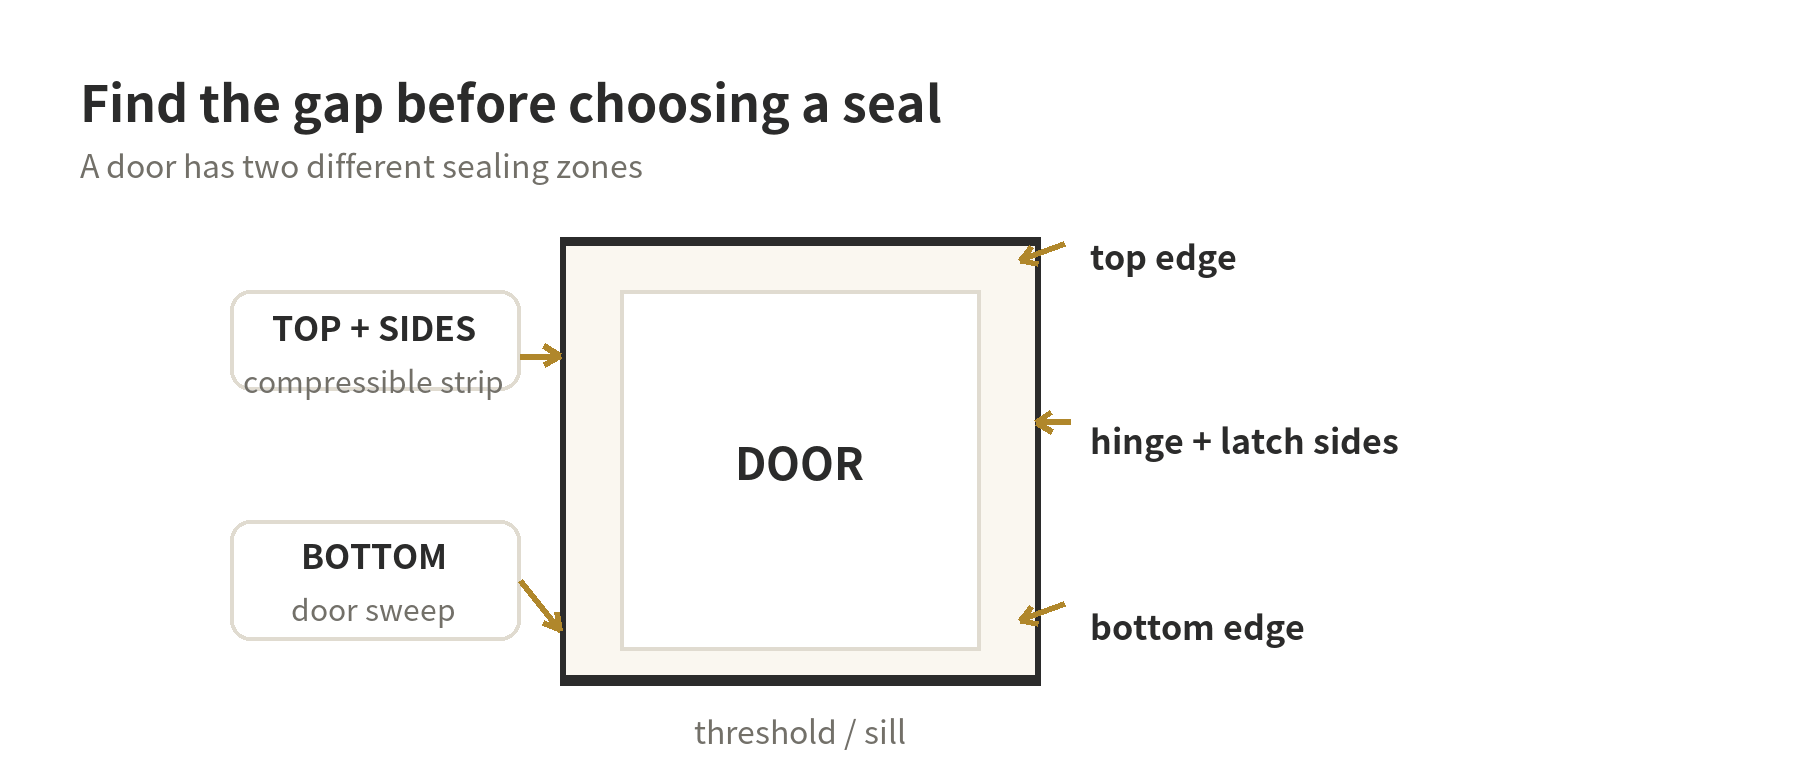
Read the door before looking at materials
Close the door and look along the top, hinge side, and latch side. A visible line of daylight points to an uneven fit. You can also move a hand near the edges on a windy day to locate air movement. Mark each leaking section with removable tape so you can compare the gap around the frame instead of relying on memory.
Then check the door itself. Does it latch without lifting or pushing hard? Are the hinges secure? Does the door sit evenly against the stop? The Department of Energy advises correcting loose hinges, knobs, or strike plates as needed before adding weatherstripping. If the gap changes from top to bottom, alignment may be the underlying problem. Adding a bulky seal can increase resistance at the tight end while leaving the wide end open.
Inspect the threshold at the floor. Its seal may be flattened, split, or missing. If the threshold seal is damaged, replacing that seal may address the leak without attaching another part to the door. If the threshold is intact but a gap remains underneath, a sweep is one option.
Choose weatherstripping for the top and sides
Weatherstripping is the flexible seal that meets the jamb when the door closes. The right style depends on the frame’s existing channel, the gap size, exposure to water, and how firmly the material must compress.
- Kerf-in strips: A narrow insert fits into a slot in the door stop. First confirm that the frame has that slot and measure its width. This style will not fit a plain, unslotted stop.
- Adhesive foam or rubber tape: A peel-and-stick strip can suit a small, fairly even gap on a clean surface. Check the package’s exposure guidance; some foam is intended for interior use and is not suited to wet locations.
- Screw-on metal carriers with a flexible seal: The carrier holds a vinyl or rubber edge against the door. It offers a more fixed attachment, but placement and adjustment matter because the seal must meet the door without blocking closure.
- V-shaped tension strips: These fold along the seam and press against the moving door. Check the instructions for the frame location and method of attachment.
The retailer’s buying guide describes foam, rubber, kerf, and tension-strip options, but material names alone do not establish fit. Compare the measured gap with the product’s stated range and installation diagram. If the gap varies along one edge, measure it at several points and resolve any door-alignment issue before settling on a thickness.
Think about compression as a working clearance. A strip needs enough contact to close the air path, but it should not be crushed so tightly that the latch has to fight it. If the package gives a gap range, compare that range with your measurements at the narrow and wide points. When an edge is uneven, a seal that fits the widest spot may be too thick elsewhere; correcting the alignment first can make the final choice simpler.
Measure the top and both sides separately. Do not assume that a package’s stated “standard door” dimensions match yours. For example, a homeowner might record a 36-inch-wide door and an 80-inch height, but those example measurements are not a substitute for measuring the actual frame. Add only the overlap specified by the product instructions. Before peeling adhesive backing or driving fasteners, hold the strip in place and close the door to check the compression.
Match the sweep to the floor and threshold
A door sweep attaches along the bottom edge and meets the threshold as the door closes. Brush-style sweeps use bristles; flexible-fin sweeps use a thin rubber-like edge; some door bottoms combine a carrier and replaceable insert. The selection question is how the seal contacts your floor, not which style sounds most substantial.
Check whether the floor is level across the doorway. A rigid sweep may leave a gap on one side of an uneven threshold or scrape on the other. A flexible fin can follow slight variation, while bristles can make contact without the same broad sliding surface. The manufacturer’s fit notes should specify the intended floor surface and contact style. Keep the sweep from obstructing the door or covering a threshold feature that needs to remain exposed.
Measure the door’s width at its bottom edge and note the gap when the door is closed. Some sweeps are trimmed to width; others come in set lengths. The retailer’s guide says its standard sweep listing is 48 inches and that many can be cut down, but that is a product-category description, not a universal dimension. Confirm the particular item’s length and trimming instructions before planning a cut.
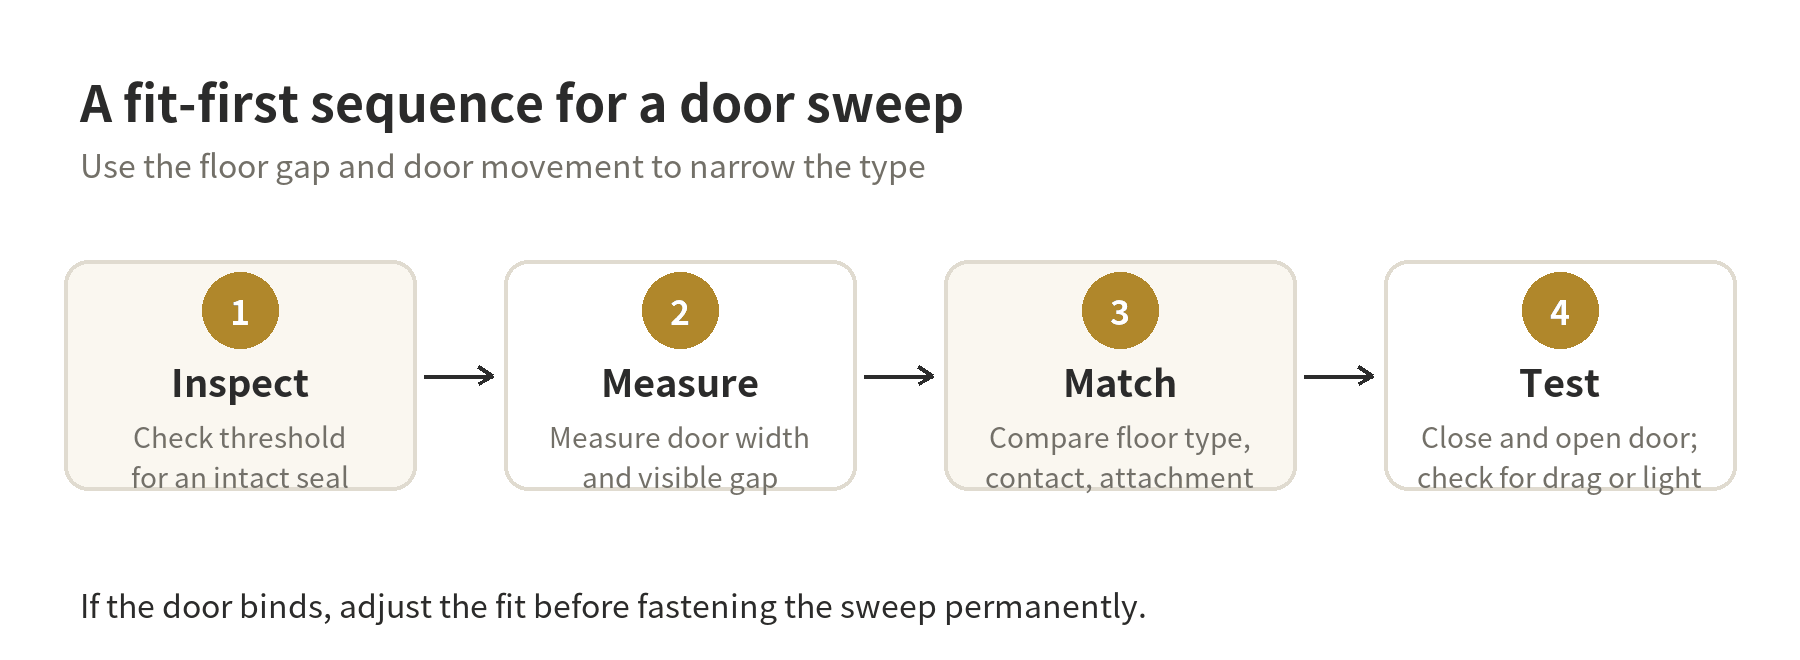
Measure, prepare, and test in that order
- Record the gaps. Measure the top, each side, and bottom separately. Note whether the surface is painted wood, metal, or another material, and whether the area gets wet.
- Identify the attachment. Look for a kerf slot or existing screw holes. Decide whether a removable adhesive strip or a fixed carrier fits the door and the product instructions.
- Clean the contact area. Remove loose dust and debris, then let the surface dry before applying adhesive. A dirty or damp surface can prevent the backing from holding as intended.
- Dry-fit first. Hold each strip in position, close the door, and check that the latch engages. For a sweep, check the full width of the threshold rather than just the center.
- Fasten and retest. Follow the package’s cutting and fastening directions. Open and close the door several times. The seal should touch where intended without forcing the door, catching the floor, or preventing the latch from working.
The Department of Energy’s installation aid emphasizes both a secure fit and smooth door operation. If a new seal makes the door bind, loosen or reposition it and reassess alignment. Do not keep adding material to compensate for a door that no longer closes correctly.
When a new strip is not the whole fix
Air at the bottom may come from a worn threshold insert, a damaged threshold, or a floor that slopes across the opening. A sweep can bridge a modest gap, but it cannot repair a loose threshold or a door that is out of square. If the door does not latch, rubs the frame, or has a visibly uneven gap, address that fit before installing a new seal.
Weatherstripping addresses moving joints around a closed door. It does not seal a crack between the stationary door frame and the wall; that joint calls for a different repair approach. Keep the project focused on the door perimeter, and inspect the seal after seasonal use for compression, peeling, or a change in door movement.
FAQ
Can I put new weatherstripping over the old strip?
Remove the old material if it prevents the new seal from sitting flat or makes the door hard to close. The replacement instructions should identify whether the existing carrier or channel can be reused.
Should a door sweep touch the floor?
It should meet the threshold as directed by its manufacturer, without dragging enough to impede the door. Test the full width with the door closed and then open it to check for scraping.
What if I rent and cannot screw into the door?
Check your lease and ask the property manager before making a permanent change. A removable adhesive option may be available for the surface and gap, but confirm the product instructions and avoid covering paint or finishes that could be damaged during removal.
Why does the draft remain after I add a sweep?
The air path may be along the top or sides, or the threshold may be damaged or uneven. Locate the remaining gap with the door closed, then match the repair to that location.
Last updated: 2026-10