A ceiling rack is a good fit for garage items you use occasionally, provided the rack fits the room and its mounting points match the ceiling structure. Start with the stored items, then map the open door, vehicle, lights, and framing before choosing a rack. The rated load belongs to the specific model and installation conditions; it is not a number you can transfer from one rack to another.
Plan around what needs to leave the floor
List the things you want overhead: lidded seasonal bins, luggage, camping gear, or other bulky items that can sit untouched between uses. Note each item’s size and approximate weight from its label or manual. If something is awkward to lift, hard to grip, or needed every day, it may be a poor candidate for a high shelf even if it fits.
Keep daily-use tools within reach. A wall track can hold a rake or shovel, while a cabinet can keep smaller supplies together; neither needs the overhead access routine of a ceiling rack. For hand tools and a work area, see our toolbox layout article. If holiday bins are the main load, our holiday decor storage article covers how to group them before you assign a place overhead.
Sort the overhead items into a few groups by season or task. Put things that come out together in the same bin or row, and label the side that will face the aisle. This reduces the need to pull one container past another to identify it. Leave room for the actual bin lids and handles; a rack’s platform dimensions do not describe the space needed to lift a lid or slide a tote out.
Map the moving parts before measuring the rack
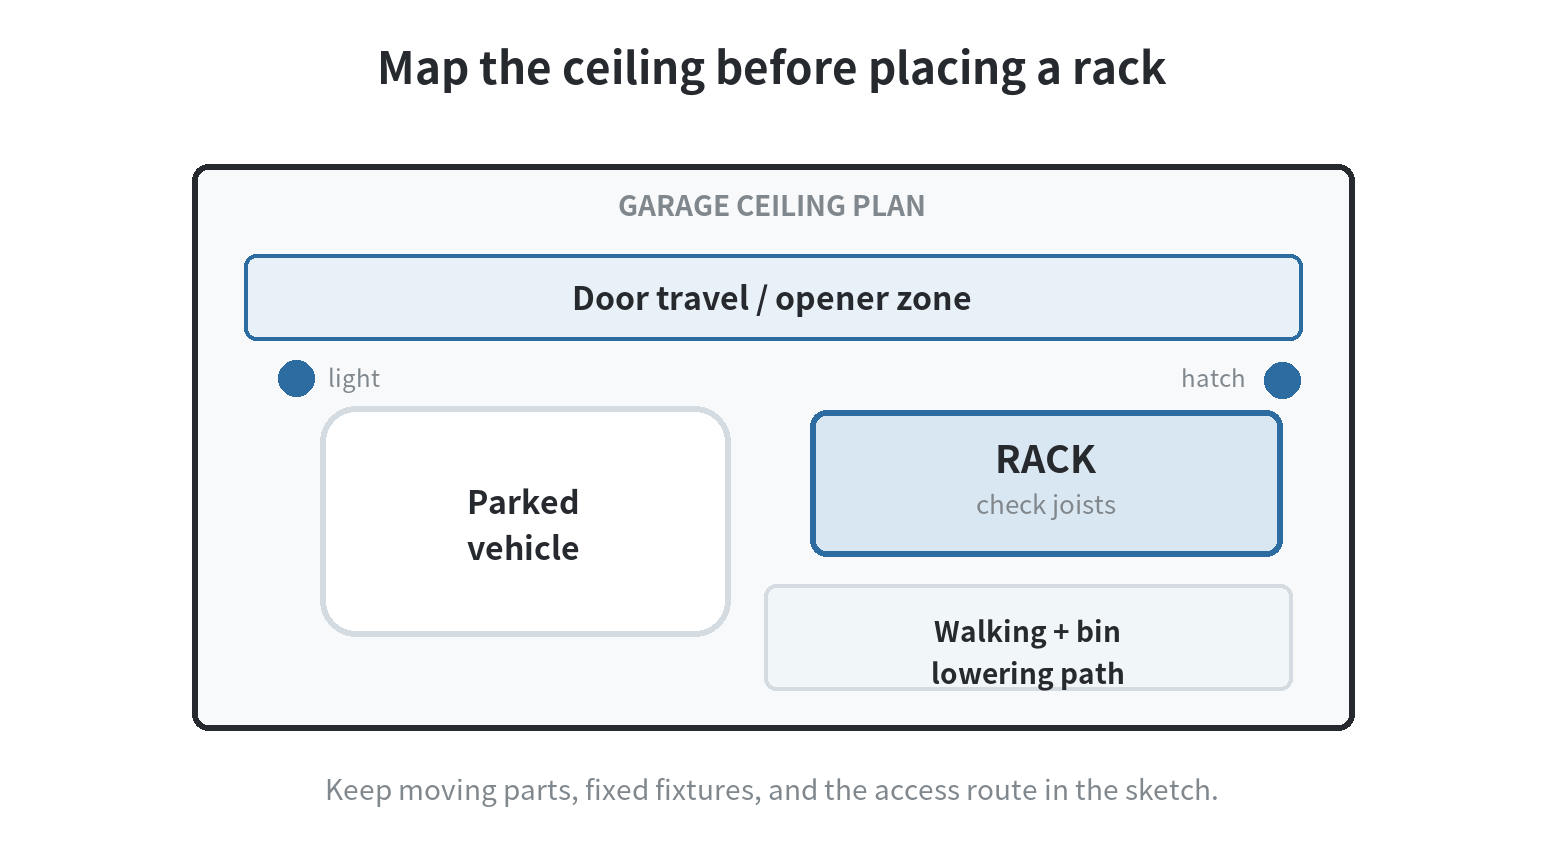
Measure the usable ceiling area, but also check what moves beneath it. Open and close the garage door while observing its panels, tracks, and opener. Mark lights, an attic hatch, vents, and any access door. A rack can fit on the ceiling and still interfere with a door, block a light, or make a stored bin difficult to reach.
Next, account for the vehicle in its normal parked position. Check the rack’s lowest point against the vehicle roof, the open trunk or hatch, and the path you use to get around the car. Walk through the garage with a bin held at the height where it would leave the rack. If you cannot carry it down without turning into a car, door, or workbench, adjust the location before installation.
Use a simple sketch with the garage outline, the door travel, the vehicle footprint, fixed fixtures, and the proposed rack. The Garage Storage Buying Guide recommends drawing a garage plan and noting studs, outlets, and other fixtures before placing storage. SafeRacks’ overhead-rack instructions also call out garage doors, access doors, lights, and vehicles as possible obstructions. The sketch is a useful fit check; it does not establish that the ceiling can carry a load.
Measure the rack’s drop from the ceiling to its lowest point, then add the height of the tallest bin you expect to place on it. SafeRacks’ FAQ advises checking the available space below a rack for objects such as an opener or cabinet. Treat that as a fit check for the specific room: garage door paths and opener positions differ, so use the exact rack’s installation dimensions and your own measurements.
Find the ceiling structure the instructions require
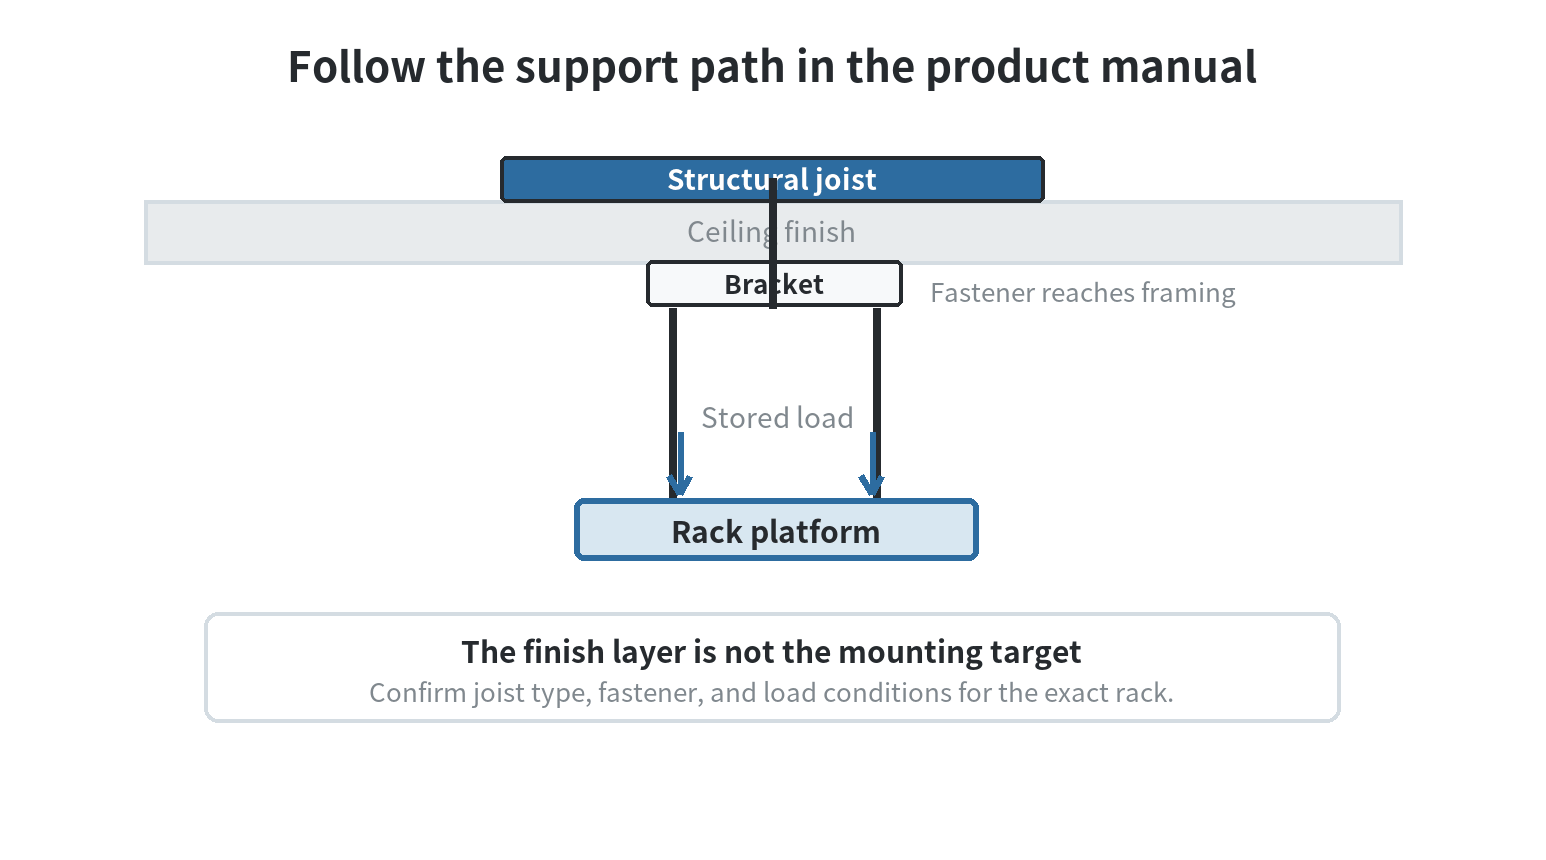
A drywall surface is not the same thing as a ceiling joist. The fasteners for a ceiling rack must reach the structural members specified in that rack’s installation instructions. NewAge Products’ VersaRac instructions say to locate and mark the joists, align the mounting brackets with them, and fasten into solid wood joists. SafeRacks’ instructions likewise warn against proceeding if you cannot locate and anchor the rack to the ceiling joists.
For a finished ceiling, use a stud finder to locate the framing and mark its center before drilling. Check the whole proposed footprint: the support points must align with the rack’s brackets, not just one convenient spot. If the joist direction, spacing, material, or condition does not match the product instructions, stop and get the ceiling assessed before choosing a different fastener or drilling new holes. Do not treat drywall anchors as a substitute for the support named by the manufacturer.
Ceiling construction can vary. The SafeRacks manual describes a wood-framed installation and tells users to stop when the ceiling structure is in question. The VersaRac manual also excludes steel-framed homes for that product. Those instructions are product-specific, so use the manual for the exact rack and ask a qualified installer or building professional when the framing is unclear. A rack’s published capacity does not certify the house framing that carries it.
Read capacity as a model-specific limit
Use the load rating for the exact rack and follow its stated loading pattern. Read the rack’s capacity together with its stated support and loading conditions. Follow the rack’s instructions for suitable overhead supports. The figures describe those products under their stated conditions, not a general limit for garage ceilings.
Check whether the manual gives one total rating, a per-shelf rating, or separate limits for hooks. Include the weight of the bins and their contents, plus anything attached below the rack. Do not infer capacity from the rack’s size or steel appearance. If you cannot confirm the exact model, the instructions, or the condition of the supports, leave the rack unloaded until those details are resolved.
A simple load list helps: write down each container, its empty weight if known, and the labeled weight of the items inside. Compare the total and its distribution with the limit and loading diagram in the manual. If the label gives a total system rating, do not mistake it for a rating per hook or per section. When a container has no reliable weight information, choose a lighter load or weigh it before placing it overhead.
When loading, follow the manufacturer’s directions on distribution. The SafeRacks and VersaRac instructions both describe placing weight evenly; the VersaRac manual places heavier objects nearer the vertical posts and lighter ones toward the center. Do not climb, hang, or stand on a storage rack. The structure is designed for the product’s stated storage use, not as a step or work platform.
Make access part of the finished layout
Before the first load, confirm that the assembled rack is level, its connections are seated, and the fasteners match the instructions. A second person can steady a large assembly while it is positioned, but that does not replace correct anchoring. Keep the ladder on a stable floor and lower bins in a controlled way; avoid pulling a tote sideways across a loaded platform.
Put the least-used, lightest containers in the hardest-to-reach area, and keep the items you retrieve more often near an accessible edge. Place labels where they can be read from the floor. Leave a clear route from the ladder to the place where you will set a bin down. If you need to move a vehicle or furniture each time you retrieve something, reconsider whether that item belongs overhead.
After loading, look for movement, loose hardware, or components that are no longer seated as shown in the manual. NewAge Products calls for periodic inspection of its rack connections; SafeRacks also instructs users to inspect its components. Follow the inspection schedule in the instructions for your exact model, and unload the rack if a bracket or support looks displaced. Recheck the layout when you add a different bin or change what is stored there.
FAQ
Can an overhead rack go above an automatic garage door?
Only if the rack, door, opener, and stored load have clear space throughout their movement. SafeRacks’ installation instructions list garage doors and related equipment as possible obstructions, and its FAQ says to check clearance below the rack. Map the full travel path and verify it against the rack’s installation manual before drilling.
Can I attach a ceiling rack to drywall with heavy-duty anchors?
No, follow the mounting surface and fasteners specified by the rack manufacturer. NewAge Products’ VersaRac instructions require lag bolts into solid wood joists, and SafeRacks’ manual requires anchoring its rack to ceiling joists. A drywall anchor does not make an unverified ceiling structure suitable for that product.
How do I locate a ceiling joist when the garage ceiling is drywall?
Use a stud finder to locate the joist edges, mark its center, and align the rack bracket with that center as the product instructions show. NewAge Products’ VersaRac instructions describe this process for a finished ceiling. If you cannot confirm the framing, pause before drilling.