What If the Only Thing Between You and the Life You Deserve Is a Hidden Wealth Code Waiting to Be Activated
>>> Open the Door <<<

Are you staring at a stubborn “restricted setting” warning when you try to enable accessibility on your smartphone? You’re not alone. This block is a safety measure that can stop sideloaded apps from using screen readers and automation features, especially on newer Android versions.
This guide gives simple steps that work on the latest Android updates without rooting your device. We’ll cover popular brands like Samsung and Google Pixel, so you can apply the fixes quickly. If an app isn’t from the Play Store or a trusted source, you’ll see these warnings more often, so it pays to verify before you proceed.
First, you’ll learn how to identify which apps need access and how to grant it safely. Then we’ll walk through the exact navigation paths you’ll need in Settings, including where to find accessibility and restricted settings options on common brands. By the end, you’ll have a clear route to enable the tools you rely on while keeping your information protected.
Throughout this process, safety stays front and center. Only grant this access to apps you know and trust, and look for clear reasons from the developer. If a prompt asks for root access or seems vague about why it needs controls, skip it. With the right steps, your smartphone can run accessibility features smoothly and securely, helping you stay independent and productive.
What If the Only Thing Between You and the Life You Deserve Is a Hidden Wealth Code Waiting to Be Activated
>>> Open the Door <<<
What Causes the Restricted Settings Warning on Your Phone
When you tap to enable accessibility features, you might see a warning that restricts the setting. This safeguard is built into modern Android versions to protect your data. It helps ensure that only trusted apps can control your screen, read your content, or automate tasks. Understanding the cause helps you navigate the warning safely and still get the assistive tools you need.
Why Accessibility Needs Special Permission
Accessibility services exist to help you interact with your phone in bigger, more flexible ways. Think of screen readers that speak text aloud, automation that presses buttons for you, or shortcuts that speed up common tasks. These capabilities are powerful; they can access what you type, how you interact, and what apps you use. Because of that power, Android treats accessibility settings as highly sensitive. A robust security block protects passwords, personal data, and app behavior from being misused. In practice, this means you’ll see restrictions if the app requesting access isn’t clearly trusted or if the app hasn’t proven it won’t misuse its controls. For most users, the takeaway is simple: grant accessibility only to reputable apps and verify the developer’s intent before proceeding.
Sideloaded Apps vs. Play Store Apps
The difference comes down to how an app is obtained and vetted. Play Store apps pass a review process, so their developers are monitored for security and compliance. That scrutiny makes it more likely for a trusted app to receive accessibility permission without triggering a heavy warning, though it’s not a guarantee. Sideloaded apps — those installed from sources outside the Play Store — skip that verification step. They can be functional and useful, but Android flags them as potentially risky. When a sideloaded app requests accessibility access, you’ll often see the restricted setting warning. This warning is a protective measure, signaling that the app could access sensitive data or control certain functions. If you still want to use a sideloaded app, you can manually allow it for this specific program, but proceed with caution. Always verify the source, read reviews, and limit permissions to what is strictly necessary.
Step-by-Step Fix for Standard Android Phones
If you’re seeing restricted settings warnings when enabling accessibility, you’re not alone. This section walks you through a clear, device-friendly path that works on most standard Android phones without rooting. It focuses on the exact menu routes you’ll need and what to expect at each step. Follow along with your device in hand, and you’ll have accessibility tools ready to help you stay productive and independent.
Enable Allow Restricted Settings First
To begin, open the Settings app and go to:
- Settings > Apps
- Tap your app name from the list, then select the three-dot menu (⋮) in the top-right corner
- Choose Allow restricted settings
This first step unlocks the ability for the app to request restricted permissions, which is essential for accessibility features to function. After you enable this, the app will be able to proceed to the accessibility option without triggering the block. If you don’t see the exact option, look for a similar label like “Restricted settings” or “Special app access” in the Apps section. This step protects your data while granting precise control to trusted apps.
Turn On Accessibility for the App
Once restricted settings are allowed, enable accessibility for the app with these steps:
- Settings > Accessibility
- Tap Downloaded apps (or a similarly named section on some devices)
- Find your app and switch the toggle to On or Enable
This final action connects the app to Android’s accessibility framework, enabling features such as screen reading, button automation, and interaction shortcuts. After you enable it, you may receive a notification confirming the permission. If you do, review the notification quickly to confirm the correct app is granted access. Remain cautious and only enable accessibility for apps you trust. With these steps, your smartphone can provide the assistive tools you rely on without compromising security.
Brand-Specific Fixes for Samsung, Xiaomi, OnePlus, and Others
When you enable accessibility on Android, brand-specific paths can reduce warnings and make the setup smoother. This section consolidates practical, step by step routes for Samsung, Xiaomi, and OnePlus devices, so you can follow along without guesswork. Each guide sticks to the exact menu names you’ll encounter, with tips to confirm you’ve granted the right permissions. You’ll find clear routes for allowing restricted settings, then turning on the accessibility features for the target app. Think of these steps as your quick, trusted map to keep your smartphone accessible and secure.
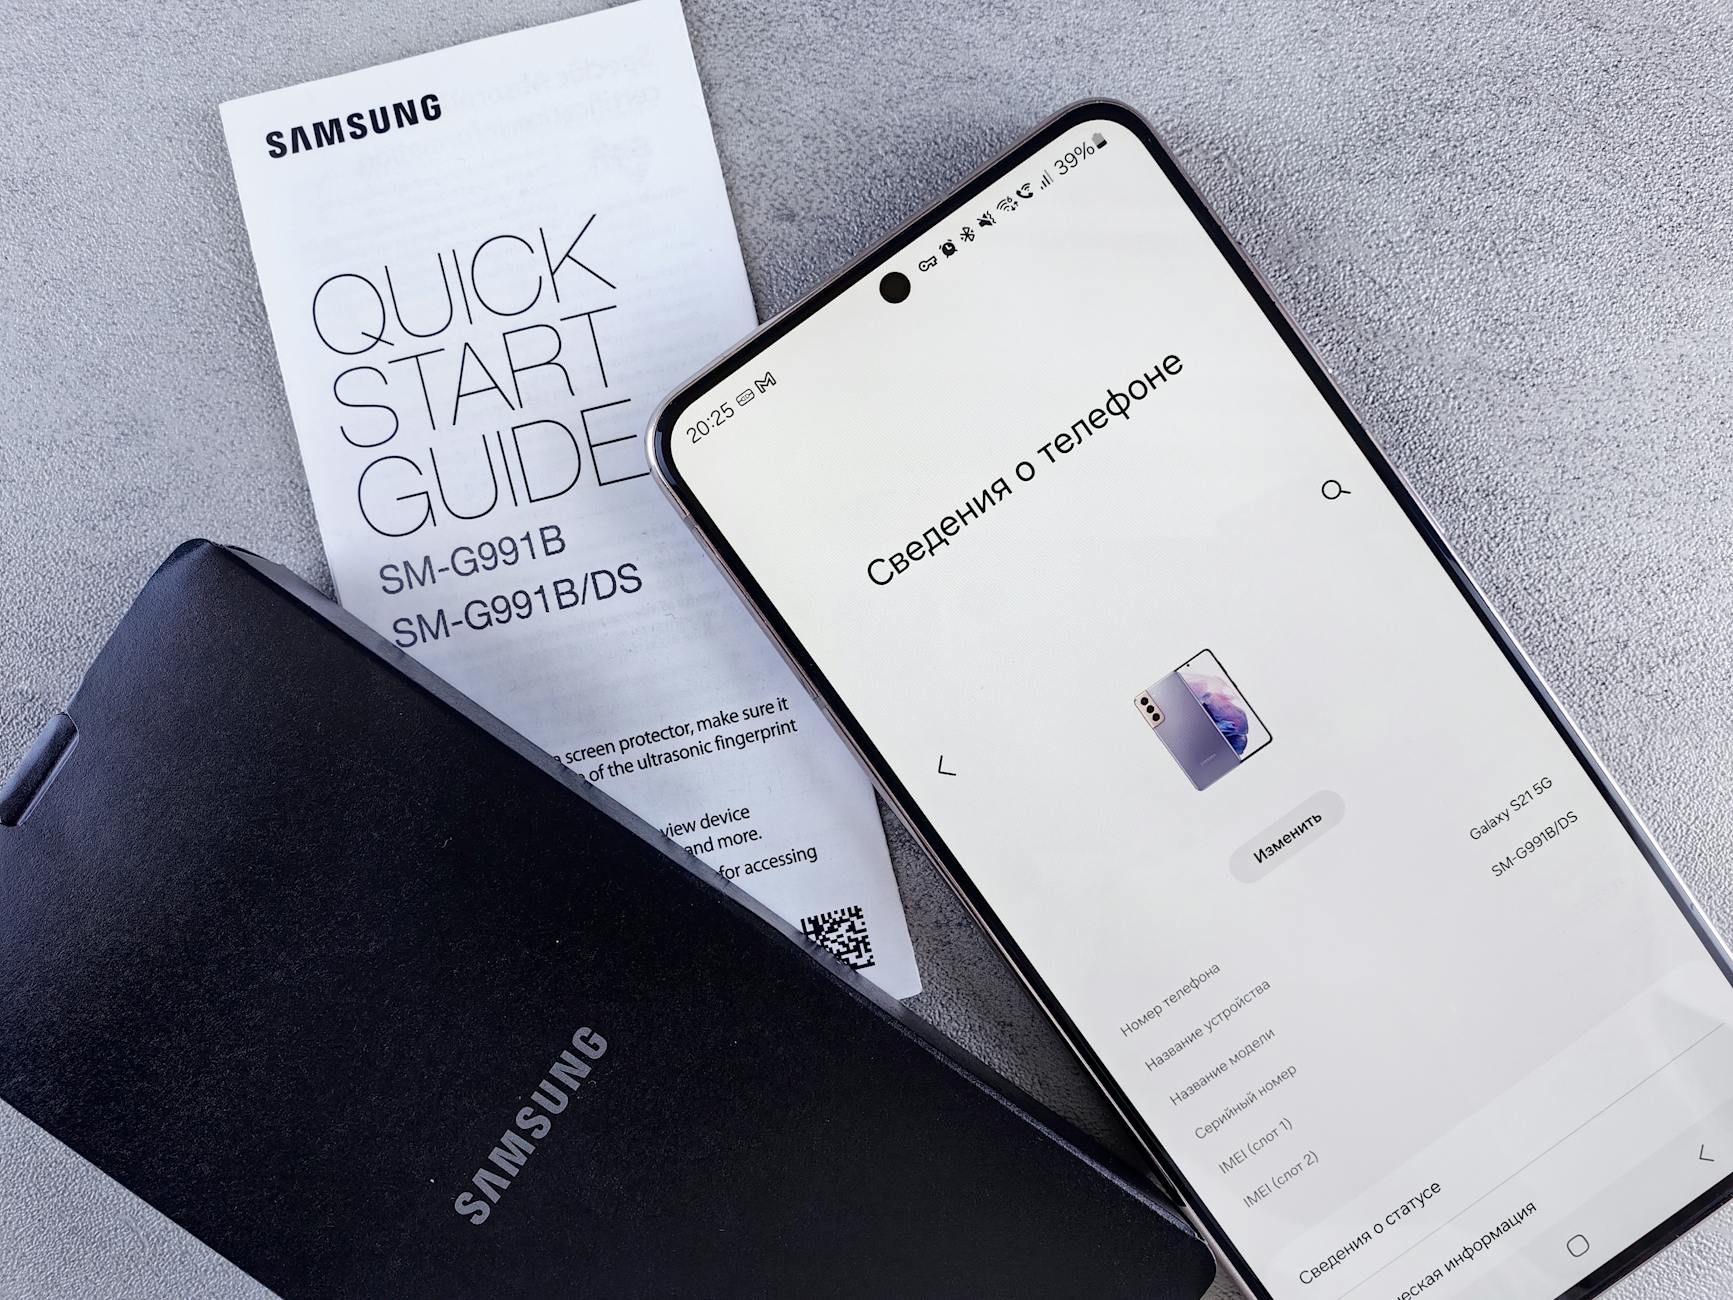 Photo by Andrey Matveev
Samsung One UI Steps
Samsung’s One UI keeps system tweaks a touch separate from stock Android, but getting to the right controls is straightforward. Start by installing the app, then open Settings to unlock the accessibility path. You’ll likely see an initial block, so proceed to grant restricted settings first. Once allowed, return to the app settings and enable the app under Accessibility. On some models the route is Settings > Accessibility > Interaction and dexterity > Installed apps, then toggle the app on and approve any prompts. If you don’t see the exact labels, look for “Restricted settings” or “Special app access” within Apps or Accessibility tabs. This sequence minimizes repeated prompts and keeps your data protected.
Xiaomi and OnePlus Guides
Xiaomi and OnePlus devices often present slightly different naming in settings, but the core steps are the same. After installing the app, locate the option to allow restricted settings in Settings > Apps > Manage apps (or App management) and enable it. Next, head to Settings > Accessibility and find the app in the Installed apps (or Installed services) list to turn on accessibility. A handy tip is to search within Settings for the app name if navigation slows you down. If an option seems missing, enable Developer Options first by tapping About phone and repeatedly tapping the MIUI or HyperOS version, then retry. This approach reduces friction and strengthens setup confidence.
She Pressed Play on a Strange Audio Track and Within Days Her Financial Reality Started Shifting in Ways She Could Not Explain
>>> See How It Works <<<

She Pressed Play on a Strange Audio Track and Within Days Her Financial Reality Started Shifting in Ways She Could Not Explain
>>> See How It Works <<<
iOS Users: How to Enable Accessibility Without Restrictions
If you want third party apps to help you navigate your iPhone without opening up the entire system, iOS provides a focused option called Per-App Settings. This lets a particular app use accessibility features without granting broad, unrestricted control. It’s a smart balance between usefulness and security, letting you tailor assistive tools to what you actually use.
Why iOS uses per‑app accessibility
Accessibility features are powerful. They can read text aloud, adjust touch sensitivity, or automate certain tasks. Because these capabilities can access sensitive data and control how you interact with your device, Apple limits them to trusted apps. Per‑App Settings remove the guesswork and friction by letting you authorize accessibility for a specific app only. That means your main device stays protected while you still get the precise help you need from the apps you trust.
How to enable per‑app accessibility for third‑party apps
Follow these steps to grant accessibility permissions to a single app without opening up the whole system:
- Open the Settings app on your iPhone.
- Tap Accessibility.
- Scroll to Per‑App Settings and select it.
- Tap Add App and locate the app you want to grant accessibility to.
- Choose the accessibility options you want for that app, such as VoiceOver, Spoken Content, or Guided Access, then turn them on.
- Return to the previous screen and confirm the app is listed with the enabled options.
A quick tip: if you don’t see Per‑App Settings right away, use the search bar at the top of Settings and type “Per‑App Settings.” Sometimes placement varies by iOS version, but the feature remains in the Accessibility area.
What you’ll see next depends on the app. Some apps will require you to grant permission within the app’s own prompts. Others might show a short summary screen confirming which accessibility features are active for that app. Always verify that the correct app is selected before you proceed.
Common pitfalls and how to avoid them
- Not seeing the Per‑App Settings option: Check for a newer iOS update. Apple sometimes repositions features and adds minor name changes. If needed, search for related terms like “Per‑App” or “App‑specific accessibility” in Settings.
- Enabling too many options at once: Start with just what you need. Too many enabled features can cause unexpected behavior or slowdowns.
- Forgetting to recheck after an update: After iOS updates, some permissions may reset. Reopen Per‑App Settings to confirm your choices are still active.
- Using apps from unknown sources: Stick to reputable apps and verify the developer. If an app asks for broad access, be cautious and review why it needs each permission.
Safety tips for maintaining control
- Grant only the minimum required accessibility features for each app. If a feature is optional, skip it unless you truly need it.
- Keep the app updated. Developers often adjust how accessibility works with new iOS releases.
- Regularly review enabled apps in Per‑App Settings. If an app is no longer in use, remove its accessibility permissions.
- Use the built‑in screen reader and other built‑in tools first. Third‑party options shine when you need specialized tasks, but the default tools are consistently well integrated with Apple’s security model.
Real‑world example: a screen reader for a reading app
Suppose you use a reading app with a built‑in text‑to‑speech feature. Instead of giving this app blanket access to your device, you can enable just the Spoken Content and VoiceOver options for that app. This lets the app read text aloud while keeping notifications, messages, and sensitive data protected behind the scenes. It’s a practical approach that keeps your workflow smooth without opening doors you don’t want to leave ajar.
Quick reference checklist
- Confirm you are on a compatible iOS version with Per‑App Settings.
- Keep Per‑App Settings only for apps you trust.
- Enable only the accessibility features you truly need for each app.
- Review and update permissions after iOS updates or app updates.
What to do if you still encounter warnings
If you see a warning despite using Per‑App Settings, double‑check the following:
- The app name appears in the Per‑App Settings list with the correct features enabled.
- The app has permission prompts that match the features you enabled.
- You are not trying to force system‑wide accessibility tweaks from a third‑party app.
In most cases, the Per‑App approach resolves the restrictions while preserving your security. If the issue persists, consult the app’s support resources or check Apple’s guidance for the latest steps.
Safety Tips and Common Mistakes to Avoid
Keeping accessibility features safe is just as important as making them work. This section lays out practical safety tips and the most common missteps people make when enabling restricted settings on Android. Follow these pointers to stay protected while you gain the assistive tools you need on your smartphone.
Why safety matters when enabling accessibility
Accessibility services can read content, control inputs, and automate actions. That power comes with risk if a dubious app gains broad access. For this reason Android marks these features as sensitive. By sticking to trusted apps and clear purposes, you reduce the chance of data exposure or unwanted behavior. Treat each permission as a contract: grant only what you truly need and verify the developer’s intent before proceeding.
Best practices for safe setup
- Verify the source first: Only install apps from trusted stores or sources you explicitly trust. Read reviews and check developer credentials before granting restricted access.
- Grant the minimum necessary permissions: Start with the core accessibility features you need. Add more only if you have a clear use case and can monitor the app.
- Prefer built-in tools when possible: Built-in options in Settings often have tighter integration with Android security. Use them first and turn to third party options only for specialized tasks.
- Test in a controlled way: After enabling an option, test with simple tasks to confirm the app behaves as expected. If something seems odd, disable the permission and reevaluate.
- Keep your system up to date: Android updates frequently improve security and fix bugs tied to accessibility services. Install updates when they’re available.
- Use strong device safeguards: A robust PIN, password, or biometric lock adds a layer of protection if a trusted app ever misbehaves.
- Limit quick access: Place essential services in Quick Settings only if you trust the app. Avoid exposing sensitive controls to multiple apps.
- Regularly review active permissions: Periodically check which apps have restricted settings access and prune any that aren’t needed.
- Backup important data: Maintain regular backups so you can recover quickly if an app issues unexpected changes.
Common mistakes to avoid
- Rushing through prompts: Skipping details on permissions can lead to overbroad access. Read each screen before agreeing.
- Granting all permissions at once: A single app may request more control than it needs. Deny anything beyond the minimal requirement.
- Leaving accessibility services on all the time: Continuous access creates a bigger surface for misuse. Disable when not in use.
- Ignoring device prompts or warnings: If Android flags a warning, treat it seriously. Reassess the app and the need for access.
- Using sideloaded apps without verification: Apps from outside trusted stores should be avoided unless you have a compelling and verified reason.
- Not testing compatibility after updates: A system or app update can change how accessibility features behave. Recheck permissions after updates.
- Neglecting display and readability settings first: Poor contrast or small text makes accessibility harder to use. Adjust display options before enabling features.
- Overloading with shortcuts: Too many quick actions can conflict with each other. Choose a single reliable method for triggering accessibility tools.
Quick safety checklist for your next setup
- Confirm the app is from a trusted source.
- Enable restricted settings only for the needed app.
- Turn on the specific accessibility features you truly need.
- Test the feature with a simple task.
- Review device security settings (PIN, biometrics, encryption).
- Keep Android and the app updated.
- Periodically audit active accessibility permissions.
Real‑world tips to stay in control
When you enable a tool like a screen reader or button automation, treat it as a lane you enter with clear purpose. If you need to adjust behavior, do it in small, incremental steps and verify each change. This approach minimizes surprises and helps you maintain independence on your smartphone without compromising security. For everyday use, prefer apps that offer transparent prompts and well documented permission rationales.
Quick reference: do this first, then proceed
- Start in Settings > Accessibility to identify the exact features you plan to use.
- Locate the app under Installed apps or Downloaded apps, and enable restricted settings only for that app.
- After enabling, navigate the app’s own prompts to confirm it has the right level of access.
- If anything feels off, disable the feature and reassess before proceeding.
This approach keeps your device safe while you gain the assistive tools that improve usability and productivity on your smartphone.
Conclusion
Unlocking accessibility without fear starts with knowing where the warnings come from and which steps to take. For Android, the core fix is to allow restricted settings for the trusted app, then enable accessibility in the app’s own settings. Brand specific paths on Google Pixel, Samsung, Xiaomi and OnePlus are straightforward once you know where to look, and a quick restart or update can clear lingering blocks.
On iOS, Per‑App Settings offer a focused path that keeps your main device protected while still delivering the help you need from a chosen app. This targeted approach reduces risk and makes it easier to stay productive with the tools you rely on.
Safety matters as you proceed. Always verify the app source, enable only the features you truly need, and monitor prompts carefully. If anything feels off, back out, reassess, and try again with a trusted app. Keep your system current and use built‑in tools first before relying on third party options. A calm, step by step approach minimizes surprises and sustains your independence.
If you run into trouble, try the steps above, then share what you see in the comments so others can learn from your experience. Consider subscribing for more practical phone tips that help you stay in control of your devices. Now, enjoy your app without warnings and keep your data safe while you stay productive.
She Pressed Play on a Strange Audio Track and Within Days Her Financial Reality Started Shifting in Ways She Could Not Explain
>>> See How It Works <<<