There Is a Frequency That the Wealthiest Families Have Used for Generations and Most People Will Never Know It Exists
>>> Open the Door <<<

A great photo captured on your smartphone can look flat until you edit it, and the right tweaks change everything. This guide highlights the Best apps to edit photos on your phone for both iOS and Android, mixing free options with paid picks so you can choose what fits your workflow. Your smartphone becomes a powerful editing hub, letting you fix lighting, retouch portraits, and add creative effects in minutes.
Best Free Photo Editing Apps for Quick Results
Smartphone editing should be fast, intuitive, and accurate. This section highlights three top free options that deliver solid, quick results without clutter. Each app shines in its own way, helping you elevate everyday photos with minimal effort. Whether you’re tidying up a portrait or crafting a striking social post, these tools keep you in the flow.
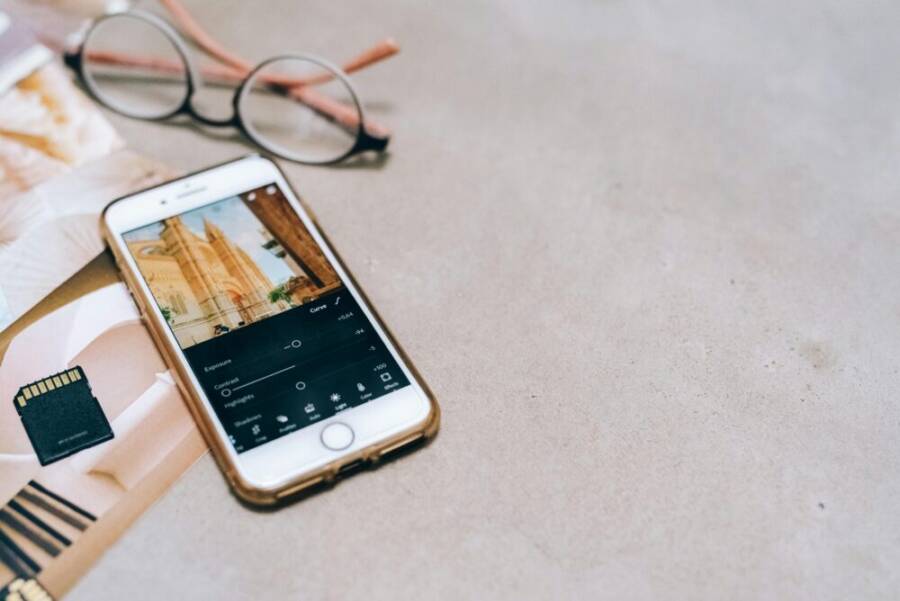
 Photo by Leeloo The First
Snapseed: Powerful Tools with No Cost or Ads
Snapseed remains a go-to for quick, studio-like edits on the fly. It offers precise control through selective adjustments, a healing brush to remove distractions, robust curves, and HDR-like effects that brighten dull scenes without oversaturation. The app is feature-packed yet approachable after a short learning curve; you’ll find everything from basic tweaks to professional-grade tools in one free package. The best part is that there are no ads and no paywalls blocking core functionality, which makes it ideal for fast, repeatable edits.
Thousands of People Were Struggling With Money Until They Discovered This One Ancient Secret Hidden in Sound
>>> Unlock It Now <<<

Start with a basic edit in five steps:
- Open your photo and choose Tools > Tune Image to adjust brightness, contrast, saturation, ambience, highlights, and shadows.
- Use Tools > Curves to fine-tune tonal balance for a natural look.
- Apply selective edits by tapping the Selective tool and brushing adjustments onto specific areas.
- Try Healing to remove small blemishes or distractions.
- Finish with Tools > HDR Scape or Structure to add depth and micro-contrast.
Why Snapseed beats built-in editors is clear: it gives you granular control without forcing you into presets, and it saves you time with a logical workflow. It’s no surprise many users rely on it for quick social media prep and before-and-after comparisons. For quick reference, you can explore official listings for iOS and Android: https://apps.apple.com/us/app/snapseed-photo-editor/id439438619 and https://play.google.com/store/apps/details?id=com.niksoftware.snapseed&hl=en_US. These pages confirm the breadth of tools and the ad-free experience.
Pros: full feature set at no cost, ad-free, precise controls. Cons: no built-in auto-backup, which means you’ll want to back up edits separately if you value cloud sync.
Adobe Photoshop Express: One-Tap Fixes on the Go
Photoshop Express streamlines common edits into fast, one-tap fixes that feel almost magical when you’re in a hurry. It’s especially strong for on-the-fly adjustments like cropping, color pop, and soft blur, plus the collage feature to combine multiple shots into a single sendable image. The app shines in speed and sharing; you can export directly to cloud storage or social platforms, making it ideal for quick content workflows between shoots. If you’re already in the Adobe ecosystem, the integration with your Adobe account helps keep assets synced across devices.
Begin with a simple blemish removal to see how the app handles skin tones and texture. Tap the Blemish tool, brush over the area you want to adjust, and let the app blend it with surrounding pixels. Then, in seconds, crop to the perfect frame and apply a subtle color boost to make colors pop without looking overdone.
A quick note on exports: you may encounter watermarks on certain exports unless you’re using a paid tier. This is common with some one-tap features, so plan your edits with that in mind. If you already use an Adobe account, a seamless sign-in keeps your edits accessible across devices. For more detail and downloads, see the official store pages: https://apps.apple.com/us/app/adobe-photoshop-express-photo-editor/id331975235 and https://play.google.com/store/apps/details?id=com.adobe.psmobile&hl=en_US.
Pros: fast editing, easy sharing, cloud sync. Cons: watermarks on some exports, feature access tied to plan level.
VSCO: Stylish Filters and Easy Presets
VSCO combines a rich filter catalog with non-destructive editing, making it a favorite for creators who want a consistent look with minimal effort. The app features 200 plus filters, including both classic and new styles, and it supports RAW editing for more flexible post-processing. Beyond tools, VSCO has a thriving community that inspires you with fresh edits and creative ideas you can borrow and adapt.
A practical approach to applying a preset stack: start with a base filter that suits your scene, then adjust intensity to taste. Add a second filter at reduced strength to introduce nuance without overpowering the original image. Tweak exposure, contrast, and warmth afterward to harmonize the tones. If you shoot video, you can also apply select filters to video clips for cohesive storytelling.
While the best features sit behind paid options, the free tier still offers plenty of value for quick edits and style exploration. Integrations and community inspiration keep you motivated to experiment with new looks. Learn more about VSCO on its App Store or Google Play page: https://apps.apple.com/us/app/vsco-photo-video-editor/id588013838 and https://play.google.com/store/apps/details?id=com.vsco.vscocam&hl=en_US.
Pros: creative community, RAW support. Cons: the strongest features require a paid plan.
Images in this section illustrate the concept of quick edits on a smartphone, showcasing how fast adjustments can elevate everyday photos.
Premium Photo Editing Apps Worth Every Penny
A premium editing workflow on your phone can rival desktop results when you know where to invest your time and money. In this section, we focus on two powerhouse apps that justify their price with robust tools, reliable performance, and cross-device continuity. If you’re serious about photo storytelling on the go, these choices offer non-destructive editing, precise local adjustments, and streamlined sharing that keep your creative momentum high.
Adobe Lightroom: Full Pro Workflow on Your Phone
Adobe Lightroom on mobile delivers a professional, end-to-end editing experience in your pocket. The app supports a non-destructive workflow, meaning your original photo stays intact while edits live in a separate layer-like state you can revisit and tweak at any time. Masking is a standout feature here, letting you select specific areas of a photo to adjust separately. This is especially useful for portraits where you want to smooth skin in one region while preserving detail in the eyes and hair. The masking tools also pair with geometry fixes, so you can correct perspective issues in architectural shots or straighten horizons with precision.
Presets in Lightroom are more than one-tap looks; they’re a fast path to consistency across a series of images. You can create your own presets from a successful edit, or import preset packs to jumpstart a project. The advantage of mobile is the seamless sync across devices. Start edits on your phone and continue on a tablet or desktop without losing a step. This cross-device continuity is a big time saver for on-the-go creators who shoot with multiple gear setups.
For workflow efficiency, batch editing in Lightroom shines. Select several photos at once and apply a consistent set of adjustments, then refine individually as needed. The process is intuitive: adjust exposure and color balance globally, then use local adjustments to fine-tune masks. If you’re aiming for a clean, studio-like look, non-destructive edits keep every adjustment reversible.
A quick primer on using masks and geometry fixes on mobile:
- Masking: Use the Brush or Range Mask tools to isolate skies, skin tones, or concrete textures. Save mask presets to repeat a look across batches.
- Geometry fixes: Correct perspective distortion in architectural shots by using the Transform controls and Guided Upright to straighten lines.
- Sync: Ensure all devices are logged into the same Adobe account to keep edits synchronized automatically.
Pros: non-destructive edits, powerful masking and geometry tools, cross-device sync, AI denoise for cleaner portraits. Cons: requires a subscription for premium features, which unlocks deeper presets, more masks, and enhanced cloud storage. For more details and downloads, see the official Lightroom mobile pages: https://www.adobe.com/products/photoshop-lightroom/mobile.html and the masking guide: https://helpx.adobe.com/lightroom-cc/using/masking.html. These resources confirm the depth of tools and the workflow that helps you stay consistent across projects.
PicArt: Creative Effects and Sticker Magic
PicsArt stands out for creative expression that goes beyond standard edits. It blends AI-powered features with a strong set of creative tools, making it ideal for social media posts, memes, and playful branding. The app’s AI replace and background removal tools let you swap skies or swap in new scenes with a few taps. Text overlays and drawing tools open a path to custom typography and hand-drawn accents, while sticker packs bring a home-made feel to your images without extra software.
For creators who love quick, whimsical edits, PicsArt provides a streamlined path to meme-style edits and rapid content production. The interface is designed for speed, so you can iterate ideas rapidly and publish directly to social platforms. The premium experience adds access to high-quality assets, advancedAI features, and ad-free editing, which keeps your flow uninterrupted.
A practical approach to premium features in PicsArt:
- AI replace and backgrounds: Experiment with new scenes or swap out distracting backdrops to keep the focus on the subject.
- Text overlays and drawing: Create bold captions, doodles, or hand-lettered accents that match your brand voice.
- Draw and annotate: Use brush tools for quick edits, custom shapes, and guides that help you frame your compositions.
Pro users gain access to more resources, faster processing, and fewer interruptions from ads. However, even in the free tier, you can explore a broad range of creative options that help you stand out on feeds and stories.
To get the most from PicsArt, try this 250-word mini-guide:
- Start with a strong baseline edit by adjusting brightness, contrast, and saturation to set the mood.
- Remove distractions or replace backgrounds, then place a bold headline using a clean font pair.
- Add stickers or doodles to emphasize key moments, keeping the composition balanced and legible.
- Save different versions to compare quickly, then pick the best arrangement for posting.
If you want a deeper dive into PicsArt features, explore official app pages and tutorials that highlight the full range of creative tools and how to apply them to memes, lifestyle posts, and branded content. While the premium tier unlocks the most attractive assets, the free version still delivers a surprising amount of value for experimenting with new looks and styles. Photos edited in PicsArt can look polished and ready for sharing after just a few minutes of setup.
What If the Only Thing Between You and the Life You Deserve Is a Hidden Wealth Code Waiting to Be Activated
>>> Open the Door <<<

Note: PicsArt is widely used for social media content creation, and its combination of effects, text, and drawing tools makes it especially appealing to creators who publish frequently. The app’s approach to creativity mirrors how many readers approach photo editing: quick iterations, bold decisions, and a playful mindset that still respects image quality.
What If the Only Thing Between You and the Life You Deserve Is a Hidden Wealth Code Waiting to Be Activated
>>> Open the Door <<<
While Lightroom offers a more traditional, studio-minded workflow with precise masking and geometry corrections, PicsArt emphasizes creativity and social-ready output. Together, they cover the spectrum from technical precision to expressive style, ensuring you have a tool for every moment on your phone.
iPhone vs Android: Tailored App Picks for Your Device
Choosing the right photo editing apps starts with your device. iPhone users often enjoy tight-knit integration and fast workflows within the Apple ecosystem, while Android fans benefit from broad hardware compatibility and flexible app choices. In this section, we spotlight standout options tailored to each platform. You’ll find a mix of free powerhouses and premium tools that keep your edits fast, precise, and creatively expressive.
Standout Apps for iPhone Photo Editing
If you want a clean, efficient edit flow on iPhone, Darkroom and Pixelmator are superb alternatives worth considering, with Lightroom still leading for many pro workflows on iOS. Darkroom shines with a streamlined interface, fast adjustments, and strong color controls that feel native to iOS. Pixelmator offers a robust set of non-destructive tools, advanced layering, and strong integration with iOS features like Photos and iCloud. Lightroom on iOS remains the standout for non-destructive editing, precise masking, and cross-device sync, making it easy to start on your iPhone and finish on a tablet or desktop. The Apple ecosystem enhances this experience with seamless asset sharing, iCloud-backed libraries, and uniform color management across devices.
- Darkroom: fast, non-destructive edits, powerful presets, smooth app experience on iPhone. You can explore it on the App Store: https://apps.apple.com/us/app/darkroom-photo-video-editor/id953286746
- Pixelmator: strong layer-based editing, robust color tools, great for on-the-go editing within Apple’s ecosystem.
- Lightroom for iOS: non-destructive workflow, precise masking, and cross-device sync that keeps edits consistent. Learn more about Lightroom on iOS and its masking features on Adobe’s site: https://www.adobe.com/products/photoshop-lightroom/mobile.html
Pros: quick, intuitive edits; deep integration with Photos and iCloud; consistent color management across devices. Cons: some advanced features require a paid plan; occasional UI changes can interrupt a familiar rhythm.
Top Editors Built for Android Phones
Android photography benefits from apps that run smoothly on a wide range of devices while delivering robust performance. Snapseed remains Google’s native powerhouse for quick, precise edits without clutter. It offers selective adjustments, healing, curves, and HDR-like enhancements, all in an ad-free experience. For more creative or batch-friendly workflows, Pixlr and PhotoDirector provide rich effects, overlays, and easier collage capabilities that scale across hardware. Performance can vary due to device CPU, RAM, and display, but these apps generally remain responsive on mid-range phones and up.
- Snapseed: precise, fast, and free; check it on Google Play: https://play.google.com/store/apps/details?id=com.niksoftware.snapseed&hl=en_US
- Pixlr: approachable editing with a broad suite of effects and overlays.
- PhotoDirector: strong for creative edits, AI effects, and reliable performance on various devices.
For editors who need quick, reliable results on Android, Snapseed is often the default go-to, while Pixlr and PhotoDirector broaden creative options without requiring desktop software. The key is to balance tool power with device performance, ensuring your edits stay fast and non-destructive.
Tip: on devices with limited RAM, close background apps before heavy edits to keep Preview and Brush tools responsive. If you want to explore official pages for these Android apps, you can start with Snapseed on Google Play and the broader editor ecosystem in the Play Store.
Simple Tips to Boost Your Phone Photo Edits
Editing on a phone should feel fast, precise, and repeatable. These practical tips help you level up your edits without adding complexity. Think of your phone as a tiny studio where you can fix light, tame color, and sharpen details in minutes. Below, you’ll find straightforward actions you can apply to virtually any image, along with quick workflows you can reuse.
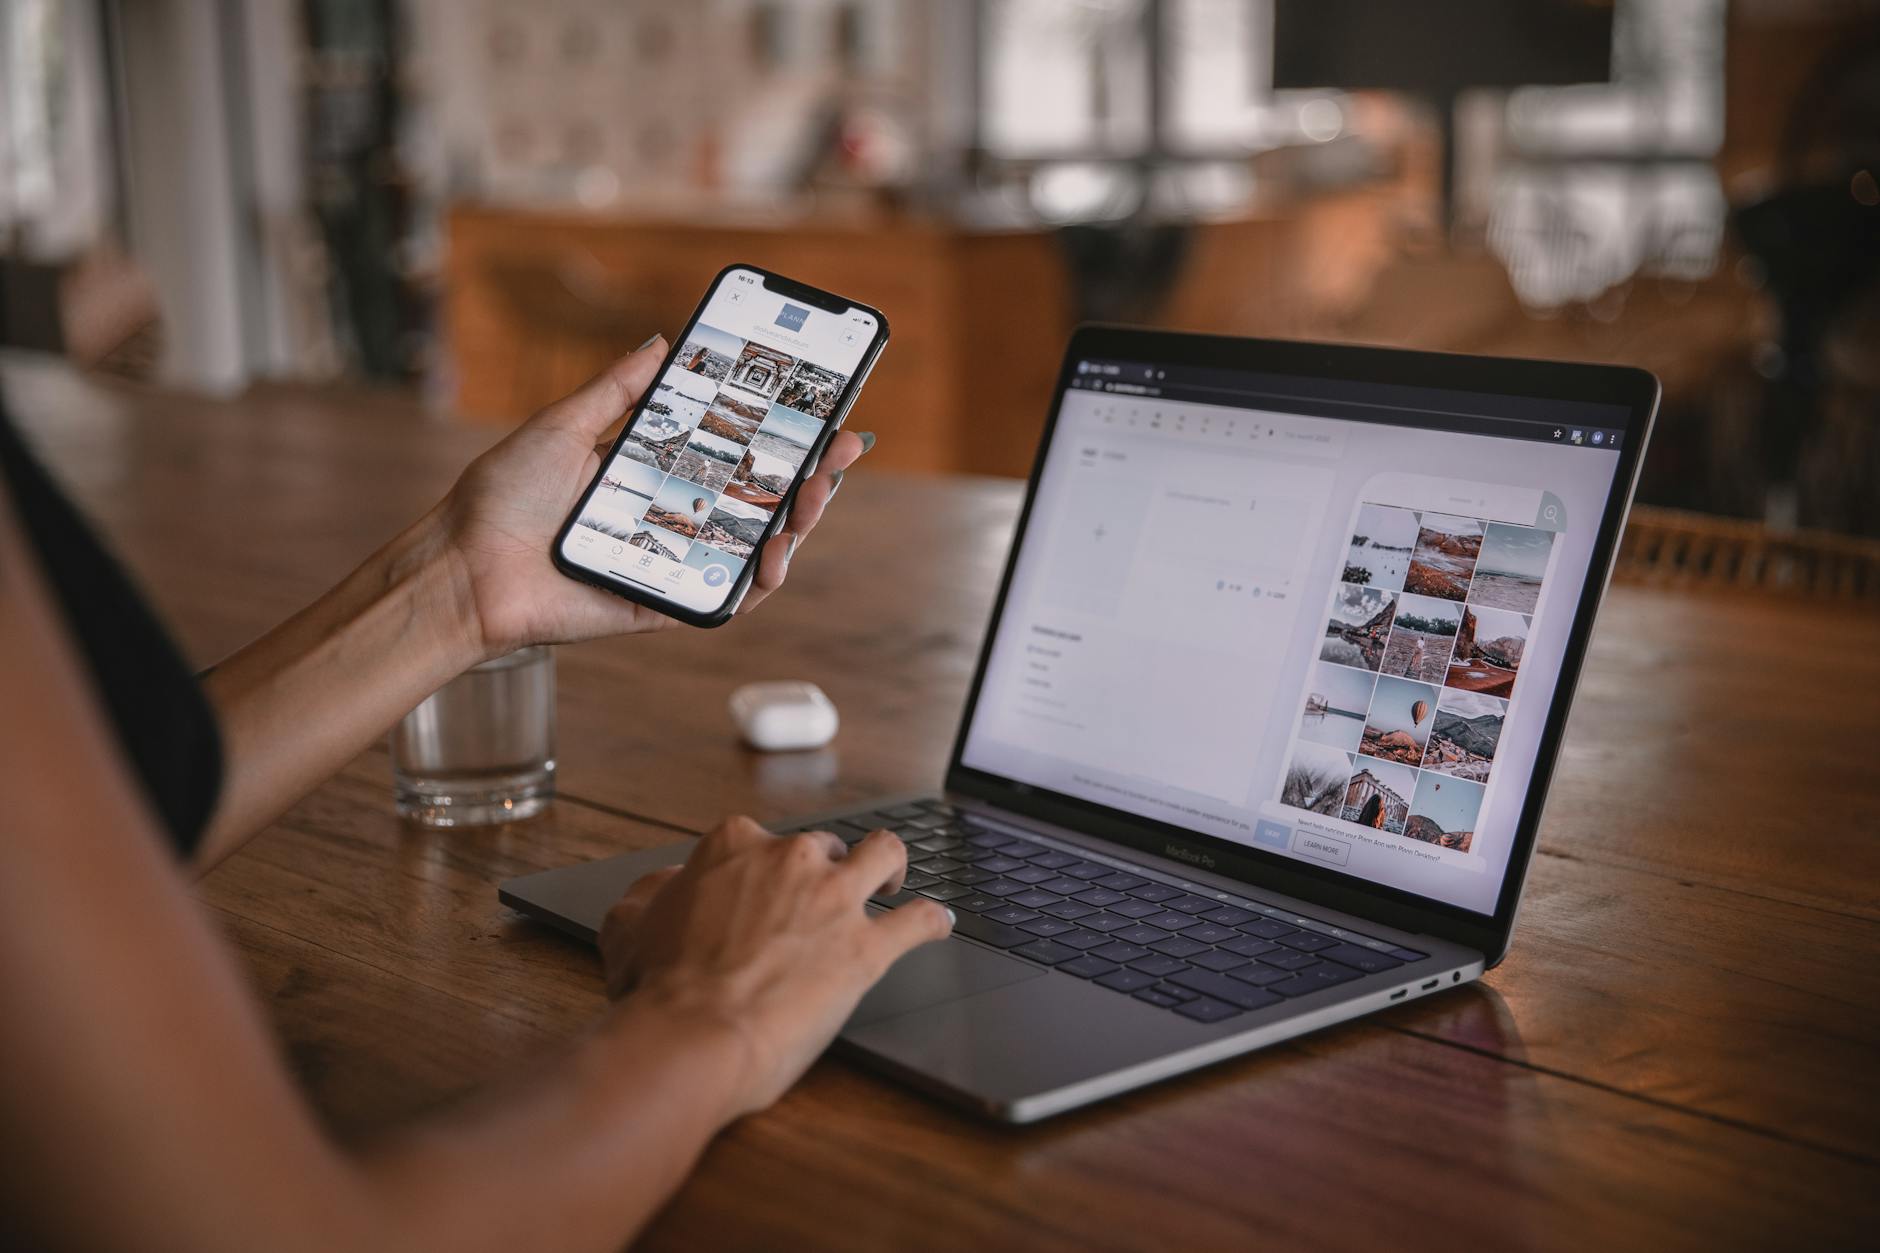 Photo by Plann
Start with a clean baseline: crop, straighten, and remove distractions
A solid edit begins with framing. Crop to place the subject where the viewer’s eye lands naturally. Straighten horizons for architectural shots or landscapes, and remove obvious distractions that pull attention away from the main story. Think of this as tidying the stage before you light the scene.
- Crop rules of thumb: follow the rule of thirds, keep verticals straights, and avoid cutting important detail at an edge.
- Use rotation and perspective tools sparingly to correct tilt without warping the image.
- Sharpen only after you’re done with color and exposure to avoid amplifying noise.
Tip: Save a baseline version with your crop and straightening, so you can compare before and after quickly.
Embrace non-destructive edits and reusable presets
Non-destructive editing means you can revert changes without losing the original file. This approach is essential for experimentation and consistency across a series of photos. Create or import presets that reflect your usual look, then apply and adjust them to taste.
- Build a small library of presets for different scenes (portrait, landscape, low light).
- Use layers or masks for localized tweaks like skin retouching or sky enhancement.
- Sync edits across devices if your app supports it, so you can continue work on a tablet or computer.
External resources can help you refine your technique. For example, many creators find value in learning different approaches from tutorial roundups and editor guides. If you’re exploring more about mobile editing approaches, you can check out articles like Digital Photography School’s mobile editing roundups and Skylum’s Android editing tips for deeper context.
- Learn more: 9 of the Best Apps to Help You Do Awesome Mobile Phone Photography
- Android editing hacks: How To Edit Pictures On Android
Nail exposure, contrast, and color with selective adjustments
Selective edits let you adjust specific parts of an image without altering the whole frame. This is especially useful for portraits, skies, or highlights that need a gentle touch.
- Adjust exposure and contrast globally, then use selective tools to brighten faces or deepen skies.
- Tweak saturation and warmth in targeted areas to avoid muddy tones or over-saturation.
- Use curves to fine-tune tonal range for a more natural look.
Pro tip: After basic global tweaks, revisit shadows and highlights to prevent clipped blacks or blown-out whites. A subtle lift in shadows can reveal hidden details in dark areas without making the image look flat.
Sharpening and noise management for mobile results
Phone cameras look crisp at small sizes, but edits can reveal noise and soften edges. A careful sharpening pass and noise control can elevate your edit without making it look harsh.
- Apply a light sharpening radius and amount, focusing on edges rather than textures.
- Use noise reduction sparingly on high ISO shots to preserve detail in skin and hair.
- After noise reduction, recheck contrast and color to restore depth.
If you shoot in RAW, you’ll have more latitude to balance sharpness and noise later in the edit. If RAW isn’t available, rely on localized sharpening rather than global sharpening to keep the image natural.
Save multiple versions and back up your edits
Versioning saves you from committing to a single look. Create a few variants with different moods, then choose the best one for posting. Back up your edited files to cloud storage or your device library so you can revisit them later or reprint them without starting from scratch.
- Version 1: natural look with subtle exposure adjustments
- Version 2: punchy colors and higher contrast for social media
- Version 3: soft, cinematic vibe with cool tones
Backing up ensures you never lose the work you’ve done and makes it easy to compare options side by side.
Quick export tips to preserve quality and speed
Export settings influence how your final image looks when shared or printed. Use consistent defaults to speed up your workflow.
- For social posts, export at the platform’s recommended dimensions and a moderate file size to load quickly.
- If you’re printing, choose higher resolution and color space settings suited for print.
- Watermarks and paywalls can pop up on some free tiers; plan exports accordingly or upgrade if you need unlimited clean exports.
For more context on efficient mobile workflows, explore additional guidance from reputable editing resources mentioned earlier. These sources offer practical tips that align with the approach you take on your phone.
- See Lightroom and masking guides for deeper professional workflows: Adobe Lightroom mobile and masking tips: Masking in Lightroom
Integration suggestions for your article
- Include one concise tip per subsection to keep the section scannable.
- Use bold for key takeaways like non-destructive edits, selective adjustments, and consistent exports.
- Keep paragraphs short and actionable to maintain reader engagement.
Internal and external references have been woven to support practical steps without overloading the reader. If you want to broaden the section with more platform-specific workflows or add a small image to illustrate a before and after, I can add that as well.
Conclusion
Smartphone photo editing Apps offer a practical path from a casual shot to a polished image. Recap: start with free powerhouses for quick results, then move to premium tools for deeper control, and always preserve your original files with non-destructive edits. The best approach is to match your needs to the right tool and keep a small library of presets for speed.
For starters, try free options that cover the basics and let you learn the craft without a cost. If you want pro results, premium apps deliver advanced masking, precision edits, and cross‑device syncing that keep your workflow smooth. The core ideas to apply in every edit are simple: use non-destructive edits, apply selective adjustments where it matters, and export with consistent defaults for quality and speed.
If you’re ready to level up, download at least one app today and begin building a repeatable editing routine. Your next post will thank you for the cleaner light, truer color, and sharper detail. Share your best edited photo or tell us your favorite app in the comments to inspire others.
Finally, let this small habit push your smartphone photography forward. Each edit is a chance to tell a clearer story, capture better color, and refine your eye. With steady practice, your images will speak louder and look more confident.
He Was Drowning in Bills and Burnout Until a Simple Daily Ritual Rewired His Brain for Wealth in Less Than a Week
>>> Start Your Shift Today <<<
