
He Was Drowning in Bills and Burnout Until a Simple Daily Ritual Rewired His Brain for Wealth in Less Than a Week
>>> Start Your Shift Today <<<

Blurry video from constant focus shifts is a common pain for anyone filming on a phone. If you’ve seen your subject breathe in and out of focus, you know how distracting it can be. This is what we call focus hunting, the camera’s AF trying different distances to find sharpness.
Focus hunting happens for simple reasons: low light, scenes with little contrast, smudges on the lens, or small software hiccups in the camera app. A quick blast of brighter light, a clean lens, or a momentary switch to manual focus can end the back and forth in seconds. You’ll learn practical steps you can take right now, without buying a new device.
In this guide you’ll get easy, phone specific tips you can apply whether you’re using iPhone or Android. We’ll cover fast fixes like locking focus, using Pro or Manual modes, and how to choose the right distance for depth of field. You’ll also find when it’s time to try a third party app or a quick firmware update to stop the hunting for good. By the end, you’ll know exactly what to do to keep your smartphone footage crisp, steady, and confidently sharp.
What Causes Focus Hunting on Your Phone Camera
When your phone camera keeps hunting for focus, it breaks the moment. You tap record, the subject shifts, and the lens keeps refocusing over and over. Several common factors drive this behavior, from lighting to tiny lens issues. Understanding these causes helps you apply the right fix quickly. Below are the two most frequent culprits and how to address them.
Thousands of People Were Struggling With Money Until They Discovered This One Ancient Secret Hidden in Sound
>>> Unlock It Now <<<

 Photo by Almada Studio
Low Light and Movement Issues
Dim rooms or fast-moving subjects are the prime triggers for focus hunting. In low light, the camera struggles to lock onto a high-contrast edge, so it keeps trying at different distances to sharpen the subject. If your subject moves even slightly, the autofocus has to re-evaluate the distance, causing another round of hunting. The result is a rolling blur or a stuttering sequence where the camera never feels truly stable.
What you can do now:
- Test in brighter conditions first. If the focus behaves well in a well-lit room or outdoors, you know the issue is lighting rather than hardware.
- Use a steady stance and let the camera lock before you start recording. A few seconds of stillness can save you from long refocus cycles.
- Increase scene contrast where possible. A simple backlight or a light source directed toward the subject can help the AF system find its target faster.
- If you’re filming movement, switch to the phone’s Pro or Manual mode when available. Lock the focus at the desired distance, then track the subject with panning rather than relying on continuous autofocus. This reduces the number of times the camera re-evaluates focus.
For a quick troubleshooting step, read how other users handle focus in unsure lighting conditions here. It’s common to see a sharp improvement after adjusting brightness or adding a lamp to the scene. If you want a deeper dive into camera behavior in low light, this guide explains how autofocus handles shadow and contrast changes. Camera Focus Troubleshooting Guide
Lens Problems and Background Clutter
Dirt on the lens or a busy background can throw the autofocus off. A smudged lens scatters light, reducing contrast and making it harder for the AF system to determine the correct distance. Similarly, patterns in the background—think foliage, busy textures, or repeating lines—can confuse the autofocus algorithm, causing it to hunt as it tries and resets the distance.
What to check quickly:
- Clean the lens with a microfiber cloth. A quick wipe can restore sharpness and stabilise focus in most situations.
- Look for strong backgrounds behind your subject. If the scene has lots of patterns or similar tones, simplify the frame or adjust your distance to create a clearer subject-to-background separation.
- Keep the camera steady while focusing. A bump or slight shake can trigger the AF to re-evaluate the distance as you record.
If focus problems persist despite cleaning, it may be worth updating the camera app or trying a different app that offers more precise focus controls. For more on why photos become blurry and how to fix it, this article explains common causes and fixes. Why Are My Pictures Blurry? Top 12 Causes & Easy Fixes
Images can also impact autofocus. A cluttered scene with many repeating textures can keep the lens busy hunting. In such cases, repositioning or re-framing to reduce visual noise helps the camera lock in faster, especially when shooting close-ups. If you want to explore professional approaches to lens care and focusing, this guide offers practical steps for keeping camera optics clean and performing well. Complete Troubleshooting Guide: Camera Won’t Focus
External factors like firmware and app behavior also contribute. An outdated camera app or firmware can introduce quirks that resemble focus hunting. Keeping your device software up to date often resolves these issues without any hardware changes. If you suspect software is to blame, a quick update check is a safe first step. For device-specific guidance, Samsung’s support article outlines focus troubleshooting steps for Galaxy phones. What to do if my Galaxy phone camera does not focus on the subject?
Images and examples provide helpful context. If you’d like to see visual demonstrations of how lighting and clutter affect autofocus, this photo guide explains the practical effects and fixes. Camera Won’t Focus: Complete Troubleshooting Guide
By understanding these two core factors—lighting and scene complexity—you can dramatically reduce focus hunting. The next sections will walk you through quick, actionable steps to lock focus and maintain sharp footage in everyday filming situations. For now, keep a small lamp handy, wipe the lens, and test with a brighter setup to verify improvements. Your smartphone footage will thank you.
Quick Fixes to Stop Focus Hunting on Any Phone
Focus hunting can ruin a great shot in seconds. The moment you press record, the lens might hunt for sharpness, causing flickers and soft frames. The good news is there are fast, practical steps you can apply on almost any phone. Below are two clear sub-sections you can drop into your article to help readers lock in focus quickly and keep footage crisp, no matter their device.
Lock Focus and Exposure Right Away
Locking focus and exposure (AE/AF Lock on iPhone, or the equivalent on Android) is the quickest way to prevent constant refocusing. When you lock the distance to your subject, the camera stops chasing every little change in the scene. This is especially useful for steady talking heads, product shots, or when you’re panning past a scene with little contrast.
How to do it:
- iPhone (AE/AF Lock): Tap and hold on the subject on the screen until you see the AE/AF Lock indicator. This locks both focus and exposure for the duration of the shot. For a quick reference, see Apple’s guidance on using camera controls for focus and exposure on iPhone. If you’re in a dim setting, consider briefly resting the phone on a stable surface to help the lock hold. For a step-by-step visual, this Backlight Blog guide covers AE/AF Lock and why it matters for sharpness.
- Android: Look for a focus icon or tap-hold on the screen to lock focus, then adjust exposure if needed. Some Android cameras offer a dedicated “Lock” or “AE/AF Lock” option in Pro or Manual modes. A quick YouTube walkthrough demonstrates how to lock focus on Android cameras in real time and can be a handy visual guide.
Why this helps: when your subject sits still, the camera won’t chase every micro-movement. You gain a stable baseline, which makes later adjustments or transitions much cleaner. If you’re filming in changing light, keeping exposure fixed stops the beta testing of brightness from dragging focus around. If you want a deeper dive into exactly how this works, a practical guide on locking focus and exposure lays out the concepts and shows common tweaks.
- Helpful reading: “How to Lock Focus and Exposure Separately on iPhone” for a deeper dive into separate focus and exposure adjustments.
https://beebom.com/lock-focus-exposure-separately-iphone-ios-14/
For more context on common focus issues in phones and the role of lighting and scene complexity, you can explore practical troubleshooting and examples that show the before and after of AE/AF Lock in action.
Camera Focus Troubleshooting Guide
Boost Light and Clean Your Lens
A bright, clean image is a happy image for autofocus. When light is plentiful and the glass is clean, the camera locks quickly and stays locked. On a smartphone, this single step can save you hours of post-production time and a lot of frustration.
What to do right away:
- Light up the scene: Use room lights, a small LED panel, or even a sunny window. More light means higher contrast edges for the AF system to latch onto, reducing hunting. If you’re shooting indoors, soft, even lighting reduces harsh shadows and keeps the subject clear.
- Clean the lens: Wipe the lens with a microfiber cloth. Gentle, short strokes are enough; avoid liquids on the glass. A clean lens restores clarity and helps the autofocus system detect edges more reliably.
- Position for contrast: A backlight pointed toward the subject or a light source from the side can improve edge definition. Higher contrast edges are easier for the autofocus to lock onto, especially in busy environments.
If you’re curious about optimizing lighting for smartphone video, several expert resources walk through practical, low-cost lighting setups and why lighting matters for focus. For example, a guide on improving lighting for videos covers simple tweaks you can apply anywhere, from a small desk setup to outdoor shoots.
Easy Fixes To Improve The Lighting In Your Videos
Lens care also matters. A dirty or smudged lens can create hazy images and confound the autofocus. If you notice smeared or dull footage, a quick lens clean can restore sharpness fast. A practical lens-cleaning guide from a trusted tech site offers step-by-step care tips suitable for smartphone optics.
How to clean your phone’s camera lens
In low light, even small improvements in lighting can cut focus hunting dramatically. If you want to explore additional lighting strategies tailored for mobile video, this article explains how to choose and position lights for better on-device exposure.
Best Lighting on iPhone Video Recording: How-to Guide
Putting it into practice: before you start recording, test a quick lighting setup in the space. If the focus stays locked and the image looks bright and clear, you’ve likely solved the problem for that scene. Then replicate the approach in similar shoots to build a reliable workflow.
Bonus tip: even with the best light, keep a small, stable tripod or a steady surface nearby. A steady base minimizes micro-movements that can trigger the AF system to re-evaluate distance. If you’d like to see a quick, visual walkthrough of focusing techniques on smartphones, a contemporary guide on Android focus locking is a good reference.
No More Blurry Shots: Lock Focus on Your Phone Like a Pro
By combining AE/AF lock with solid lighting and lens care, you can dramatically reduce focus hunting. These steps are quick, easy to execute, and work on most modern smartphones. If you keep this approach in your filming routine, your footage will look cleaner and more professional, even on days when the lighting isn’t perfect.
iPhone-Specific Fixes for Smooth Video Focus
When focus hunting shows up on an iPhone, the fix often lives in a few targeted settings and quick adjustments rather than a full reset. This section focuses on iPhone-specific steps you can take to stabilize focus during video. You’ll learn how to disable automatic macro behavior, lock exposure and focus for consistent results, and reset camera settings if other steps fail. Think of it as tuning the knobs on a reliable instrument so your smartphone footage stays sharp, even in challenging lighting or moving scenes.
Disable Macro Control and Lock AE/AF
iPhone users sometimes encounter unwanted macro behavior that disrupts video focus, especially on newer models with advanced lenses. The goal here is to prevent the camera from switching modes unexpectedly and to keep focus locked where you want it.
How to do it:
- Exact path: Settings > Camera > toggle off
- Then, in the Camera app, perform a quick lock: hold your finger on the subject on the screen until the AE/AF Lock indicator appears. This locks both exposure and focus for the duration of the shot.
Why this helps: when macro control is off and AE/AF is locked, the camera stops chasing every tiny change in distance. You gain a stable baseline, which makes panning and foreground movement much cleaner. It is especially useful for talking-head footage, product shots, or scenes with a lot of contrast changes. If you’re curious about the broader behavior of AE/AF on iPhone, this discussion provides practical context on how to manage focus and exposure together. iOS Camera Focus and Macro Discussion
If you prefer a visual walkthrough, there are quick demonstrations showing how to lock focus on iPhone cameras in real time. These can be helpful when you’re learning the gesture and the on-screen cue for AE/AF Lock. For a broader look at focus control on iPhone, this guide explains why locking exposure matters for steady footage. Mastering iPhone Focus: Lock AE/AF
A simple tip to improve the reliability of the lock is to steady the device before tapping and holding on the subject. Resting the phone on a stable surface for a moment can help the lock hold through minor lighting changes. If you want a concise, technical primer on how these controls interact during video capture, this resource lays out the core ideas without jargon. Camera Focus Troubleshooting Guide
One more practical note: if you frequently run into auto macro when filming small objects or text, consider using Pro or Live Photo modes when available. These modes often provide more deliberate control over how the camera handles depth and detail. For a quick checklist of steps that improves focus in typical iPhone setups, this article offers a practical summary. iPhone Focus Lock Quick Guide
Boost Light and Clean Your Lens
Lighting and lens cleanliness have a direct impact on how quickly and reliably the iPhone autofocus finds its target. A bright, clean scene creates crisp edges for the AF system to latch onto and reduces the hunting cycle.
What to do right away:
- Light up the scene: Use room lights, a small LED panel, or place the subject near a window with natural light. Higher contrast edges help the AF system lock faster.
- Clean the lens: Wipe the lens with a microfiber cloth using gentle, short strokes. Avoid liquids on the glass. A clean lens can bring back sharpness and stabilize focus in most situations.
- Maximize contrast: Position a light source to create clear boundary lines between subject and background. A backlight or side light often yields the best results for autofocus performance.
If you want deeper context on lighting for iPhone video, this guide explains practical, low-cost lighting setups and why lighting matters for focus. Easy Fixes To Improve The Lighting In Your Videos
Lens care matters, too. A smudged or dirty lens confuses the autofocus and softens the image. A quick lens clean can restore sharpness fast. For routine care and maintenance, this step-by-step guide outlines practical lens cleaning for small optics. How to clean your phone’s camera lens
In practice, a quick lighting improvement can dramatically reduce focus hunting. If you’re adapting on the fly, test a small setup before you shoot. If the focus holds in this setup, you’ve found a reliable baseline to reuse in similar scenes. A compact tripod or stable surface nearby adds another layer of steadiness that helps the AF system stay locked during movement. For a quick visual reference to focusing techniques on mobile devices, this contemporary guide to locking focus on Android can still offer useful concepts adaptable to iPhone workflows. No More Blurry Shots: Lock Focus on Your Phone Like a Pro
By combining AE/AF lock with good lighting and careful lens care, you can significantly reduce focus hunting on iPhone. These steps are fast, easy to implement, and work across recent models. With this approach, your footage stays crisper and more professional, even when conditions aren’t perfect.
Samsung and Android Fixes for Reliable Video Autofocus
Blurry autofocus during video is a common headache, especially when you’re trying to capture fast action or moving subjects with a phone. This section focuses on reliable fixes specifically for Samsung Galaxy devices and general Android tips that help stabilize focus for smoother smartphone video. You’ll find practical, action-focused steps you can apply right away, plus quick checks to prevent focus hunting before you hit record.
He Was Drowning in Bills and Burnout Until a Simple Daily Ritual Rewired His Brain for Wealth in Less Than a Week
>>> Start Your Shift Today <<<
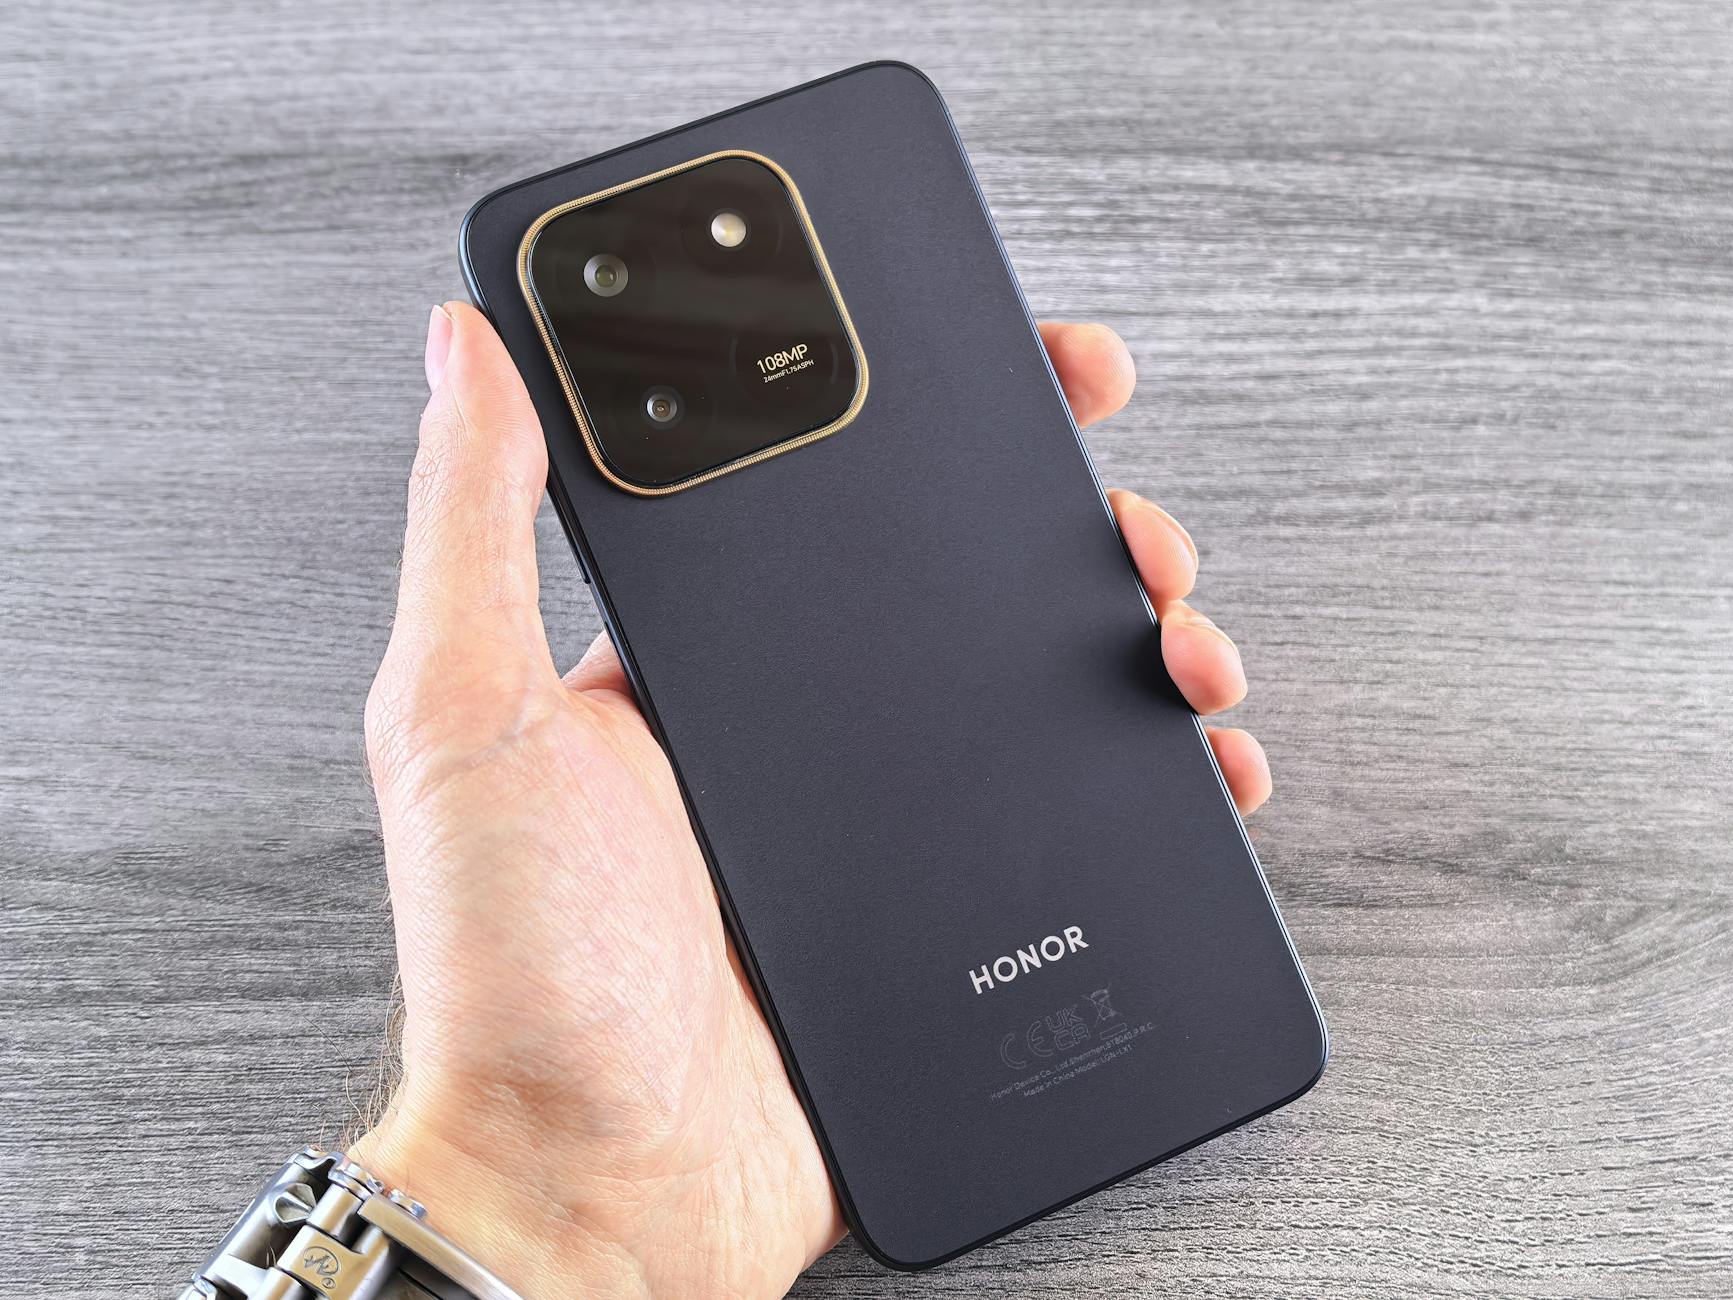 Photo by Andrey Matveev
Samsung Galaxy Tracking Auto-Focus Off
On many Samsung Galaxy models, Tracking Auto Focus (TAF) can be a double-edged sword. It helps keep a moving subject in focus, but it can also introduce hunting when the distance between camera and subject changes rapidly. Turning it off gives you more predictable results, especially for static shots or when you want precise control over what the camera focuses on.
What to do:
- Camera path: Camera settings > toggle off Tracking Auto Focus. If you don’t see a direct toggle, look for Pro or Auto modes where you can disable tracking within focus options.
- Reset as a quick reset: If you’ve noticed inconsistent behavior, a quick reset of the camera app can clear quirks. Close the app, reopen, and test with a simple shot to verify stability.
- Confirm Studio-like conditions: After turning off TAF, practice locking focus manually on your subject before recording. This creates a stable baseline that reduces re-focusing during motion.
Why this helps: once tracking is disabled, the camera won’t chase small subject movements or micro-distance changes. You gain steadiness, which translates to cleaner pans and less post-production work. If you want deeper Samsung-specific context, Samsung’s support pages walk through focus troubleshooting steps for Galaxy devices, including guidance on focus behavior. What to do if my Galaxy phone camera does not focus on the subject?
In practice, disable tracking for scenes with busy backgrounds or subtle subject motion. If you’re shooting a talking head or product close-up, disable TAF and lock focus to a fixed distance to maintain crisp edges throughout the clip. You’ll notice fewer abrupt focus pulls and a more professional look.
Tip: pairing the off switch with solid lighting and a clean lens dramatically improves autofocus performance. For quick validation, try a short test clip in a brightly lit room after making the change and compare it to your previous result.
For readers who want a quick visual guide, this YouTube snippet demonstrates the toggle and the impact on focus behavior in real time. How to Enable or Disable Tracking Auto Focus On Samsung Galaxy
A final note: if you later need to reintroduce tracking, you can re-enable TAF and then use manual focus for any tricky shot. The goal is to know which mode gives you the most reliable, repeatable results for your usual shooting scenarios.
Images and autofocus performance can also vary by model and software version. If you notice persistent hunting after turning off TAF, checking for a software update is a smart step. Samsung’s troubleshooting guide covers several focus-related issues and updates that can address them. Galaxy phone or tablet camera does not focus on the subject
Quick Android Tips to Stabilize Focus
If you’re not on a Galaxy device, these Android-focused tips help reduce focus hunting across many phones. The idea is simple: minimize scene changes that force the camera to re-evaluate distance, and give the autofocus system a moment to lock in.
Key steps:
- Safe mode check: Reboot into safe mode to rule out third-party apps that might affect camera focus. If the problem disappears in safe mode, a non-essential app is the culprit. Google’s official Pixel support guide explains how to use safe mode to identify problem apps. Find problem apps by rebooting to safe mode
- Lower video resolution when testing: If hunting happens more at high resolutions, drop to 1080p or 720p temporarily to confirm whether the device can lock focus more easily at a lower data rate.
- Pro or Manual modes where available: Use Pro or Manual modes to lock focus before recording. In these modes you can fix the focus distance, set exposure, and track with minimal re-focusing.
- Avoid third-party apps initially: Third-party camera apps can override or conflict with the stock autofocus. Start with the built-in camera app to establish a baseline, then experiment with trusted alternatives if needed.
- Update firmware and camera app: An outdated app or firmware can introduce quirks that mimic focus hunting. Keeping software up to date often resolves these issues.
When done correctly, these steps yield faster lock times and steadier results. For broader Android guidance on camera focus, forums and official support pages offer practical steps for Pixel and other devices. See the Pixel camera help for recommended fixes and safe mode steps. Fix your Camera app on your Pixel phone or tablet
If you’re curious about a broader guide that covers focus behavior in various lighting conditions, this camera troubleshooting article provides actionable steps for common scenarios. Camera Focus Troubleshooting Guide
In addition to software tweaks, basic hardware care matters. Clean lenses regularly and avoid cluttered backgrounds where possible. A simple lens cleaning routine can restore clarity and help the autofocus detect edges more quickly. For practical lens care steps, this guide is a reliable resource. How to clean your phone’s camera lens
One practical approach is to create a quick filming workflow: test in a well-lit area, lock focus, then record a short sample. If the result stays sharp, you’ve found a reliable baseline you can reuse in similar shoots. By combining these strategies, you can minimize focus hunting and keep your smartphone footage crisp with minimal effort.
To further expand your understanding of lighting and autofocus interplay, this lighting guide offers easy-to-implement setups for better camera performance. Easy Fixes To Improve The Lighting In Your Videos
Quick Notes on Practical Setup
- Always carry a small, portable light source for tricky indoor shots. A compact LED panel makes a noticeable difference.
- Keep a microfiber cloth handy for quick lens cleans. A clean lens is a faster path to reliable focus.
- If you rely on manual focus often, consider bookmarking a quick reference guide for your device. It saves time during shoots.
With these practical tips, you can reduce focus hunting across Samsung Galaxy devices and other Android phones. The goal is straightforward: smoother focus, less hunting, and footage you won’t have to re-shoot.
Photo by Andrey Matveev
Prevent Focus Hunting and Troubleshoot Further
Focus hunting can ruin a great shot in seconds. The moment you press record, the camera keeps hunting for the sharpest distance. The good news is you can reduce or even eliminate most of these bouts with a few targeted checks and tweaks. This section helps you move from quick fixes to deeper troubleshooting, so your smartphone footage stays consistently crisp across lighting and subjects.
Quick triage: rules of thumb to quiet the autofocus
Start with fast, low-effort checks that usually stop hunting in its tracks. These steps work on most modern smartphones and set a solid baseline before you dig into device-specific settings.
- Lock focus and exposure first: This locks the camera’s target distance and stops it from chasing every micro-change in the scene. On iPhone, tap and hold on the subject until AE/AF Lock appears; on Android, look for a lock icon or Pro/Manual mode options.
- Stabilize your shot: A steady hand, a tripod, or a fixed surface reduces micro-movements that kick off refocusing cycles.
- Clean the lens and boost light: Even a tiny smear can fool the AF system. A bright, well-lit scene makes edges pop and helps the camera lock quickly.
- If the subject moves, plan for panning: Instead of relying on continuous autofocus, lock focus, then track the subject with controlled movement. This minimizes back-and-forth focus shifts.
For readers who want a quick visual reference, you can explore practical demonstrations on how locking focus affects video. These examples show real-time improvements when exposure and focus are stabilized. No More Blurry Shots: Lock Focus on Your Phone Like a Pro
Platform-by-platform: tailor the approach
Different phones present unique quirks. The fixes below address common behaviors you’ll encounter on iPhone and Android, including Samsung Galaxy devices.
iPhone: stable focus without auto macro surprises
iPhone users often see unwanted macro behavior that ruins smooth focus during close-ups. The key is to disable automatic macro detection and rely on a locked AE/AF approach for reliable results.
- Disable auto macro, then lock AE/AF: Go to Settings > Camera > toggle off Macro Control. In the Camera app, hold on the subject to activate AE/AF Lock for the shot.
- Use Pro or cinematic modes when available: These modes give you more predictable depth and exposure control, decreasing the chance of sudden focus shifts.
- Rest the device momentarily for a stronger lock: A brief pause on a stable surface before recording helps the lock hold through minor lighting changes.
- If focus still hunts, reset the camera settings: This can clear quirky preferences that build up over time.
If you want a deeper dive into how these controls interact, you’ll find practical context in discussions about AE/AF on iPhone. iOS Camera Focus and Macro Discussion
To see a concise walkthrough of iPhone focus control in action, check a quick guide that covers how to lock focus and exposure. Mastering iPhone Focus: Lock AE/AF
Lighting and lens care remain universal allies. A clean lens plus good light significantly reduces the risk that the iPhone AF system bounces between distances.
- Quick lighting tip: Use a window or a soft LED light to create clear edges on the subject.
- Lens care reminder: A microfiber cloth cleans away fingerprints that degrade sharpness.
A practical reference for lighting setups that benefit mobile video is the guide on simple lighting fixes. Easy Fixes To Improve The Lighting In Your Videos
Android and Samsung Galaxy: disable tracking when it hurts, not helps
Some Android flagships, especially Samsung Galaxy models, offer Tracking Auto Focus (TAF). It can help keep a moving subject in focus but may cause hunting when distances change quickly. Turning off TAF often yields smoother results for static shots or when you want precise control.
- Turn off Tracking Auto Focus: Camera settings > disable Tracking Auto Focus. If not visible, switch to Pro or Auto modes and adjust focus options there.
- Lock focus manually before recording: After disabling TAF, find a comfortable distance to set focus, then start recording with a smooth pan if needed.
- Quick app reset and testing: Close the camera app, reopen, and test with a simple shot to verify stability.
- Update and check model-specific guidance: If hunting persists, verify there is no firmware update that addresses camera behavior.
For Galaxy users, Samsung’s support pages provide focus troubleshooting steps for Galaxy devices. What to do if my Galaxy phone camera does not focus on the subject?
If you need a broader Android reference, several guides explain how to stabilize focus across different devices and scenarios. Top 6 Ways to Fix Camera Focus Not Working on Android
Deep-dive troubleshooting: when quick fixes aren’t enough
If hunting keeps returning after you’ve tried the basics, you’ll want a methodical approach. The goal is to identify whether software, hardware, or environmental factors are to blame and apply a targeted fix.
- Test with third-party apps selectively: Some camera apps offer more robust manual controls. Start with your device’s built-in app, then experiment with trusted third-party options that provide manual focus and exposure locking.
- Check for firmware and app updates: An up-to-date OS and camera app can reduce autofocus quirks. If the issue started after a recent update, check whether others report the same problem and whether a hotfix exists.
- Add lighting and reduce scene clutter: In complex backgrounds, the AF system can misread distances. Reframe or backlight the subject to improve edge detection.
- Inspect hardware for damage: A loose camera module or a scratched lens can affect autofocus accuracy. If you’ve dropped the phone or notice physical damage, a repair may be necessary.
If you want deeper context on common focus issues in phones and the role of lighting and scene complexity, these guides are useful references. Camera Focus Troubleshooting Guide
External influences like firmware and app behavior also contribute. An outdated camera app or firmware can produce quirks that resemble focus hunting. Keep software up to date to rule out these glitches.
Quick setup checklist: build a reliable shooting workflow
A repeatable workflow reduces the chance of focus hunting across most scenes. Use this as a fast reference when you walk into a shoot space.
What If the Only Thing Between You and the Life You Deserve Is a Hidden Wealth Code Waiting to Be Activated
>>> Open the Door <<<

- Prepare the lens: Clean with a microfiber cloth, check for smudges, and ensure there are no visible obstructions.
- Light with purpose: Position light to create strong subject edges. If possible, place a secondary light behind the subject to add separation from the background.
- Lock and test: Enable AE/AF Lock, set exposure, and perform a quick focus test on a static frame. If the focus holds, you’re ready to record.
- Record with intention: Start recording after you’re confident the focus is locked. Use controlled movement rather than abrupt pans if you’re working with a moving subject.
- Review and adjust: Stop after a short clip and review sharpness. If needed, tweak lighting, distance, or exposure before the next take.
To see a practical demonstration of focus locking in action, you can view quick tutorials that compare locked vs unlocked footage. No More Blurry Shots: Lock Focus on Your Phone Like a Pro
When to consider more advanced options
If you film frequently in challenging conditions, you may want to explore more robust tools and techniques.
- Pro-grade apps with advanced controls: Apps like Filmic Pro or ProTake provide precise focus control, exposure management, and sometimes external monitor support. These tools can significantly improve how you handle depth and focus in dynamic scenes. Filmic Pro: Mobile Cine Camera
- External accessories: A small tripod, a compact LED panel, and a travel-friendly telephoto lens can make a big difference. These accessories help you maintain consistent framing and sharp edges, reducing the need for frequent autofocus recalibration.
- Firmware-driven improvements: Manufacturers periodically release firmware updates that optimize autofocus performance. Keep an eye on official channels for your device to catch these improvements early.
If you’re curious about the latest firmware and how it can affect focus performance, you can watch industry updates and practical demonstrations from professional creators. Enhancing Camera Capability with Firmware Updates
Practical examples: how the tips translate into better footage
- Example 1: You film a product unboxing in a sunlit room. Lock focus, expose for the product, and keep a slight backlight to maximize edge contrast. The footage remains crisp as you rotate the box toward the camera.
- Example 2: You’re shooting a moving subject indoors. Disable Tracking Auto Focus on Samsung Galaxy, then lock focus at a comfortable distance and pan smoothly. The subject stays sharp, with minimal hunting.
- Example 3: You’re recording a talking head in a dim room. Add a desk lamp to improve contrast at the subject’s face, then AE/AF Lock to maintain stability through subtle movements.
If you want more practical references, quick start guides and product-focused reviews can offer additional tips on how different smartphones handle focus in real-world setups. Protake – Mobile Cinema Camera
Quick notes for carrying your preventative toolkit
- Always carry a compact light source for tricky indoor shots.
- Keep a microfiber cloth on hand for fast lens cleans.
- If you rely on manual focus often, bookmark a quick reference guide for your device to speed up setup.
With these strategies, you can greatly reduce focus hunting on both iPhone and Android devices and keep your smartphone footage sharp with minimal effort. The aim is simple: reliable focus, fewer re-shoots, and footage you’re proud to share. For a quick refresher on practical lighting and focus interaction, consider this resource on lighting for mobile video. Easy Fixes To Improve The Lighting In Your Videos
Conclusion
Three simple fixes can dramatically cut focus hunting on your smartphone. Lock focus and exposure before you start recording, then test a static frame to confirm the lock holds. Boost lighting and clean the lens to give autofocus clear edges to latch onto. If you still see hunting on Android, try Pro or Manual modes and disable tracking AF for a more predictable result.
A quick, repeatable workflow helps you shoot with confidence. Wipe the lens, close and reopen the camera app, and lock AE/AF on a steady subject. Move to a well lit scene and keep a small light handy for tricky interiors. If your smartphone still hunts, switch to manual focus or a trusted camera app with solid focus controls.
Now it’s your turn to try these steps. Share what worked for you, or describe any issues you still face in the comments. If you have other tips, drop them in and let others benefit. With these easy moves, filming becomes smoother and your smartphone footage looks noticeably more polished.
He Was Drowning in Bills and Burnout Until a Simple Daily Ritual Rewired His Brain for Wealth in Less Than a Week
>>> Start Your Shift Today <<<