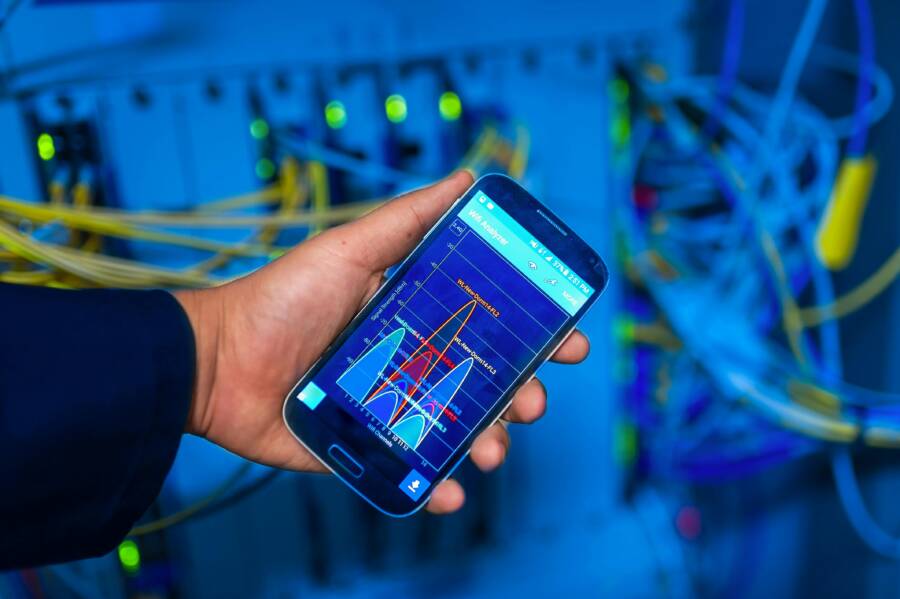
Connecting to public Wi-Fi at airports, hotels, or cafes should be simple. You find the network name, tap connect, and a login screen pops up asking for credentials or agreement to terms. Unfortunately, that login screen, called the captive portal, often just won’t load on your smartphone.
It’s frustrating when your phone shows it’s connected to Wi-Fi but won’t give you internet access. This usually happens because your phone tries to check for internet access too fast. It sees the portal blocking the way and decides the network is broken before the necessary login page even appears.
The fix usually involves a few quick adjustments on your device, not complicated technical know-how. We’ll walk through the most common solutions so you can get online without the headache. You’ll learn simple steps to force that login screen to appear easily. This guide focuses on getting your smartphone connected right now.
The Simple First Steps: Quick Fixes for Your Smartphone
When public Wi-Fi fails to present the required login page, the frustration is immediate. You’re sitting in a coffee shop, hoping to check an email or look up directions, but your phone acts like the network connection is broken. This situation usually stems from a handshake failure between your device and the network’s captive portal. Your smartphone is trying to be smart; it checks for internet access immediately upon connection and, seeing the portal blocking the way, assumes the network is dead or problematic. Before you start researching complex network settings, there are several immediate, straightforward actions you can take right on your smartphone to coax that login window into appearing. These quick fixes reset the connection state and often solve the problem instantly.
Did You Really Connect to the Right Network Name
The most overlooked issue is simple confirmation: Are you actually connected to the intended network? Public venues often broadcast multiple SSIDs (network names); maybe you connected to a neighbor’s private network or a different tier of the public service, like a guest network versus a premium one. Double-check that selection in your Wi-Fi settings. It’s very easy for your device to establish a connection to the signal but fail to initiate the login process because it is prioritizing cell service.
You must confirm that your smartphone is using Wi-Fi, not your cellular data plan. If the Wi-Fi icon is visible, that’s a step forward, but it doesn’t mean the data path is open. Remember this critical point: simply tapping on the network name usually establishes the physics of the connection. It does not automatically open the crucial login page. You have to actively make a request that the system can intercept. If you just wait, the portal may never appear because the device gave up waiting for the connection health check to complete.
The Classic: Forgetting and Reconnecting to the Wi-Fi
If you connect but the page never loads, the phone’s saved network profile might hold incorrect connection data from a previous, failed attempt. Wiping this saved profile forces your device to start from scratch the next time it attaches. This process differs slightly between operating systems but achieves the same goal: dumping all previous connection settings for that specific hotspot.
Here are the common steps for resetting your connection profile:
- For iPhone/iOS Users:
- Go to Settings, then select Wi-Fi.
- Find the troublesome network name in the list.
- Tap the blue information icon (
i) next to the network name. - Select Forget This Network and confirm your choice.
- For Android Users (Steps may vary slightly by brand):
- Go to Settings, then Connections or Network & Internet.
- Tap on Wi-Fi.
- Tap and hold (or tap the gear icon) next to the network name you wish to remove.
- Select Forget or Forget Network.
Once you have successfully forgotten the network, go back to the Wi-Fi list, select the network name again, and attempt to connect. This forces your smartphone to re-request the necessary authentication handshake, which frequently triggers the captive portal to load correctly.
Check Your Phone’s Browser for the Login Prompt
Sometimes the automatic redirection feature in modern operating systems fails. Your phone connects, but nothing pops up on your main screen. This doesn’t mean the portal isn’t there; it might just be hiding or required to load in a specific application. Mobile operating systems often use a built-in “mini-browser” to handle captive portals safely, but this process can stall.
Instead of waiting for the automatic prompt, try initiating the connection yourself. You can often trick the system into presenting the login page by attempting to visit an unsecured website. A great technique is navigating directly to a known, unencrypted (HTTP) address. For example, typing http://neverssl.com into your browser forces your phone to make a simple, unsecured request. Because the portal must intercept all HTTP traffic, this attempt usually forces the network to serve up the login page instantly.
If that fails, try accessing a known local router IP address directly in the address bar, like 1.1.1.1. When the redirection mechanism breaks, accessing the gateway address directly often loads the authentication page that was otherwise hidden. If one app, like Chrome, doesn’t show it, quickly switch to another browser, such as Safari or Firefox. Sometimes the captive portal handshake is configured in a way that only one browser successfully interprets the redirection command on your specific smartphone.
Resolving Browser and DNS Conflicts: Clearing the Path to Login
When your smartphone connects to a new Wi-Fi network, it holds onto previous connection information. This saved data, stored in your browser cache and the general system memory, acts like a sticky note telling your phone, “We’ve been here before, everything is fine.” The problem arises with captive portals because the network hasn’t authenticated you yet; it’s just broadcasting a signal. If your phone relies on old, saved data, it might skip the crucial step of waiting for the login screen, leading to no internet access and a failure to load the portal. We need to wipe out that old memory to force a fresh look at the network’s entry requirements. Even a simple DNS (Domain Name System) inconsistency can point your device to the wrong place when trying to locate the login server. By refreshing the local data, you often reset these hidden conflicts.
Clear Your Browser’s Cache and Cookies
Old saved data, including website cookies and cached files, frequently interferes with the captive portal mechanism. Your device looks at this stored information, sees evidence of a previous successful connection, and prematurely decides it doesn’t need the sign-in screen. This tricks your smartphone into thinking it has full internet privileges when it really only has internal network access. Clearing these elements forces a complete re-evaluation of the network status, demanding the portal appear.
The process varies depending on which browser your smartphone favors.
For Android users running Chrome, you can remove this stale data easily:
- Open the Chrome application.
- Tap the three dots icon (More menu) on the upper right side of the screen.
- Select the option to Delete browsing data. You can choose specific time ranges for history, but for captive portals, clearing all cached images and files, plus cookies, is often the most direct solution. You can find more detailed guidance on managing this data for your Android device in resources like the Google Account Help pages.
If you primarily use an iPhone or iPad with Safari, Apple requires a slightly different path to clean up the memory of websites:
- Navigate to the main Settings app.
- Scroll down until you locate Safari and tap on it.
- Look for Clear History and Website Data. Tapping this will remove history, cookies, and other browsing data across all devices linked to your iCloud account.
- For a deeper clean affecting only cookies, you can go to the Advanced settings within Safari settings and select Website Data to remove specific stored information. Following these steps often resets the connection state enough to prompt the portal.
Try a Different Web Browser
If clearing the cache doesn’t immediately solve the issue, the problem might lie with how your default browser interacts with the captive portal’s redirection code. Captive portals use specific internal redirects to push you from a standard web request to the login page. Some default browsers, especially if they have aggressive security settings or unique handling for secure connections, might balk at these redirects.
Think of it this way: if the network speaks one language and your browser only understands a slightly different dialect, the message gets lost. When your primary smartphone application fails to communicate properly, switching tools often succeeds.
Here is a recommended action plan:
- If Chrome fails, switch to a secondary browser: If you were using Chrome, try opening the captive portal link manually in an alternate browser like Firefox, Samsung Internet, or the native default browser (Safari on iOS).
- If the default browser fails: Sometimes the built-in browser tool handles these redirects more gracefully than a heavily customized third-party app. Make a deliberate switch to see if the alternate browser can catch the portal window when the main one misses it.
This simple browser swap often bypasses a specific software glitch or setting that prevents the necessary sign-in screen from rendering correctly on your device.
Turning Off Private Wi-Fi Address or VPNs
Security and privacy features designed to protect you online can unfortunately clash with the strict requirements of a captive portal. Two common features often cause this connection hiccup: Private Wi-Fi Address (specific to iOS) and any active VPN (Virtual Private Network) service.
The Private Wi-Fi Address feature, introduced by Apple, gives your device a different local MAC address for each Wi-Fi network it joins. This enhances privacy by making it harder for third parties to track your device across different locations. However, some older or simpler captive portal systems expect a consistent hardware address for initial connection validation. If your address keeps changing or appears randomized, the portal may refuse to serve the login page because it can’t establish a stable, trackable session for authentication. To test this on an iOS device, you must:
- Go to Settings and select Wi-Fi.
- Tap the information icon (
i) next to the connected network. - Toggle the Private Wi-Fi Address setting off temporarily.
Similarly, if you run any VPN application, it creates an encrypted tunnel linking your phone to a remote server. This tunnel bypasses the local network’s gateway entirely. If the local network cannot see your actual IP address (hidden behind the VPN), it certainly cannot present the captive portal login page to you. The VPN connection must break before the portal can load. Temporarily disconnect or disable your VPN application before attempting to connect to the public Wi-Fi again. Once you successfully log in through the captive portal, you can safely reactivate your VPN service to encrypt your traffic afterward.
Network Reset Tricks: Deeper Troubleshooting for Persistent Issues
When the simple tricks fail and the captive portal login screen remains hidden, it signals that something deeper within your connections or network recognition settings on your device is actively preventing the process. We’ve ruled out the easy connection errors. Now, it’s time to perform more authoritative resets within your phone’s software. These countermeasures are more direct; they wipe more connection memory and intentionally poke the network using standard, expected addresses. Taking these steps forces your smartphone to treat the network as completely new, often clearing stubborn errors that a simple toggle switch cannot touch.
The Ultimate Fix: Resetting Network Settings on Your Device
The most comprehensive step you can take short of a full factory reset is performing a Network Settings Reset. This action is powerful because it wipes out saved Wi-Fi passwords, known Bluetooth pairings, and cellular settings, returning them to factory defaults. It’s like cleaning the internal slate regarding all radios in your device. You must be prepared for this because you will lose convenience items you rely on daily.
It’s important to understand the implications before proceeding. This action does not delete your personal data, photos, apps, or text messages. What it does remove includes:
- All saved Wi-Fi network names and passwords. You must re-enter these later.
- All previously paired Bluetooth devices. You’ll need to re-pair your headphones or car system.
- Any saved VPN configurations.
- Customized cellular data settings (though usually these revert properly).
This procedure resolves issues where corrupted network preference files are causing the captive portal handshake to fail repeatedly on your smartphone. You can find detailed guides on exactly how to perform this for various devices, as the menu locations can shift slightly between Android updates and iOS versions compare how to reset network settings on Android and iOS.
Here is a general guide to executing the reset:
- For iPhone/iOS: Navigate to Settings, tap General, scroll down to Transfer or Reset iPhone, select Reset, and then tap Reset Network Settings. You will need to enter your passcode to confirm.
- For Android: The path often involves going to Settings, then System or General Management, selecting Reset Options, and finally tapping Reset Wi-Fi, mobile & Bluetooth or Reset network settings. Confirm the action when prompted.
After the device reboots or finishes the process, reconnect to the public Wi-Fi network. Since all old connection data is gone, your smartphone is obligated to look for the captive portal authentication prompt.
Manually Inputting the Portal Address
If clearing settings hasn’t worked, the automatic redirection mechanism might be completely blocked. Your phone is expecting a pop-up window, but the network infrastructure isn’t delivering it reliably. In this scenario, you must bypass the automatic system and manually request the login page by typing a known address directly into your browser’s address bar. Captive portals are designed to intercept standard web traffic, so using a direct, unsecure (HTTP) address is the best way to force this interception. Secure (HTTPS) websites often fail because the redirection happens before the secure tunnel can be established.
We need an address that the network will allow through, which it then redirects to the login page. Several common addresses are internationally recognized by most captive portal systems because they are often the first check devices perform. Try these specific, unencrypted addresses in order:
http://captive.apple.com: This is often the fastest success because many devices check for this Apple-specific test page upon joining a network.http://neverssl.com: This site intentionally avoids secure encryption, making it a safe bet for triggering an HTTP redirection requirement.http://1.1.1.1/: This is the IP address for Cloudflare’s public DNS service. When the network blocks access to this valid site, the block usually triggers the portal login screen instead of a timeout error.
If you utilize any of the known IP addresses, such as Google’s public DNS at http://8.8.8.8/, some systems use that block to present the required sign-in interface. Success with these manual inputs confirms the network is operational, but your smartphone software was failing to trigger the pop-up automatically.
Quick Check: Is Airplane Mode Your Secret Weapon
When you toggle Airplane Mode on and then off again, you are commanding your device to completely surrender all wireless connections, including Wi-Fi and cellular, and then rebuild that connection from scratch. This momentary disconnection is more thorough than simply turning Wi-Fi off and on again. Think of it as hitting a hard reset on your device’s radios without restarting the entire phone.
This action forces the underlying hardware to re-scan the environment, re-authenticate with the nearest access point, and request a completely fresh IP address assignment from the network router. Because the entire connection protocol starts fresh, it often successfully triggers the captive portal handshake that failed during the initial, slightly corrupted connection attempt.
To execute this quick refresh:
- Swipe down from the top of your screen to access the quick settings menu.
- Tap the Airplane Mode icon until it shows as active (this usually takes about ten seconds to fully disconnect).
- Wait about ten seconds more to allow the radio components to settle.
- Tap the Airplane Mode icon again to deactivate it.
Your device will immediately search for available Wi-Fi networks. Rejoin the public network and watch closely; this sudden, full reconnection sequence frequently coaxes the expected login prompt to appear immediately.
When It’s Not Your Smartphone: Understanding the Wi-Fi Side
You’ve tried forgetting the network, swapping browsers, and even resetting your phone’s connection preferences. If the captive portal still refuses to appear, the problem likely shifts away from your device and rests with the public network itself. Your smartphone might be perfectly fine, but the server managing the Wi-Fi access point could be the source of the failure. Recognizing these external issues helps you avoid endless troubleshooting on your end and move toward a quicker resolution. Sometimes, the simplest truth is that the system you are trying to access simply isn’t working right now.
Server Side Problems: What If the Portal is Just Broken
When the login screen simply won’t appear, you might be facing a server side problem, often described as a timeout or an overloaded system. Think of the captive portal as a specific application running on the venue’s main router or external server. If too many people try to sign in at the same moment, that server can become swamped. It gets so busy managing existing traffic and authentication requests that it simply cannot respond to your smartphone in time. This results in a gateway timeout error, even if it appears as just a frozen connection on your phone.
How can you tell if the venue’s server is the culprit?
- Is the Delay Excessive: If you connect and wait thirty seconds or more with nothing happening, it suggests the server is struggling to manage the request from your device. This is the classic sign of an acutely overloaded system.
- Observe Others: Look around you. Is everyone else in the coffee shop or airport lobby also looking frustrated at their phones? If you notice multiple people recently struggling to connect or asking about Wi-Fi access, the issue is shared, pointing directly to the local network infrastructure.
- Check for Error Messages: While often the portal doesn’t load at all, sometimes a brief, confusing error message flashes. If the message mentions server errors or connection failures, that’s a strong hint the network hardware is struggling.
If you suspect the server is overwhelmed, the best immediate action is to try again later. Give the venue staff time to notice the issue or wait for a lull in user demand, which might be ten minutes or even an hour, depending on how busy the location is. Sometimes the solution isn’t found within your settings but simply by waiting for network traffic to decrease. Knowing when to stop tinkering with your smartphone settings saves valuable time.
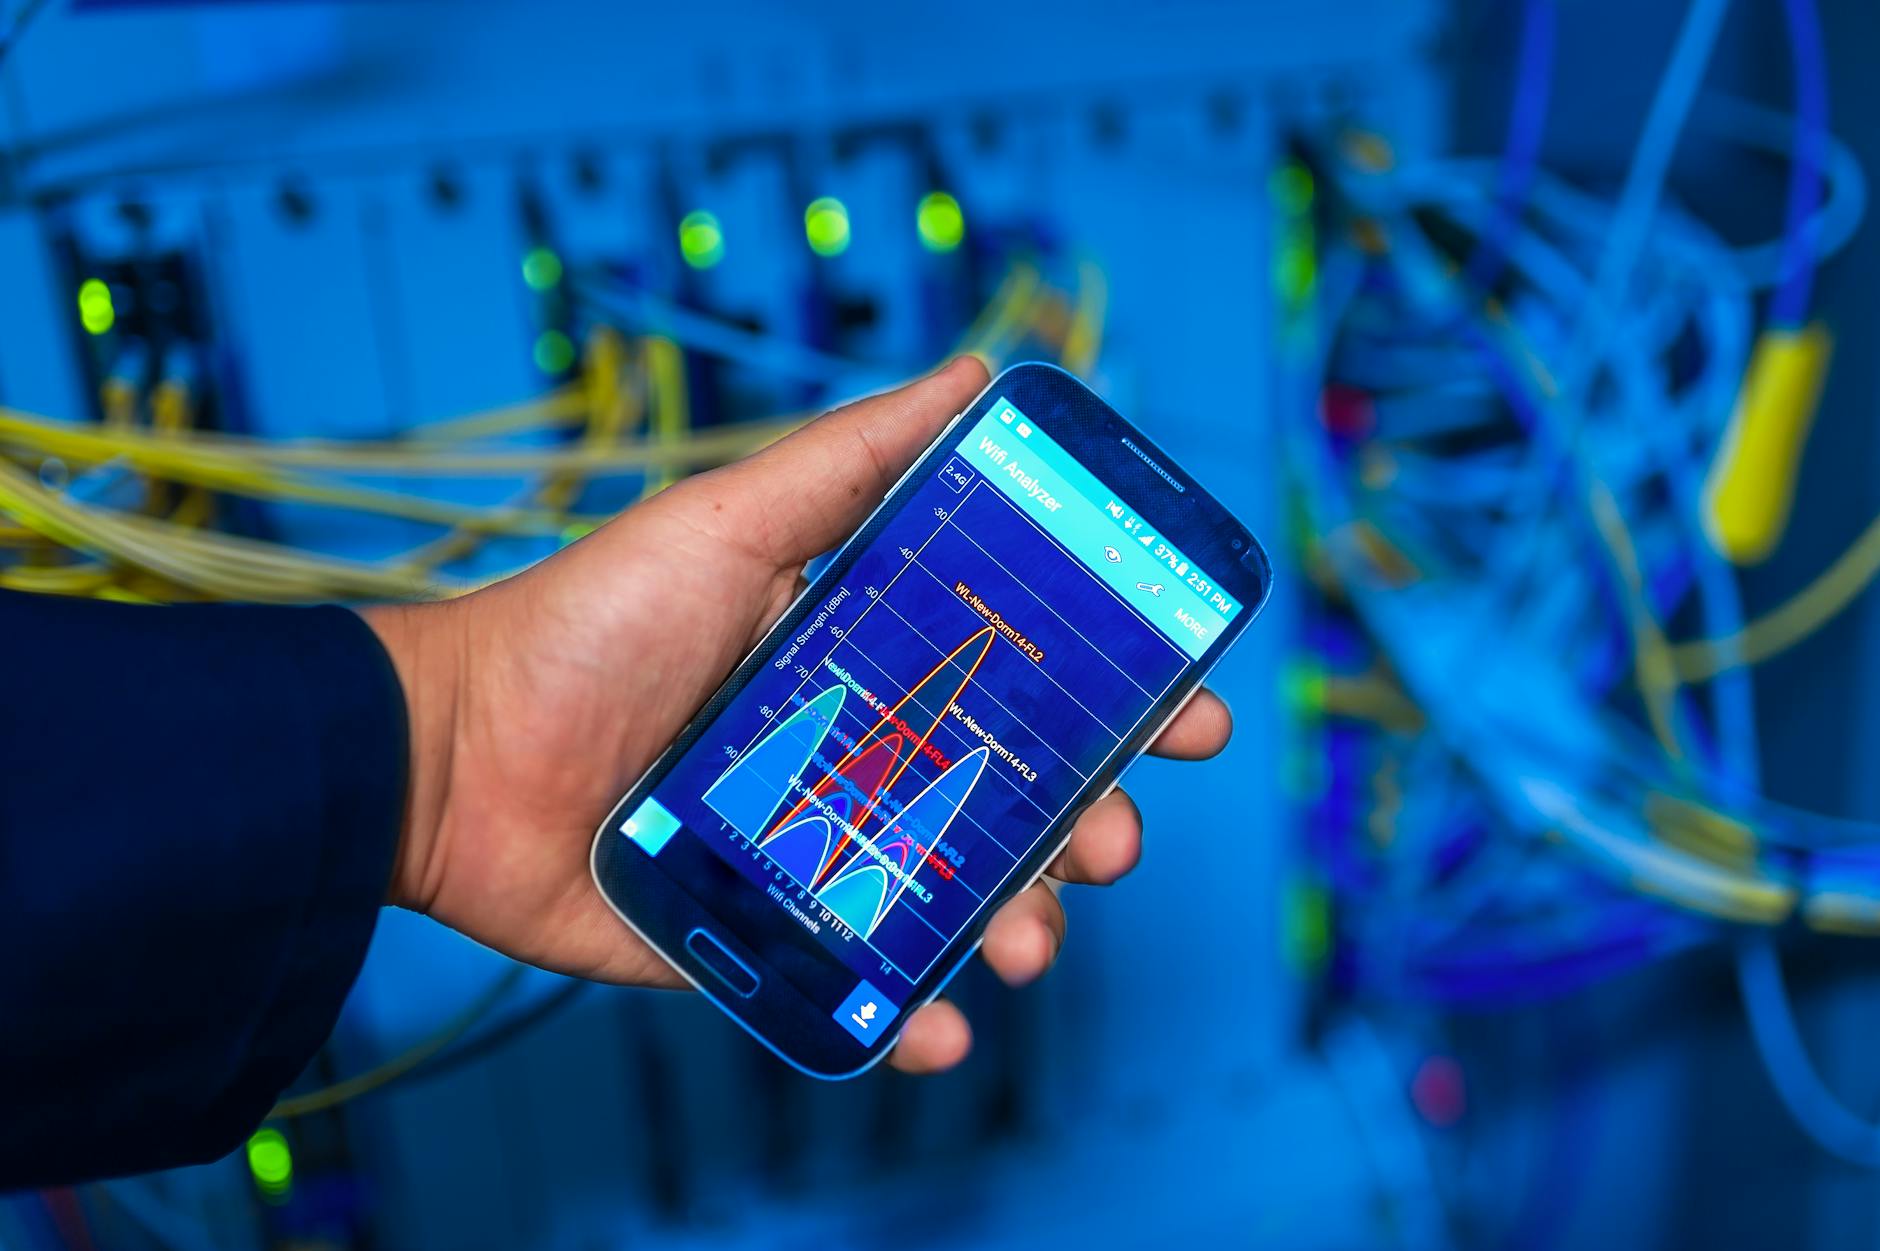 Photo by panumas nikhomkhai
Ask for Help: Finding Staff or Alternative Connections
If you have cycled through all the device-side troubleshooting steps, including network resets, and the public Wi-Fi login stubbornly refuses to load, continuing to troubleshoot your individual device offers diminishing returns. At this stage, you need external assistance or a reliable fallback plan. You need to confirm if the problem is local to you or universal to the network.
The next logical step involves seeking direct human assistance. Do not hesitate to approach a member of the venue’s staff. Employees often know about persistent Wi-Fi issues before customers report them, particularly if the issue is an ongoing server problem, a recent configuration change, or a required service restart that hasn’t happened yet. They might have an internal guide or a specific procedural step that bypasses the automatic login failures affecting your smartphone. Directly ask employees if others have reported connection trouble recently.
If speaking to staff doesn’t yield an immediate solution, or if there is no staff available, shift your focus to establishing an immediate, functional internet connection for your smartphone. Waiting for a complex public network to stabilize might mean missing deadlines or getting lost. In these scenarios, you should pivot to your reliable backup methods:
- Use Cellular Data: If your mobile carrier has a strong signal in your current location, switch off Wi-Fi entirely and use your 4G or 5G data plan. This grants you immediate, independent access.
- Mobile Hotspot: If you have a generous data plan, consider activating your phone’s mobile hotspot feature. This lets your smartphone become the Wi-Fi source, allowing any other device you might have, or perhaps even a trusted friend’s device, to connect reliably without facing the captive portal challenge. If you need basic connectivity for your laptop while waiting, creating a local hotspot is a fantastic workaround.
Knowing when to stop fighting the public network and switch to a connection you control is key to maintaining productivity when travel or work interruptions occur.
Conclusion
You’ve covered the troubleshooting spectrum, moving systematically from quick checks to deeper fixes. Recall the main path: start with immediate actions like checking the network name and manually loading an HTTP address like http://neverssl.com. If those fail, proceed to clear browser cache or forget the network entirely, forcing a fresh connection attempt on your smartphone. Should these software adjustments not resolve the stoppage, the deeper step involves resetting all network settings on your device, which wipes stored credentials and forces a full radio re-initialization. Remember, one of these targeted solutions almost always works because the failure is typically caused by corrupted local memory or an overly aggressive security setting interfering with the required handshake. Getting that captive portal to load means you’ve successfully bypassed a common frustration and can now return to using the public Wi-Fi successfully.