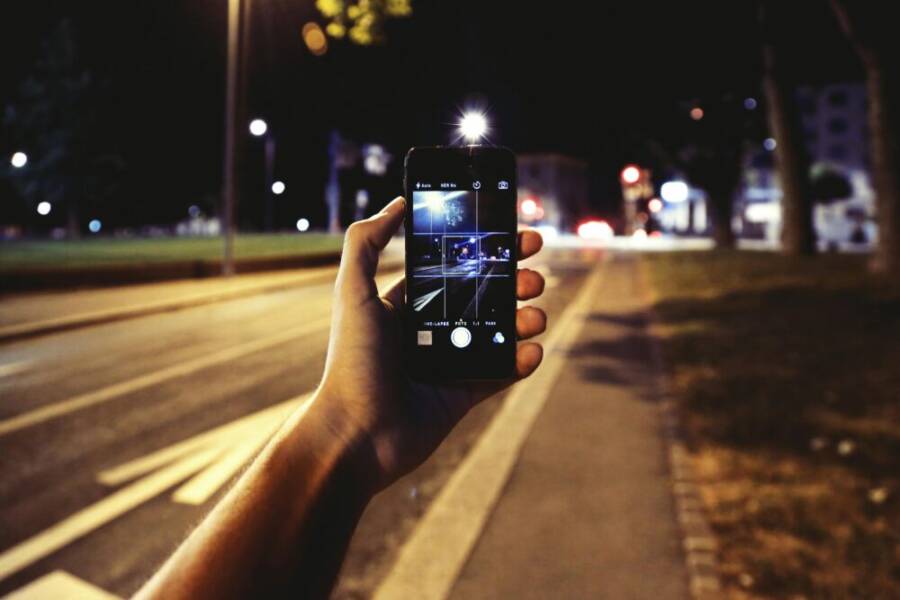
Understanding night mode cameras on smartphones
Night mode cameras on smartphones have become a staple feature for anyone who shoots in low light. This section breaks down the core ideas in plain language and shows you what to look for when testing night mode. You’ll come away with practical takeaways you can use right away, whether you’re photographing city streets, a dimly lit restaurant, or a concert hall.
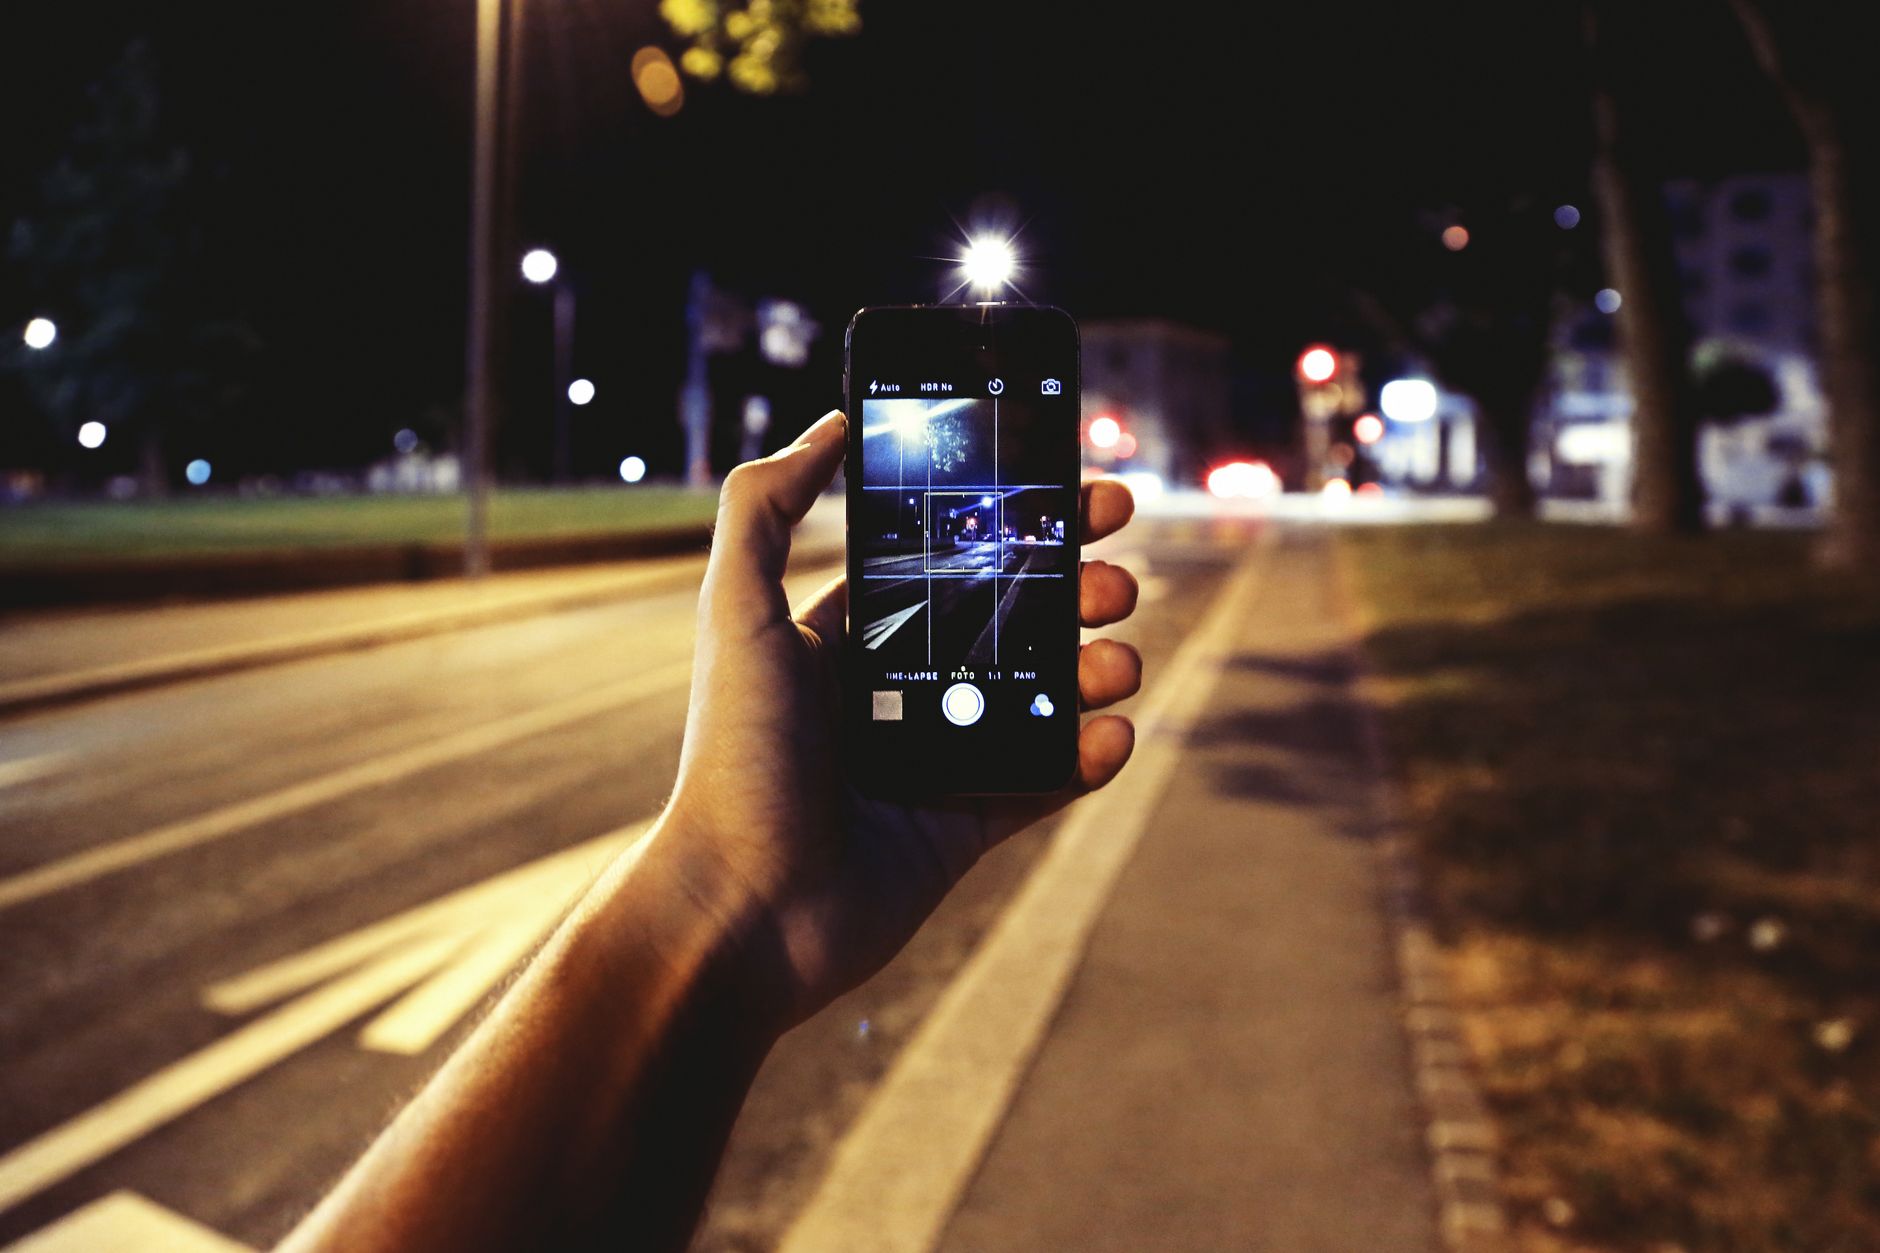 Photo by Image Hunter
How night mode works
Night mode is not just one trick; it’s a blend of several ideas that come together to brighten dark scenes without making them look fake. Here are the core concepts in everyday language:
- Longer exposure, like letting your eye linger on a dim scene. The sensor collects more light by staying open longer when you press the shutter. The result is brighter details that would otherwise be hidden in shadows.
- Multiple frame stacking, or taking several quick photos in a row and combining them. Think of stacking sheets of paper to build a clearer picture; each frame adds more light and information to the final image.
- Noise reduction, which reduces the grain you see in dark areas. In low light, sensors pick up random specks of color. The processing steps help smooth those specks while preserving sharp edges.
- AI processing, which smartly guides how to merge frames and reduce artifacts. The phone analyzes the scene, detects where to keep color contrast, and decides how much smoothing to apply where detail matters most.
In practice, you’re not waiting for a perfectly still moment. Night mode takes a heartbeat or two of stability to gather light, then uses that information to produce a more faithful color and cleaner detail. The result is a photo that looks more like what your eyes saw, not just a brightened version of a dark snap.
For a closer look at how major players implement night mode, see how Google’s Night Sight and HDR+ Bracketing work together to combine long exposures with rapid frame bursts. This approach helps keep highlights controlled while preserving midtone detail. For a deeper dive into the exact techniques, you can explore the Pixel team’s explanations and related coverage from industry outlets.
- Helpful read: How Pixel makes night photos faster and more reliable with HDR+ and multi-frame merging. See article: Night Sight faster, with HDR+ Bracketing.
- Additional context: Night mode often requires you to hold still briefly after tapping the shutter to maximize the longer exposure benefits.
If you want a practical example, consider a street with neon signs. A single shot might wash out the signs and leave the pavement dark. Night mode captures several frames, keeps the color of the signs, and reduces the noise in the pavement, so the scene feels vivid and real.
External reading for context on the science and implementation:
- Night Sight and HDR+ Bracketing on Pixel phones
- How Android Night Mode photography is structured for real-world use
What to look for when testing night mode
When you test night mode on a new smartphone, you want to see how it performs in real life, not just in spec sheets. Here are practical criteria you can use to compare phones quickly and effectively.
- Noise levels: Look at the darkest areas of a photo. A good night mode should reduce noise without sacrificing too much detail. If you zoom in on shadows and see a grainy speckle, note that.
- Color accuracy: Colors should feel natural rather than overly saturated or washed out. Neon signs should glow with their true hues, not a fluorescent tint.
- Detail preservation: Fine textures like brickwork, foliage, and clothes should stay crisp. If edges become mushy or halos appear around high-contrast edges, that’s a red flag.
- Motion handling: If there are people moving in the frame, you’ll notice motion blur or ghosting. A strong night mode minimizes this while keeping color and brightness consistent.
- Real-world tests: Rather than only testing in a lab, shoot scenes you’d actually capture—a dim street, a restaurant table, a nighttime skyline, or indoor lighting with mixed sources.
- Exposure control: Some phones automatically decide to brighten, others let you lock exposure. Try both to see which approach aligns with your preferences.
- Processing time: Note how long the phone takes to deliver the final image after you press the shutter. Quick results are convenient, but take care not to sacrifice quality for speed.
- Lens consistency: If your phone has multiple cameras, compare how night mode looks on each. Sometimes one lens handles color better or preserves more detail in shadows.
To test in practical steps, follow this quick guide:
- Find a low-light scene with varied tones (dark shadows, midtones, a bright light source like a streetlamp).
- Capture a night mode shot with the default settings.
- Switch to a Pro or Manual mode if available and adjust exposure or ISO as needed.
- Compare the image from default night mode, manual mode, and a regular photo taken without night mode.
- Move to a new scene and repeat to assess consistency.
Real-world testing tips from photography guides emphasize practical skill over spec sheets. For more structured testing, you can examine image quality protocols used by testing labs to understand the consistent approach behind the numbers.
- Learn more about smartphone testing protocols and image quality considerations in detailed guides here: Smartphone camera image quality test protocol
Incorporating these checks helps you pick a device that consistently performs in the dark, not just in bright showroom demos. If you’re choosing a phone for travel or night photography sessions, prioritize models known for balanced color, clean shadows, and reliable stabilization during longer exposures.
External resources for testing methodology and practical tips:
- Mastering Smartphone Photography at Night
- Android Night Mode Photography Guide
- Smartphone camera image quality test protocol
Images help readers visualize these concepts. A well-lit street scene at night can illustrate how night mode preserves color while reducing noise.
- Photo reference: Nighttime city street with bright storefronts and dark sidewalks to show how night mode balances highlights and shadows. Caption: Night mode in action on a bustling city street. Photo by Image Hunter.
Keep in mind that brands continuously improve night mode with software updates. If you test a phone now and notice some quirks, check for firmware updates later. The underlying concept remains the same: longer exposure, frame stacking, noise reduction, and smart processing work together to turn dark moments into usable photos.
If you want to dig deeper into specific brand approaches, you can explore:
- Samsung Nightography and how it aims to keep details in low light
- Pixel Night Sight explained with PSL and HDR+ techniques
External links for deeper reading:
- Samsung Nightography guide
- Pixel Night Sight overview
References and practical guides you can consult while evaluating devices:
- Mastering Smartphone Photography at Night
- Android Night Mode Photography Guide
- DXOMARK smartphone camera testing protocol
- A complete guide to capturing low light with smartphones
Photo credits note:
Top contenders for the best night mode camera
When the sun goes down, smartphone cameras rise to the challenge with advanced sensors, smarter processing, and new computational tricks. Below are the standout options that many photographers turn to for reliable low-light performance. Each entry highlights what makes the night mode shine, practical strengths for real-world shooting, and a quick note on value.
Samsung Galaxy S25 Ultra
The Galaxy S25 Ultra pushes night photography with a 200 MP main sensor and an AI ProVisual engine that tames noise while preserving color and detail. This combination helps you pull light from shadows without letting the image look washed out or artificial. You’ll get manual night mode control, giving you direct influence over exposure, shutter speed, and ISO when the scene demands it. In practice, that means better control at concerts, late-night street scenes, or dim interiors where you want to protect highlights like neon signs or candles.
Noise reduction is consistently strong, balancing smooth dark areas with crisp edges on textures such as brick or fabric. The result is shots that feel natural, not overly processed. Price and value sit in a competitive zone for a flagship camera system, making the S25 Ultra a strong pick for night owls who want versatility across photos and video.
For a deeper look at how this model stacks up against rivals, see the Galaxy S25 Ultra camera tests from DXOMARK. https://www.dxomark.com/samsung-galaxy-s25-ultra-camera-test-retested/
Google Pixel 9 Pro
NightSight Ultra continues to be Pixel’s calling card in low light. It blends long exposure with rapid frame bursts and robust HDR processing to produce balanced images with natural lighting and preserved detail. The 50 MP main sensor delivers solid resolution, while the software stack prioritizes natural color and texture in dim scenes, reducing the risk of oversaturation or color halos.
Automatic scene optimization further eases the workflow. The camera makes smart choices about exposure and white balance without much user input, which helps when you’re capturing spontaneous moments in a crowded venue or a dimly lit street. A quick downside to watch for is occasional occasional softness in extremely fast action scenes; otherwise, the Pixel 9 Pro handles low light with reliability.
For a broader technical perspective, explore Pixel camera testing and reviews on DXOMARK. https://www.dxomark.com/google-pixel-9-pro-xl-camera-test/
iPhone 16 Pro Max
Apple’s approach centers around dedicated night mode across lenses, with automatic exposure adjustments that keep brightness consistent without sacrificing color accuracy. The result is cohesive images whether you shoot with the main wide or the longer tele lens. iPhone night mode is known for its smooth tonal transitions, which helps texture in dark fabrics and architectural details stand out without looking fake.
Video performance in low light remains a strong suit. You’ll notice cleaner, more stable footage with better color rendition and less shimmering in scenes with mixed lighting. The user experience benefits from a straightforward interface, quick accessibility to night mode, and reliable auto adjustments that work well in a variety of real-world contexts.
For additional context on iPhone night mode performance, you can review general smartphone camera analyses and independent tests from various outlets.
Honor Magic 6 Pro
The Night Owl algorithm is the standout feature here, designed to maximize light capture in very dark scenes. It pairs with a periscope zoom that keeps subjects closer with preserved detail and reduced noise, ideal for concerts or distant wildlife moments caught at night. The trade-off often comes in dynamic range or color saturation in ultra-dark scenes, where some users might notice slightly flatter shadows or a bit more processing time in heavy scenes. Still, for photography enthusiasts who value long reaches and night-time clarity, the Magic 6 Pro offers a compelling balance of tools and results.
Google Pixel 10 Pro
Pixel’s AI-powered night photography extends to Night Sight with smart zoom capabilities that help maintain detail when you need to frame a distant subject. The camera system relies on computational features to extract brightness and texture from very dark scenes, which can produce usable shots in scenarios where other phones struggle. In very dark conditions, expect the algorithm to prioritize natural color and subtle brightness over harsh, over-saturated results. Speed is generally strong, though complex scenes can take a moment to finalize the composite image.
External link for context on Pixel night photography approaches and related features: https://www.thefilmalliance.com/blog/samsung-25-ultra-vs-osmo-pocket-3
How to pick the best night mode phone for you
Choosing a phone for night mode photography isn’t about chasing the latest spec sheet. It’s about matching features to your shooting style, budget, and the kinds of scenes you encounter after dark. The goal is to get consistently clean, natural looking images without endless fiddling. Below you’ll find a practical framework to help you compare devices, test them in real life, and pick the model that fits your needs.
Budget and long term value
Upfront cost is only part of the story. Consider total ownership over two to three years. Some flagship night mode systems deliver dramatic results now, but if you upgrade every year, the value may tilt toward midrange models with robust software updates.
- Upfront cost: Decide your ceiling and look for phones that consistently perform well in low light, not just flashy demos. A midrange device can outshine a premium phone in real world night shots if its image processing is strong.
- Software updates: Night mode often improves with updates. A device that receives frequent camera app refinements can keep impressionable night photos current without buying a new phone.
- Longevity: Check repair costs and battery life. A phone with solid battery performance and readily available spare parts tends to offer better long term value.
- Total cost of ownership: Factor in accessories you might need, such as a tiny tripod or a better case that reduces shake during long exposures.
When evaluating, ask yourself: Will I miss the extra zoom range or the higher resolution if I cut costs? Do I value consistent color rendition over absolute sharpness in every shot? The answers help you balance price with genuine improvements in night shots rather than chasing a spec race.
For a sense of how price tiers translate into night mode performance, see reviews that compare both flagship and budget cameras. Notable discussions and tests from reputable outlets can provide a realistic picture of what you get for your money. Learn more in these guides:
- Best phones for low light performance and how they compare across price points
- Budget camera phones that still deliver solid night support
External reading to broaden your perspective:
- Best phones for low light – capture detailed night photos
Your shooting style and ease of use
Night mode should serve you, not the other way around. Your preferred shooting style determines how much control you want and how easy the camera should be to operate.
- Hands off or hands on: If you love spontaneous street photography, you’ll benefit from strong automatic night mode with reliable auto white balance. If you enjoy micro tweaks, you’ll want Pro or Manual modes that let you adjust exposure, ISO, and shutter speed.
- Auto modes versus manual tweaks: Automatic night mode is excellent for most scenes, but manual control shines in tricky lighting, like neon signs with reflective surfaces or candlelit interiors. A camera app that balances exposure automatically and also surfaces advanced controls when you need them is ideal.
- Daily usability: Consider how the phone feels in hand and how quickly you can access night mode. A clean, intuitive interface that lets you switch modes with a single tap saves time in the field.
- Consistency across lenses: Phones with multiple rear cameras should maintain color and brightness across lenses. If the ultra-wide introduces more noise or color shifts, that affects how you plan shoots around a scene.
To visualize this in practice, imagine two scenarios: a dimly lit cafe and a night market. In the cafe, you’ll likely rely on the main camera with modest exposure adjustments. In the market, you may switch between wide and tele lenses to keep subjects framed without losing detail. A camera system that handles both transitions smoothly will feel less like a tool and more like an extension of your eye.
Helpful read: how different brands balance automatic modes with manual controls, and how that affects everyday shooting.
Software updates and camera app quality
Night mode is not a one time feature. It grows through software. Ongoing updates can improve noise handling, color accuracy, and detail preservation much more than a hardware bump alone.
- Software matters more over time: A phone that receives regular camera app updates can reduce noise, refine HDR handling, and optimize exposure in tricky scenes.
- App quality and UX: A clean, responsive camera app makes night shooting less stressful. Features to look for include smart scene detection, quick access to Pro mode, and predictable performance when you switch lenses.
- Real world vs. lab tests: Labs measure peak scores, but your daily experience depends on how the software handles mixed lighting, moving subjects, and long exposures. Updates can shift those experiences noticeably.
- Reliability: Update cadence matters. A vendor that rolls out timely patches, especially after major OS updates, keeps night mode performing well.
If you want a sense of how software has shaped night mode on specific devices, review sources that track nightly improvements and how they affect photo quality over time. It helps you separate hype from real, gradual gains.
External resources to deepen your understanding:
- Night Sight and HDR+ Bracketing on Pixel phones
- DXOMARK night photography comparisons across flagships
Real world testing and scenarios
Terrific night mode on paper still needs validation in real life. Test the devices in places where you actually shoot, and compare similar scenes across phones to see where each one shines or falls short.
- Street scenes: Look for color fidelity in neon signs, reflections on wet pavement, and how well the phone keeps midtone detail in shadows.
- Interiors: Test candlelight or tungsten lighting. Notice how warm tones render and whether white balance shifts.
- Night portraits: Evaluate skin tones and background separation. The best night modes preserve detail without looking filtered.
- Consistency and speed: Note how long the phone takes to produce a final image and whether there is any lag that disrupts a moment.
- Lens consistency: Compare results from primary, ultra-wide, and tele lenses. Some phones preserve detail better on one lens than another.
A practical testing workflow you can follow:
- Pick a scene common to your shooting habits, like a dim street corner or a dimly lit restaurant table.
- Capture in default night mode on each device.
- Switch to Pro or Manual mode if available and adjust exposure or ISO for the same frame.
- Take a non-night mode photo for baseline comparison.
- Move to a second similar scene and repeat to gauge consistency.
This approach reveals how each device handles noise, color, and detail across common low light tasks. For readers who want a grounded comparison, look for side by side tests that use identical scenes and lighting conditions.
External reading to support testing strategies:
- Smartphone camera image quality test protocol
- Mastering Smartphone Photography at Night
Examples and context you may find useful:
- Night mode performance across top brands and how software updates shifted the outcomes over time
In the end, your best night mode phone is the one that reliably delivers natural color, clean shadows, and preserved detail in the scenarios you care about most. If you shoot interiors, streets, and portraits after dark, you want a balance of strong scenes, predictable results, and a camera app that feels empowering rather than overwhelming.
External links for deeper context on real world testing and brand approaches:
- Samsung Nightography guide
- Pixel Night Sight overview
Practical tips to maximize night shots on any phone
Shooting at night on a smartphone doesn’t have to be a guesswork game. With the right approach to stabilization, composition, and post-processing, you can pull clean color, preserved detail, and believable textures from darkness. This section offers concrete, how-to guidance you can apply with almost any device. It blends practical steps with quick decision points so you can adapt on the fly. Whether you’re in a dim cafe, a neon-lit street, or a quiet park after dusk, these tips will help you get the most from your night photography setup.
Stabilization and exposure basics
Steady hands dramatically improve night shots. The simplest rule is to minimize camera shake during the moment you press the shutter. If you have a stable surface, use it. A small tripod or phone stand makes a noticeable difference, especially when the scene benefits from longer exposure times.
- Use a tripod or phone stand when possible. Even a tiny desk tripod or a magnetic mount on a stable rail can reduce shake enough to let you shoot at slower shutter speeds.
- Lean on natural steadiness. When you can’t prop the phone, brace your elbows against your body, tuck your elbows in, and plant your feet firmly. A breathing rhythm helps you time the shot between breaths.
- Lock exposure to protect highlights. In night scenes with bright sources like street lamps or neon, it’s easy for highlights to blow out. Tap to lock exposure near the brightest area, then reframe if needed. If the scene has a strong dynamic range, consider a brief manual adjustment after the auto exposure settles.
- Manage shutter speed and ISO. Start with a longer shutter, like 1/8 to 1/4 second on a tripod, and keep ISO as low as possible to reduce noise. If you’re handheld, you’ll need a faster shutter around 1/25 to 1/60 second and you may rely more on noise reduction in post.
- Try Pro or Manual modes when available. These modes let you balance shutter speed, ISO, and white balance with intent. You’ll gain control over artificial light sources and avoid unwanted color casts.
- Keep it simple with multi-frame processing. Many phones stack several frames to boost light while reducing noise. The key is to stay still long enough for the sequence to complete without blur.
If you want a deeper technical read on how top brands handle night time processing, check out how Pixel and Samsung approach multi-frame merging and exposure control. For background on hardware and software interaction, see reviews and test reports from reputable outlets. External context discussing how brands fuse long exposures with rapid frame bursts can help you understand what you’re seeing in practice:
- Samsung Nightography guide
- Pixel Night Sight overview
Effective exposure management lets you preserve mood and detail without turning the scene into a flat, washed-out picture. In a real-world cafe moment, a properly exposed shot keeps the warm glow of lamps while still showing texture in a dark corner. The takeaway: steady the frame, control the light, and let your processing do the smoothing.
Composition and lighting in the dark
In low light, composition becomes the storytelling tool. A thoughtful frame helps the eye travel through shadows and highlights, guiding viewers to the subject without distraction. Use light to shape the scene and create mood rather than simply brighten everything.
- Frame with purpose. Let night light define the edges and planes of your subject. Use leading lines from storefronts, reflections on wet pavement, or window light to direct attention.
- Keep the background clean. Too much clutter steals focus. If a scene has competing light sources, isolate the main subject with a simple foreground or a shallow frame.
- Use available light as a character. Neon, tungsten, candlelight, and streetlamps each render warmth and texture differently. Let those sources sculpt the mood rather than fight them.
- Add a story cue. A person, a reflection, or a clear architectural line can anchor a night scene. The best frames tell a brief story at a glance.
- Balance color and contrast. Night scenes often lean warm from bulbs or cool from LEDs. A subtle adjustment to white balance can keep skin tones natural and avoid unnatural color casts.
- Mind the horizon and verticals. In dark environments, verticals can look skewed if the camera isn’t level. A quick grid view or live horizon reference helps maintain proper alignment.
A practical approach for practice: pick a dim street corner or a softly lit interior, then shoot with and without the built-in night mode, swapping between the main and wide lenses if your phone allows. Observe how shadows fall, how highlights hold texture, and how the scene’s atmosphere shifts with different framing choices. For a broader perspective on mobile night composition, explore expert tips and real-world guidance from photography communities and guides:
- Mastering Smartphone Photography at Night
- How Android Night Mode photography is structured for real-world use
Tips at a glance:
- Look for lighting that adds depth, such as a bright window behind a subject or street lamps that create a halo around edges.
- If clutter creeps in, step back and recomposed with negative space to emphasize the subject.
- Use silhouettes creatively; a dark outline against a bright background can be striking in a night shot.
If you’re testing a new device, pay attention to how different lenses handle color and brightness. The ultra-wide can introduce more noise or color shifts in some phones, so plan your shoot to test how each lens behaves in a similar scene.
RAW vs JPEG and processing
Choosing RAW or JPEG depends on how much control you want after the shot and how much time you’re willing to invest in post processing. Here’s a straightforward way to decide and a few simple steps to refine your images after capture.
- Shoot RAW when you want maximum control. RAW retains more color and dynamic range, giving you the latitude to recover shadows, balance highlights, and adjust white balance without piling on compression.
- Use JPEG for speed and simplicity. If you’re shooting on the move or you’re not comfortable editing, JPEG is a solid choice. Modern JPEGs from night modes can look great with minimal edits.
- When to pick each option. If you’re shooting a quiet scene with stable light, RAW offers the best upside. If you’re at a fast event or you’re sharing on social right away, JPEG can be enough.
- Basic post-processing tips. For RAW:
- Start with white balance warm-up or cool down to match the scene.
- Raise shadows slightly and pull down highlights to preserve detail in bright sources.
- Use selective sharpening on edges to keep texture without amplifying noise.
- Apply light noise reduction only where necessary to preserve texture in fabric, brick, or foliage.
- For JPEG:
- Shoot with small, controlled adjustments in the camera app to minimize the need for heavy edits.
- If you notice color casts, a quick adjust in white balance or a gentle global saturation tweak can help.
If you want deeper guidance on RAW workflows and the tradeoffs between RAW and JPEG, see the following respected sources:
- Mastering Smartphone Photography at Night
- Android Night Mode Photography Guide
- DXOMARK smartphone camera testing protocol
A practical note: even when you shoot RAW, you may still rely on the phone’s processing for the first color pass. Then you bring the file into a light editor or RAW workflow on a computer or tablet to finish the adjustments. For a deeper look at how major brands approach RAW versus JPEG in night mode, you can explore brand-specific guides and camera tests.
External references and context:
- Night Sight and HDR+ Bracketing on Pixel phones
- How to improve night photography with smartphones
In practice, RAW gives you flexibility for scenes like neon-lit streets or candlelit interiors where color and shadow detail matter most. JPEG keeps life moving quickly for casual night shots. The right choice depends on your goals for the image and how much time you’re willing to spend in post.
External links for deeper context on processing choices:
- How Pixel makes night photos faster and more reliable with HDR+ merging
- Night mode performance tests across flagship devices
In short, stabilize thoughtfully, compose with intention, and choose a processing path that matches your workflow. When you combine careful technique with disciplined post processing, you can produce night photos that feel true to the moment, not just brighter.
Notes on sources and further reading
- Samsung Nightography guide
- Pixel Night Sight overview
These references provide perspective on how the top players approach night mode and offer practical steps you can test on your own devices.
External links for deeper context on real world testing and brand approaches:
- Samsung Nightography guide
- Pixel Night Sight overview
Conclusion
Choosing the best night mode phone boils down to your shooting style and budget, not just the latest spec sheet. For overall night performance, the Samsung Galaxy S25 Ultra and Google Pixel 9 Pro stand out, delivering natural colors, strong detail, and reliable noise control, while the Pixel shines in subtle lighting and the S25 Ultra excels in dynamic scenes. A good rule is to test a top pick on your usual after dark spots, then practice with Pro modes to unlock even cleaner results from your smartphone. Your best bet is the device that consistently fits your routine, your preferred lenses, and your patience for post processing.