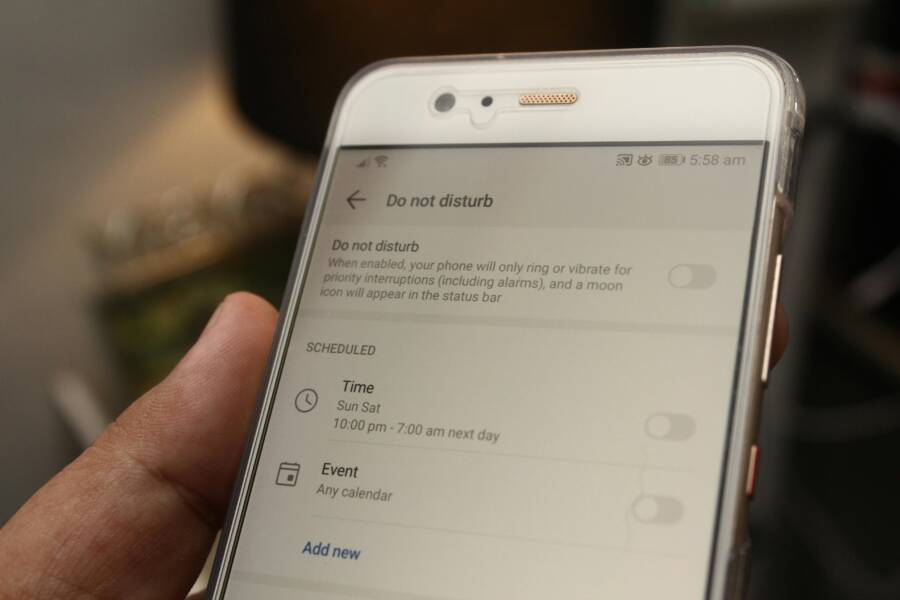
Notification ads are pop up alerts from apps or websites that show up on your phone even when you aren’t using them. They interrupt tasks, drain battery, and eat data, making them a real nuisance for everyday smartphone use. In this guide we’ll explain what they are and how to stop them on both Android and iPhone.
You’ll learn practical, step by step actions to reduce or remove these ads, without sacrificing essential notifications. We’ll cover how to review app permissions, disable unwanted push notifications, and use built in tools to limit adware and promotional alerts. If you’ve ever asked, how can I stop ads on my phone, this guide has clear, actionable answers.
By the end you’ll have a calmer, more focused smartphone experience. You’ll know where to adjust settings, when to block certain apps, and how to keep notifications from sneaking back in. This is all about reclaiming battery life, saving data, and staying in control of what you see on your screen.
Where notification ads come from and how to spot them
Notification ads on your device can feel like a constant nag. They spring from several sources, including adware bundled with free apps, rogue browsers, and site prompts that request permission to push alerts. Understanding where they originate helps you spot and stop them quickly. Below you’ll find clear explanations of common sources, how to recognize them, and practical tips to keep them from hijacking your screen.
Types of notification ads you may encounter
Notification ads come in several familiar formats. Each uses a simple trigger to catch your eye, and each can be annoying if you’re not prepared.
- Full screen prompts: Also called interstitials, these take over the entire screen when you unlock your phone or switch apps. They resemble system alerts and often urge you to take an action, like “Update now” or “Tap to verify your account.” They feel urgent, because they block any other content until you respond.
- Banners in the notification shade: These appear as thin strips at the top of your screen or within the pull-down shade. They may mimic app updates or deals and often include a quick action like “Dismiss” or “Open.” They stay visible until you clear them.
- In-app messages: Inside an app, you’ll see pop-ins or banners that seem to come from the app itself. They push promotional content or requests for permission to send more ads, and they can appear even when you’re not actively using the app.
- Pop-ups and overlays: While browsing or using apps, you might encounter floating prompts that resemble legitimate system messages. They demand attention and can lead you to install apps or enter credentials.
How these formats show up on screen is usually simple to spot once you know what to look for. A full-screen prompt that appears while you’re in the middle of something else is a strong indicator of aggressive ad delivery. Banners tucked into the notification shade tend to push time-limited offers or claims of security threats. In-app messages feel contextually connected to the app you opened, which can make them harder to ignore. And pop-ups can mimic warnings about malware or account issues to lure a tap.
For practical references, see guides on push notification types and how they’re used in advertising. These sources break down the same formats and provide examples of how they appear across devices. Push notification types and variations and What are the different types of push notifications can help you identify patterns in the wild. If you suspect you’re dealing with browser or site prompts, search guides like Stop Suspicious Browser Notifications on Your Mobile for quick telltales.
Adware and rogue apps
Free apps can come with hidden costs. Some apps bundle adware or switch to aggressive advertising after installation. They may push ads even when you aren’t actively using the app, or they may begin displaying notifications once they gain certain permissions. This is especially common with apps that rely on data or ad revenue to stay free.
- Why ads show up even when the app isn’t in the foreground: Many apps request permission to send notifications and then use that channel to serve ads. If the app isn’t well secured, it might trigger reminders, banners, or full-screen prompts to maximize engagement and revenue.
- How to spot suspicious apps by behavior: Look for apps that suddenly start showing ads after a clean install, apps that frequently request new permissions, or ones that don’t align with their stated purpose. Frequent crashes, battery drain, and strange network activity are red flags.
- The role of user reviews: A pattern of complaints about intrusive ads, forced notifications, or suspicious behavior in reviews is a warning sign. Check both the reviews and the app’s update history to see if the behavior changes after updates.
- Real-world cues: If an app you don’t remember installing begins delivering ads, or if a familiar app suddenly begins to push aggressive promotions, it’s time to investigate or remove it.
Common sources and guidance about adware on Android and iPhone devices are available from security researchers and major vendors. For example, resources discussing Android adware and how to remove it can be found here: Android adware: What is it, and how do I get it off my device?. Guidance on identifying rogue apps and their behavior is also covered by industry blogs such as GhostAd: Hidden Google Play Adware Drains Devices and Disrupts Millions of Users.
Adware can come from legitimate-looking apps too. If an app was downloaded off an unknown store or a source outside the official app store, the risk increases. To safeguard yourself, prefer apps from official stores and read permissions before installation. If you notice ad behavior changes after an app update or installation, this is a strong signal to review that app and consider removing it.
To understand practical steps for staying ad-free on Android, you can consult guides like Detect Push Ads On Android: How To Stay AdFree and How To Remove Notification Ads On Android Devices: A Comprehensive Guide. These resources outline scanning for suspicious apps, checking permission requests, and using built-in controls to curb notifications.
If you want a broad, security-focused overview, reputable sources emphasize scanning for malware, reviewing installed apps, and using trusted safety features from your device maker. For instance, Trend Micro’s guidance on identifying and avoiding pop-up ads emphasizes looking for unusual prompts and verifying the source of alerts. You can start here: Pop-up Ads and Fake Warnings: How to Spot and Avoid It.
Browser and site prompts
The browser itself can become a conduit for notification ads. Prompts may appear when a site asks for permission to send push notifications, or when an app’s web component tries to push a message to your device. The key is how you respond to permission requests and how you manage them over time.
- Push permission basics: When a site asks for permission to send notifications, your browser stores a flag indicating whether you allowed or blocked it. If you grant permission, that site can push alerts to your device. If you deny it, the site cannot send those prompts in the future unless you change the setting.
- Recognizing misleading alerts: Many spoof alerts claim your device is infected or that you must perform a critical action. They often try to rush you into tapping. Look for clear signs such as unusual capitalization, strange domain names, or requests that bypass your normal app flow.
- Managing prompts in practice: Regularly review and prune the list of sites with push permissions. Revoke permissions you do not recognize or no longer use. When in doubt, block the prompt and monitor what happens next.
If you want a practical guide to stopping browser prompts, see resources like Stop Suspicious Browser Notifications on Your Mobile and general Chrome guidance on blocking pop-ups and notifications Remove unwanted ads, pop-ups & malware – Android. These sources explain how to audit permissions, disable sites from sending notifications, and keep your browsing safer.
Another helpful reference on how to spot browser notification scams is Browser Notification Scam: How to Spot and Avoid it from Trend Micro. It covers how attackers repurpose legitimate prompts and how to verify the legitimacy of a request before tapping.
Signs your phone is affected
Knowing what to watch for helps you catch notification ads early. Some signs are obvious, others are subtle but telltale.
- Sudden spikes in notifications: A surge in alerts from apps you don’t use often or from new apps is a red flag.
- Unusual wording in messages: Warnings about malware, threats, or account issues that pressure you to act quickly are common tricks.
- New permissions or changed defaults: Apps requesting new notification rights or changing notification sounds can indicate adware activity.
- Ads appearing in odd places: Ads showing up in places where you don’t expect them, such as a system-level alert or a browser prompt, are suspicious.
- Apps showing ads when not in use: If an app launches ads after you’ve closed it or without you opening it, that’s a sign the app isn’t behaving properly.
If you notice any of these patterns, start with a thorough app audit. Uninstall apps you don’t recognize, review recent updates, and reset notification settings to a known good state. For a broader security perspective on malware and signs your phone may be infected, credible resources like PCMag’s guide on malware indicators and McAfee’s tips are useful starting points. See articles such as Could Your Phone Have Malware? Here’s What to Look For and 7 Signs Your Phone Has a Virus and What You Can Do.
If you want to deepen your defense, consider adding protective apps and enabling built-in safeguards. For instance, many security suites now offer real-time alerts for suspicious push notifications and intrusive ads. Resources from Norton provide practical steps on stopping pop-up ads and keeping mobile devices safer. Check out How to stop pop-up ads on Android and iPhone.
These sections aim to give you a concise, practical roadmap for understanding where notification ads come from and how to spot them. They will set readers up to take precise actions in the following parts of your guide, including how to disable or block ads, manage permissions, and protect their devices from similar intrusions in the future.
Android: Step by step to stop notification ads
If you’re tired of constant notification ads pinging your Android phone, you’re not alone. This section breaks down practical, no-fluff steps to reclaim a calmer notification experience. You’ll learn how to tidy per-app alerts, curb overlays and permissions, and deploy built-in tools that reduce ad noise. Each step is designed to be actionable, so you can see results quickly and keep only the alerts that truly matter.
Tidy up app notifications
Reviewing and trimming per-app notification settings is the foundation of quieter alerts. Start by auditing your most active apps and dialing back or turning off alerts from those that push too hard.
- Check per-app alerts: Go to Settings > Notifications > App notifications. Here you’ll see a list of installed apps. Tap any app that feels noisy and switch off “Allow notifications” or set its notifications to a minimal, non-intrusive style (like silent or only in the lock screen).
- Keep essential alerts on: Reserve notifications for apps that truly require timely updates. For example, your messaging app, calendar reminders, and security apps should remain enabled, but you can silence nonessential games or news apps.
- Spot suspicious behavior: If an app starts sending push alerts after a recent update or seems to push ads out of nowhere, it’s worth uninstalling or revoking its notification access. This is a quick way to reduce stray prompts that distract you during the day.
- Practical reference: If you want deeper guidance on recognizing and managing notification patterns, see resources like Chrome’s approach to blocking notifications and general Android notification controls. For example, you can review Chrome’s guidance on blocking pop-ups and notifications and related Android notification permissions here: https://support.google.com/chrome/answer/95472 and https://support.google.com/android/answer/9431959?hl=en.
- Quick tip: Regularly prune permissions and alert settings after app updates. A quick monthly audit helps keep noise down and battery life up.
Image suggestion:
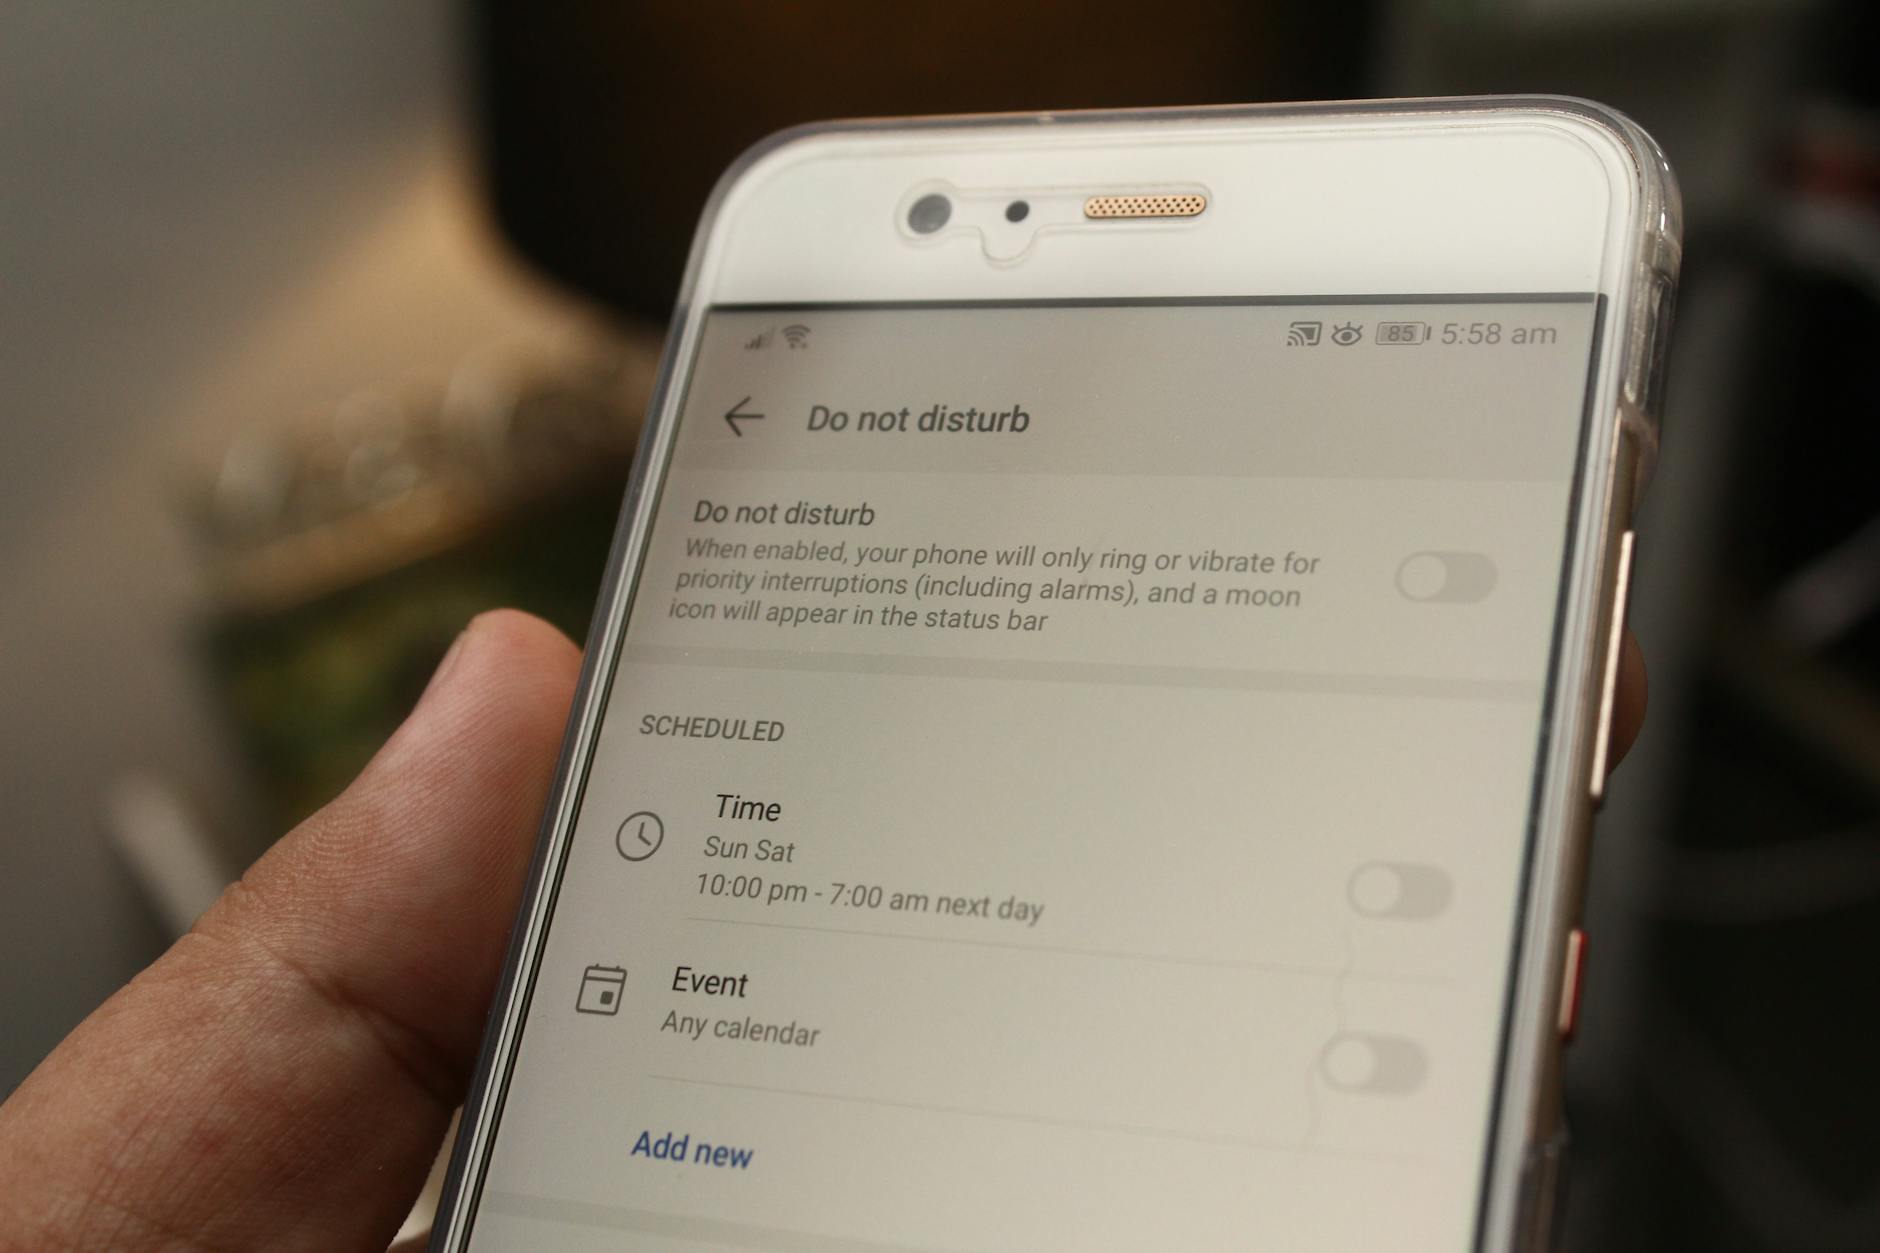
Photo by Daniel Moises Magulado
Disable overlays and sensitive permissions
Overlays and certain permissions give apps the power to draw on top of other apps or access sensitive data. Disabling these can dramatically cut down on nuisance alerts and potential privacy risks.
- Turn off “Display over other apps”: Go to Settings > Apps & notifications > Special app access > Display over other apps (path may vary by device). Review the list and revoke this permission for apps that don’t truly need it. This prevents apps from drawing on your screen in ways that can trigger deceptive prompts or unwanted banners.
- Revoke unnecessary permissions: Focus on permissions that directly enable notification or ad-heavy behavior. Disable “Display over other apps,” “Notifications,” “Location,” and “Background data” for apps that don’t need them; you can always re-enable them later if a legitimate use case arises.
- Assess each app’s necessity: If you’re unsure whether an app needs a permission, check the app’s core function. If it’s not essential, revoke the permission to minimize the chance of intrusive prompts.
- See credible references for this topic, including guides on managing display-over-other-apps permissions and official Android permission settings: https://support.google.com/android/answer/9431959?hl=en and https://dev.to/thomas_4b3207adb1a95f6d5b/how-can-i-enable-or-disable-the-display-over-other-apps-feature-on-android-ekj.
- For power users: Some devices offer an enhanced blocking option like “Block apps with excessive ads” under device care settings. Enabling intelligent blocking can filter out noisy alerts automatically on certain models, providing a smoother experience. Check your device’s support pages for steps specific to your brand.
Image suggestion: No image required here if you’ve already included one above; otherwise, a simple diagram showing the path to disable overlays can help.
Use Do Not Disturb and Focus modes
Do Not Disturb (DND) and Focus modes are built-in tools that let you silence almost everything except what you deem important. These modes are especially useful during work, study, or sleep.
- Activate quickly: Swipe down from the top of your screen and tap Do Not Disturb or Focus. You can also customize a shortcut on your home screen or Quick Settings panel for instant access.
- Schedule quiet times: Create routines that align with your day. For example, enable DND from 9 PM to 6 AM or during important meetings. This prevents late-night or mid-work interruptions.
- Customize exceptions: It’s not about total silence. Allow calls from specific contacts, reminders from your calendar, or notifications from critical apps like alarms and health trackers.
- Example setup: Create a weekday schedule that mutes non-essential apps during work hours but still lets calendar alerts and critical messages come through. This ensures you stay productive without missing important updates.
- Practical guidance: Google’s support articles outline how to limit interruptions with Modes and Do Not Disturb, and how to quickly enable or disable DND from Quick Settings. Learn more here: https://support.google.com/android/answer/9069335?hl=en and https://support.google.com/android/answer/9069335?hl=en.
- Quick tip: If you use a different OS for work or personal devices, explore Focus modes that mirror DND behavior but with tailored rules for apps and contacts. This helps you maintain focus without missing vital alerts.
Image suggestion:
Photo by Daniel Moises Magulado
Identify and remove bad apps in Safe Mode
Safe Mode is your ally when you suspect a rogue app is behind the notification ads. It loads only core system apps, so you can test whether the problem goes away.
- How to boot into Safe Mode: The steps vary by device. Generally, power off, then power on and long-press the volume down button or follow on-screen prompts to boot into Safe Mode. If you’re unsure, check your phone’s manufacturer support pages.
- Test for ads: Use the device normally in Safe Mode. If ads stop, a third-party app is the likely culprit.
- Uninstall recently added apps: In Safe Mode, go to Settings > Apps, identify apps you installed recently or that show odd behavior, and uninstall them. If you’re unsure, uninstall in reverse order of installation.
- Reboot normally and verify: After removing suspicious apps, reboot normally and monitor for any recurrence of ads. If ads persist, repeat the process with other candidates or consider a factory reset as a last resort.
- Supporting resources: For guidance on safe mode and problem apps, refer to Google’s official support pages and trusted tech outlets. Example articles include Find problem apps by rebooting to safe mode and related Android support content: https://support.google.com/android/answer/7665064 and https://support.google.com/pixelphone/answer/2852139.
- Quick reminder: Keep backups before removing apps. Cloud backups or a saved APK list can help you restore essentials if you remove something you actually need.
Image suggestion: No image needed here unless you want to illustrate Safe Mode with a caption about testing apps.
Consider Private DNS and ad blocking
Private DNS provides a system-wide layer of protection by routing DNS queries through a resolver that can filter out known ad servers. It’s a lightweight, low-overhead way to reduce ad traffic without installing extra apps.
- Enable Private DNS: Go to Settings > Network & internet > Private DNS (path can vary by brand). Choose “Private DNS provider hostname” and enter a provider such as dns.adguard.com. Save and restart your device.
- Understand the trade-offs: While Private DNS helps reduce multiple ad servers, it may not block every intrusive ad. For broader protection, pair DNS-based blocking with careful app and browser management.
- Complementary protections: Combine Private DNS with selective ad blocking in browsers and a clean app list. This layered approach keeps you in control while maintaining device performance.
- Additional insights and practical guides: If you want to explore more on Private DNS and its benefits, see guides from reputable sources that explain how to block ads on Android with Private DNS and reviews of DNS-based blockers: https://www.techloy.com/how-to-block-ads-on-android-with-a-private-dns/ and https://www.privateinternetaccess.com/blog/how-to-block-ads-on-android/.
- Quick takeaway: Private DNS is a simple, native way to cut down on ad traffic for many everyday scenarios. It works best when combined with good notification hygiene and selective app permissions.
Image suggestion: No image included here to keep the focus on the steps; text remains clear and actionable.
These steps give you a practical pathway to reduce or eliminate notification ads on Android devices. By tidying per-app alerts, disabling overlays and unnecessary permissions, using Do Not Disturb and Focus modes, removing problematic apps in Safe Mode, and adopting Private DNS, you’ll regain control over your screen space and battery life. If you want further refinements, the next sections will build on these foundations with targeted blocking, permission management, and ongoing device protection.
iPhone: Stop push notification ads quickly
Tighting down notification noise on an iPhone starts with smart filtering and smart settings. You’ll learn practical steps to cut back on ads and prompts while still preserving essential alerts. By combining Focus modes, per-app controls, ad privacy measures, and browser pop-up management, you can reclaim quiet, focused time on your smartphone.
Leverage Focus modes
Focus modes let you tailor your iPhone experience for work, sleep, or personal time. They control which apps can send alerts and who can contact you, all on a schedule.
- Set up distinct Focus profiles: Create Work, Sleep, and Personal Focus modes. Each mode can allow only specific apps and people. For example, your Work Focus might permit calendar reminders and messaging from teammates, while blocking social apps entirely.
- Choose allowed apps and people: In each Focus, designate a short list of essential apps that will still push notifications. This ensures you don’t miss critical alerts, such as flight changes or meeting invitations, while silencing everything else.
- Schedule automatic timing: Tie Focus modes to your routine. Schedule Work Focus during office hours, Sleep Focus from the late evening through the early morning, and Personal Focus during weekends or downtime. You can also trigger Focus modes based on location or app usage.
- Quick setup tips: Access Focus in Settings > Focus, then create a new Focus and customize its Home Screen, Lock Screen, and Focus Status. For fast toggling, add Focus controls to the Control Center so you can switch modes on the fly.
- Practical note: Focus modes work best when you review your allowed notifications regularly. If an app suddenly becomes essential, adjust its permission rather than turning off its alerts entirely.
Helpful references for configuring Focus and notification controls on iPhone include official guidance from Apple on Focus and notification management. See: Allow or silence notifications for a Focus on iPhone and Change notification settings on iPhone for version-specific steps.
Manage per app notifications
Fine-tuning notifications at the app level prevents spamming without robbing you of important alerts.
- Identify noisy apps: Start with apps you rarely use but that push frequent alerts. These are prime candidates for reduction or silencing.
- Turn off or minimize alerts: Go to Settings > Notifications > App name. Choose to turn off notifications completely or switch to passive options like banners that don’t demand immediate attention.
- Preserve essentials: Keep alerts for messaging, calendar reminders, banking, and security apps. These should stay active, but you can lower their prominence or set do not disturb exceptions for quiet times.
- Customize alert styles: If an app must notify you, set to deliver only in the lock screen or as a quiet banner. This reduces disturbance while keeping you informed.
- Watch for suspicious behavior: If a previously quiet app starts sending ads or prompts after an update, consider removing it or revoking its notification access.
- Quick audit cadence: Do a monthly review of notification permissions after app updates. It’s a simple habit that pays off in battery life and focus.
External references about managing iPhone notifications and reducing spam include Apple’s guidance on changing and silencing notifications and third-party perspectives on handling app alerts. See: Change notification settings on iPhone and practical discussions like Update these iOS 26 settings immediately to banish spam forever for broader context.
Limit personalized ads and use DNS blockers
Ads on iPhone often ride on two rails: Apple’s own ads and third-party ad networks. You can curb both with a couple of built-in steps and light DNS tools.
- Turn off personalized ads from Apple: Open Settings > Privacy & Security > Apple Advertising, then toggle off Personalized Ads. This reduces how much Apple uses your data for tailored ads in the App Store, News, and Stocks.
- Use DNS-based blockers for broader protection: Configure a DNS service that blocks known ad servers. In iPhone settings, you can use Private DNS for your Wi-Fi connections or specific DNS providers that filter ads at the network level.
- Pairing for best results: Use a combination approach—disable Apple personalized ads, enable content blockers in Safari, and apply a DNS blocker for both mobile data and Wi-Fi. This layered approach reduces ad exposure across apps and browsers.
- Practical note: DNS blockers work best when you also prune apps with heavy ad behavior and maintain careful browser settings.
If you want a deeper dive into iPhone ad controls and DNS-based blocking, you can explore resources like Lifehacker’s guide on blocking Apple’s own ads and AdBlock-focused articles. For a broader take on personalized ads and privacy options, Apple’s support article on personalized ads is a solid starting point: Control personalized ads on the App Store, Apple News, and Stocks.
Safari and Chrome pop up controls
Pop-ups and site prompts can hijack your attention even when you’re just browsing. Both Safari and Chrome offer concrete steps to reduce these interruptions and to reset site data so you see fewer repeated prompts.
- Block pop-ups in Safari on iPhone: Open Settings > Safari and enable Block Pop-ups. Also turn on Fraudulent Website Warning to catch deceptive sites. This dramatically lowers the likelihood of nuisance prompts while you browse.
- Block pop-ups in Chrome on iPhone: In Chrome, go to Settings > Site settings > Pop-ups and redirects, and switch to Block. You can also control site permissions from the same menu to limit prompts.
- Reset site data to reduce repeat prompts: In Safari, clear website data for sites that repeatedly push notifications or prompts. This helps reset patterns that trigger repeated asks.
- Manage notifications from sites you’ve trusted: Regularly review and prune browser-permission lists. Revoke permissions for sites you no longer visit or trust.
- Practical example: If a site keeps prompting you after you’ve blocked it, remove the site from the prompt history and clear its cookies and data.
Relevant references include official iPhone and Chrome support pages on blocking pop-ups and managing site prompts. Check out: Block pop-ups in Safari on iPhone and Block or allow pop-ups in Chrome – iPhone & iPad.
Extra tip: If you see persistent prompts that mimic warnings, treat them as suspicious. Avoid tapping prompts that demand immediate action. Review the source, and if in doubt, close the tab and return later.
Smartphone users who want a calmer browsing experience will appreciate combining these controls. It’s not about blocking every message; it’s about preventing the ones that waste time and drain battery.
Edge considerations and quick wins
- Keep your iPhone up to date. Apple regularly improves notification handling and privacy protections with each iOS update.
- Audit app permissions after major app updates. A quick check helps you stop new prompts before they start.
- Use Focus modes strategically. Pair Focus with a clean app list to keep work and personal life distinct.
External references and practical reads
- Apple Support on Focus and notification management
- Allow or silence notifications for a Focus on iPhone
- Change notification settings on iPhone
- Chrome and Safari guidance for blocking pop-ups and managing site permissions
- Block or allow pop-ups in Chrome – iPhone & iPad
- Block pop-ups in Safari on iPhone
- Privacy and ads guidance from mainstream outlets
- How to Block Apple’s Own Ads on Your iPhone, iPad, and iPhone
- Control personalized ads on the App Store, Apple News, and Stocks
These steps give you a practical pathway to reduce or eliminate notification ads on iPhone. By leveraging Focus modes, per-app controls, ad privacy measures, and browser pop-up management, you’ll regain control over your screen space and battery life. If you want further refinements, the next sections will build on these foundations with targeted blocking, permission management, and ongoing device protection.
Best practices for ongoing prevention and maintenance
Maintaining control over notification ads is an ongoing effort. This section lays out practical, repeatable habits you can adopt to keep your smartphone calm and your data safe. Think of it as a regular tune-up for your device, not a one-and-done fix. By incorporating monthly checks, smart app choices, timely updates, and reliable protections, you’ll reduce ad intrusion and preserve performance.
Regular permission reviews
A standing habit of reviewing app permissions keeps your device lean and alert-free. Start with a monthly check to ensure apps only have what they truly need.
- Audit permissions across the board: Open Settings and scan for apps with notification access or broad privileges. Revoke what isn’t essential.
- Prioritize essential alerts: Keep messages, calendar reminders, and security alerts active. Silence or limit nonessential apps, especially ones you seldom use.
- Watch for changes after updates: If an app suddenly requests new rights or starts pushing ads, it’s time to reassess or uninstall.
- Quick reference: Review Android and iPhone permission controls regularly to stay primed. For a structured approach, see guidance on managing app permissions and push notifications from trusted sources.
Related reads you can consult for deeper context include discussions on how to block or limit push notifications and how Chrome handles notification permissions. These resources can help you refine your monthly audit.
Be careful with free apps
Free apps can ride on ad networks that push intrusive prompts. To keep your smartphone experience pleasant, choose official sources and scrutinize permissions before installation.
- Prefer official stores: Stick to the Google Play Store or Apple App Store. Avoid sideloading from unknown sources.
- Read permissions before you install: If an app asks for broad access that seems unnecessary, skip it.
- Be wary of aggressive behavior after updates: Apps that suddenly push ads or add new prompts are red flags.
- Quick guidance: When in doubt, search for expert reviews or safety advisories about the app before you install. For practical context, you can follow general guidance on identifying rogue apps and understanding permission requests from reputable security sources.
If you want a quick safety checklist, you can review authoritative articles that discuss adware, browser prompts, and how to stay protected on Android and iPhone.
Keep devices updated
Software updates close security gaps that allow ads and adware to slip through. Keeping the OS and apps current is one of the simplest, most effective defenses.
- Install OS updates promptly: System updates patch known vulnerabilities that might be exploited by adware.
- Update apps regularly: App updates often include hardening against new ad tactics and improved notification handling.
- Enable automatic updates where practical: This reduces the burden of manual checks and ensures you stay protected.
- Practical note: On Android, update through Settings > System or Software Update; on iPhone, use Settings > General > Software Update. Regularly reviewing update status is part of a solid maintenance routine.
For broader insights, reputable security guides emphasize the importance of updates and patch management. You can explore up-to-date recommendations from sources that cover mobile security, privacy, and how updates impact ad exposure.
Use security and ad-block tools
A trusted security approach combines reputable apps and built-in features to scan for adware and block intrusive ads.
- Rely on reputable security apps: Choose established vendors with solid track records in mobile protection.
- Leverage built-in safeguards: Use device-provided protection features to monitor suspicious behavior and to alert you about potential adware.
- Combine tools for layered defense: DNS-based blocking, browser protections, and system scanning work best together.
- Practical reference: Look for guides that explain how to detect adware, protect against intrusive ads, and use safety features built into your device. Reputable sources often provide step-by-step instructions for both Android and iPhone.
If you’d like specific recommendations, trusted security brands and their educational materials offer practical steps for preventing and mitigating push ads and break-ins.
Plan for occasional resets if needed
A factory reset remains a last resort when ads persist despite careful trimming. It can be the cleanest way to reclaim a pristine baseline, but it requires careful preparation.
- Back up first: Copy essential data to a secure backup, either in the cloud or on a local drive.
- Reinstall thoughtfully: After a reset, start with core apps and gradually add others. This helps you spot which installation reintroduces the issue.
- Revisit permissions after restore: Re-check app permissions and notification access as you reinstall.
- Caution: A reset wipes personal data and settings. Treat it as a carefully planned step, not a knee-jerk reaction.
For practical steps, consult manufacturer guidance on performing a reset and restoring data safely. You’ll find detailed how-to articles from trusted sources that outline the exact sequence for Android and iPhone devices.
External references you may find helpful include official support resources and tutorials on safe reinstallation and data restoration.
These best practices create a dependable framework for ongoing prevention and maintenance. By following regular permission reviews, choosing apps wisely, keeping software current, using security tools, and planning for a reset only when necessary, you’ll maintain control over notifications and protect your smartphone from repeated intrusions. This foundation sets you up to apply targeted blocking, refine permissions, and keep your device safe in the long term.
Conclusion
Taking control of notification ads on your phone is a practical, ongoing effort. Start with a focused review of per app alerts, disable overlays, and set up Do Not Disturb or Focus modes to reclaim quiet time. Regular permission checks and mindful app choices keep your smartphone free from intrusive prompts and hidden adware. By combining browser safeguards, DNS or ad blocking, and careful updates, you build a solid defense that protects your attention and battery life.
Take action today: audit your notification settings, prune risky apps, and enable focused profiles that suit your day. Staying vigilant now prevents clutter and helps you protect your phone privacy in the long run. Notification ads can be tamed with disciplined steps, delivering a calmer, more productive smartphone experience.