
Ever run into failed unlocks when you need your phone most, only to waste minutes swiping and retrying? You’re not alone. Your fingerprints can drift from day to day as skin changes, dirt builds up, or wear chips away at the sensor. Re registering your fingerprints is a simple fix that works for most people without a reset.
This guide explains why accuracy drops and shows you quick steps to improve detection on both Android and iPhone. You’ll learn how everyday factors like dry skin, sweat, and a dusty sensor affect reliability, and what to do about it without guessing at the right settings. The goal is a smoother, faster unlock experience with minimal fuss.
Before you start, gather a clean finger and a dry, clean sensor. We’ll walk through the exact enrollment steps, including capturing multiple prints and using varied angles so the system recognizes you from different grips. You’ll also see why it helps to keep your device software up to date and why backups like a PIN or face unlock can save time when fingerprints misbehave.
By the end, you’ll know how to re register fingerprints efficiently on both Android and iPhone, plus quick tips to keep detection sharp. This approach works for most users and avoids more drastic fixes. If you want, share your phone model and I’ll tailor the steps to your device, making the process even faster and clearer.
Common Reasons Your Phone’s Fingerprint Scanner Struggles
Even the best fingerprint scanners can stumble from time to time. Small changes in your finger or the device surface add up to misreads or slower detections. This section highlights the two most common culprits and how to spot them quickly. Think of your fingerprint sensor as a tiny camera that needs a clear view of your unique ridges. When that view gets blurred, recognition fails or slows down. A fresh enrollment often fixes the problem, but understanding the root causes helps you keep it reliable day after day.
Dirt and Skin Changes Cause Most Misses
Oil, sweat, and dry skin are the usual suspects when a scanner trips over your prints. A light layer of lotion, natural oils, or even sweat can blur the ridge details the sensor tries to read. Dry skin, on the other hand, can create tiny cracks or uneven surfaces that confuse the scanning algorithm. Even minor skin changes—like a fresh cut, a small abrasion, or a temporary callus—alter the ridge pattern enough to throw off recognition.
To keep things smooth, adopt a quick routine before enrolling or unlocking:
- Clean the finger and sensor: wipe both with a dry, lint-free cloth.
- Ensure your finger is clean and dry; wipe off any residue from lotion or sweat.
- Enroll at multiple angles and with slightly different amounts of pressure to capture a broader view of your print.
- If dryness is a factor, use a light, non-greasy moisturizer on your hands between enrollments and unlocks.
Small, practical examples show how a momentary change can affect accuracy. After a long workout, your fingers may be slick with sweat, while a dry winter day can leave your skin stiff and ridged. In both cases, re enrolling after a brief wash or using a fresh fingertip makes the scanner more forgiving. For smartphones on the go, keeping a spare enrolled finger can speed up detection when your primary finger isn’t ideal.
Images that illustrate this section can help readers visualize why a print reads differently.

Photo by I’m Zion
If you want, you can visit practical guides from other sources that discuss common causes of fingerprint misses, including dirt and skin changes. For example, a concise how-to from ASUS emphasizes keeping the screen and finger free of dirt during enrollment and scanning: Phone Precautions for Under-Display Fingerprint. For a broader take on dry skin and recognition issues, see discussions from tech-focused outlets like Tech Issues Today: Dry skin could be causing fingerprint recognition issues on your smartphones.
Screen Damage or Protectors Block Scans
Anything that sits between your finger and the sensor can degrade accuracy. Scratches on the screen, especially around the sensor area, create micro-roughness that the camera-like sensor misreads. In-display sensors are particularly sensitive to surface irregularities, so even tiny scratches can throw off enrollment and real-time detection. A poorly designed screen protector or a bulky film can also mask ridge details, leading to repeated unlock failures or slower recognition.
Here are practical steps to address this issue:
- Inspect the sensor area for scratches or uneven glass. If you see damage, consider a screen replacement or professional evaluation.
- Remove or replace screen protectors that sit over the sensor. Some protectors cause glare or micro-mabrasion that obscure ridges.
- Re-enroll fingerprint data after any screen work or protector changes to refresh the scanner’s memory of your finger positions.
- If you frequently use a protector, choose a model that is rated for in-display sensors and has a clear, smooth surface over the sensor.
In some cases, the protection material itself is fine, but its fit can push or twist when you press your finger. A slightly different grip angle might help the scanner catch more ridge details. When the surface is clean and smooth, the sensor has a much easier time distinguishing the unique pattern on your finger.
If you’re curious about manufacturer guidance, many brands provide enrollment tips when using under-display sensors. For instance, ASUS highlights that ensuring a clean surface and careful finger placement improves results during enrollment and daily use. You can read more about these precautions here: Phone Precautions for Under-Display Fingerprint. For additional context on screen wear and protector compatibility, you can explore general troubleshooting resources like the Samsung troubleshooting page: Samsung phone is not recognizing fingerprints.
Images can help readers grasp how a protector and screen surface interact with the sensor.
Photo by I’m Zion
Tips for long-term reliability
- Keep your screen and hands clean in dry or humid environments.
- Avoid harsh chemicals or lotions right before enrolling.
- Periodically re-enroll after screen repairs or protector upgrades.
- Consider adding a secondary unlock method as a backup for tricky days.
External links are useful but should be sparing and relevant. The goal is to empower readers with concrete actions they can take today. If you want to dig deeper, reputable sources discuss how dirt, skin changes, and surface wear affect fingerprint sensors and offer practical fixes. For a broader take on the issue, see the general troubleshooting guide from Tech Issues Today: Dry skin could be causing fingerprint recognition issues on your smartphones.
Benefits of Deleting Old Prints Before Re-Registering
Deleting old fingerprints before adding new ones might sound like extra steps, but it pays off in faster, more reliable detection. When your prints stay in the system, the reader can get overwhelmed by old data that no longer matches how your finger looks today. A clean slate lets the sensor learn your current ridge patterns with fewer misreads, repeats, or prompts to try again. Think of it as quality control for your biometric security: you remove the noise, you get a clearer signal.
Why clearing old prints helps accuracy
- Fresh enrollment captures current finger conditions. Skin texture, moisture, and even nail growth can change how a print reads. Starting from scratch means the sensor isn’t forced to guess from outdated data.
- Fewer false positives and false negatives. Old prints can still register, but they might conflict with newer scans, causing the device to misread who you are or to fail unlocking.
- Consistency across sessions. When you re-register, you’ll often see improved accuracy across different angles and grip positions. This reduces the need to retrain the sensor every time your grip shifts.
A quick analogy: imagine a photo album that mixes childhood portraits with current photos. The camera may still recognize a person from older images, but it’s much easier to identify when every picture is up to date. Your fingerprint sensor works the same way; current data keeps recognition fast and reliable.
How deleting affects security and privacy
- Reducing biometric data on the device. Deleting old prints reduces the amount of stored biometric data the device holds. This lowers potential exposure if someone gains access to the phone.
- Easier management of trusted fingerprints. If you share a device or frequently hand it to family members, clearing out outdated prints helps you control who can unlock the device.
- Safer re-enrollment. A fresh set of prints is less likely to accidentally match someone else’s fingerprints enrolled previously on the device.
If you’re curious about broader biometric data practices, consider checking general guidance on securely handling biometric data when selling or disposing of a device. For example, guidance on securely deleting biometric data before you sell a smartphone can be helpful context for responsible handling. Learn more here: Selling Smartphones: How To Delete Biometric Data Correctly.
Step-by-step: deleting old prints before re-registering
- Open the security or biometrics settings on your device.
- Locate the list of saved fingerprints. On most phones, you’ll see a section labeled “Fingerprints,” “Biometrics,” or similar.
- Delete all saved fingerprints. If your device asks for a PIN, pattern, or password to confirm, provide it.
- Restart the phone (optional but helpful) to clear any cached data.
- Begin enrollment with clean, dry fingers. Use multiple angles and a range of pressures to capture a robust set of prints.
- Save each print and test unlocking from common grips and conditions (wet hands, dry hands, partial finger coverage).
Android devices often benefit from enrolling several fingerprints that cover different grips. On iPhone, enrolling multiple fingers isn’t always required, but many users find better reliability when they register more than one finger.
Common pitfalls and tips
- Don’t rush enrollment. Take your time to press each print firmly and lift smoothly between captures. This yields more consistent ridge details.
- Avoid enrollment right after a workout or in very humid conditions. Sweat and moisture can distort the ridge patterns.
- If you still see misses after re-enrollment, try cleaning both the finger and the sensor with a microfiber cloth. A fresh surface often fixes lingering issues.
- Keep a backup unlock method. A PIN, pattern, or face unlock can be a fallback on days when prints aren’t cooperating. This keeps you from being locked out.
For readers who want to explore related experiences, some users report that re-registering after device updates can help. If you’re curious about practical steps after a system update, see resources like guidance from Samsung on re-registering fingerprints after updates: Why do I need to re-register my fingerprint after the update is complete?. This can be especially relevant when a fresh enrollment resolves mismatches caused by firmware tweaks.
Quick tips to keep prints sharp over time
- Clean fingers before enrolling and unlocking. A dry, lint-free cloth works well.
- Re-enroll after a screen repair or a major accessory change, like a new screen protector designed for in-display sensors.
- Use a couple of backup fingerprints for days when one finger isn’t ideal.
- Keep your device software up to date. Software updates can include improvements to biometric algorithms and sensor handling.
If you want a broader take on how to handle fingerprint data across devices, you can review guidance on using multiple fingerprints for broader coverage, such as tutorials for enabling all usable fingerprints on iPhone. For example, resources that explain how to use additional fingerprints for Touch ID can help you plan your enrollment strategy: How to Use All 10 Fingerprints for Touch ID on Your iPhone. This can be particularly helpful if you share a device with family members or use the phone in varied situations.
Takeaway
Deleting old prints before re-registering isn’t just about starting fresh. It’s about cleaning the data the sensor uses to identify you, which translates into faster unlocks, fewer misreads, and better reliability in daily use. When you pair a clean enrollment with smart maintenance, your biometric security becomes a dependable first line of access rather than a source of frustration. If you’d like, tell me your device model and I’ll tailor the exact steps to match your phone’s menus and terminology for a quicker setup.
Step-by-Step: Re-Register Fingerprints on Android Phones
If you rely on fingerprint unlock, a quick re-registration can dramatically improve reliability. This section gives concise, device-specific steps so you can re-enroll your prints with confidence. You’ll learn how to delete old prints, capture new ones from multiple angles, and verify that the sensor recognizes you in common grips. The goal is a smoother, faster unlock experience across everyday smartphone use.
Samsung Galaxy Guide: Side or In-Display Sensors
Samsung devices with in-display or side-mounted sensors follow a familiar pattern with a few model-specific twists. Start by ensuring your device software is up to date, then head to Settings > Security and privacy > Fingerprints to manage enrollment. For a robust re-register, delete old prints first and add new ones with steady presses, lifting, and slight rotations. Enroll up to four fingers and test unlocks from typical grips, including when your fingers are at rest or partially covered.
Key steps to follow:
- Open Settings > Security and privacy > Fingerprints.
- Delete existing prints to start fresh.
- Add new prints using a steady press, lift between captures, and a gentle rotate to capture different angles.
- Enroll up to four fingers you use most often.
- Test lock screen from common positions (pocket grip, table surface, one-handed hold).
From 2025 Android steps, these practices help reduce misreads caused by changes in skin texture or moisture. If you run into trouble, re-enroll after cleaning both finger and sensor with a dry microfiber cloth, then verify with a quick lock/unlock test.
Helpful references
- Use the fingerprint sensor on your Galaxy phone or tablet. This guide covers general enrollment and sensor tips, including how to handle common setup differences across Galaxy models. https://www.samsung.com/us/support/answer/ANS10001613/
- Get started with the fingerprint sensor on your Samsung Galaxy. A practical walkthrough for setting up and using the sensor across recent Galaxy devices. https://www.samsung.com/ca/support/mobile-devices/get-started-with-the-fingerprint-sensor-on-your-samsung-galaxy/
- Galaxy Fingerprint Sensor: Unlock & Secure Phone Tips. Tips focused on setup and best practices for reliable recognition. https://www.samsung.com/uk/support/mobile-devices/how-to-set-up-and-use-fingerprint-recognition-sensor-on-galaxy-s23-5g/
- Quick video guide: combining face ID and fingerprint for robust security. https://www.youtube.com/watch?v=UVDYGIEjfSA
Extra reality check: protect a smooth workflow by keeping a backup unlock method ready. A PIN or password can save you time on days when the sensor misbehaves, and a spare enrolled finger helps in tricky conditions like wet hands or dry air.
Google Pixel Instructions: In-Display Unlock
Pixels with in-display sensors follow a straightforward enrollment path, with minor variations across Android versions. To re-register, begin at Settings > Security & privacy > Fingerprint. Delete existing prints, then add new ones using firm presses and varied angles. Naming each print can help you stay organized, for example ‘right thumb’ or ‘left index’. Enroll up to five fingerprints if you like, though you may find fewer prints sufficient for reliable access.
Step-by-step guidance:
- Go to Settings > Security & privacy > Fingerprint.
- Remove old prints to start fresh.
- Add new prints with a firm press, adjusting angles between captures.
- Name each print for quick recognition.
- Test unlock in multiple grips and lighting conditions to ensure consistency.
For Pixel users, the re-registration process should feel quick and predictable after a clean enrollment. If you notice lingering misses, try cleaning the sensor and your fingertip, then re-check the screen for any smudges that could affect ridge detection. Remember, a strong backup method, like a PIN or face unlock, can prevent frustration on tricky days.
Helpful references
- How to unlock your Pixel phone with your fingerprint. Official Google support steps for fingerprint setup and use. https://support.google.com/pixelphone/answer/6285273?hl=en
- Set up Fingerprint Unlock on your Pixel – Guidebooks. A practical guide for Pixel fingerprint enrollment. https://guidebooks.google.com/pixel/optimize-your-life/set-up-a-fingerprint?hl=en-us
- Unlock your Pixel phone with your fingerprint. A video guide that complements the written steps. https://www.youtube.com/watch?v=fXwH-3cl31o
- Lifehacker: unlock Google Pixel without turning on the screen. Useful for edge cases where the screen is unresponsive. https://lifehacker.com/tech/how-to-unlock-google-pixel-without-turning-on-the-screen
Final checks to ensure reliability
- Confirm the fingerprint data reflects your current finger conditions, especially after dry spells, gardening, or moisture changes.
- Re-enroll after screen repairs or when you update the OS, as software tweaks can shift recognition.
- Maintain a backup unlock method for days when prints are uncooperative.
If you want, share your phone model and Android version, and I’ll tailor the exact on-screen menus and terminology for your device so you can re-register quickly. This approach keeps your phone approachable and ready to go at a moment’s notice.
iPhone Touch ID: Delete and Re-Add for Better Matches
If your iPhone’s Touch ID isn’t reading your fingerprint reliably, deleting old fingerprints and re-registering can restore speed and accuracy. The process clears outdated data that may confused the sensor, especially after changes to your skin or a hardware update. Think of it as a refresh for your digital key. Below you’ll find a straightforward path to cleaner enrollment, plus practical tips to keep detection sharp.
When to consider deleting fingerprints
A fresh start helps when you notice one or more of these signs:
- Frequent unlock prompts or misreads with the same finger.
- Trouble unlocking after a screen replacement, moisturizing routines, or changes in skin texture.
- The sensor works better with a different finger than your usual one.
If any of these apply, it’s a good time to delete old prints and re-register. This step can save you minutes each day by reducing repeated attempts at unlock.
How to delete fingerprints on iPhone
Before you delete, make sure you know your device passcode. Here is a clear, repeatable path:
- Open Settings and tap Touch ID & Passcode (or Face/Touch ID & Passcode, depending on your model).
- Enter your passcode to continue.
- In the Fingerprints section, tap the fingerprint you want to remove.
- Tap Delete Fingerprint. Repeat for any others you plan to replace.
- After cleaning up, exit Settings. Your iPhone is now ready for fresh enrollments.
For readers who want extra context, iMore offers a practical walkthrough on deleting and re-adding Touch ID fingerprints, including model-specific nuances. Read more here: Touch ID not working for you? Here’s how to fix it!
How to re-add fingerprints effectively
Re-registering prints is where you’ll gain the most noticeable improvement. Follow these steps for robust coverage:
- Start with clean hands and a clean sensor surface. Wash and dry your hands, then wipe the sensor with a lint-free cloth.
- Enroll multiple fingers if you share the device or use it in varied situations. Common choices include thumbs and index fingers from both hands.
- Capture prints from multiple angles. Press and lift, rotate your finger slightly between captures, and vary the pressure to cover different ridge views.
- Use a mix of dry and slightly moisturized fingertips if your skin changes with weather or activity.
- Test unlock in common scenarios after each print is added to confirm reliability.
If you’re uncertain about the exact menu labels on your model, a practical guide from GadgetHacks on using Touch ID fingerprints can help you plan your enrollment strategy: Make the Touch ID Fingerprint Sensor Work Perfectly on Your iPhone Every Time.
Best practices for enrollment
- Enroll 2 to 4 fingerprints that you actually use in daily life. This gives you options if one finger is wet, dirty, or uncomfortable.
- Name each print if your device supports it. Clear labels help you distinguish right and left hand prints for quick selection.
- Re-enroll after a software update or screen repair. Updates can shift the sensor’s image processing, and a fresh set of prints reduces misses.
- Maintain a backup unlock method. A PIN or password keeps you moving when prints aren’t cooperating.
For a broader take on using multiple fingerprints with iPhone, you can explore guides that show how to enable and manage them effectively: How to Use All 10 Fingerprints for Touch ID on Your iPhone
Verify and test
After re-registering, put the phone in typical use scenarios to ensure the sensor reads quickly:
- Check at different angles, including horizontal and vertical grips.
- Test with fingers that are slightly moist, dry, or with minor calluses.
- Confirm reliability when unlocking under cluttered conditions, like in a pocket or while wearing gloves.
If you still encounter misses, consider cleaning both the finger and the sensor again and rechecking the screen for smudges. A quick test unlock from a few common grips confirms you’re set for everyday use.
Security and privacy considerations
Deleting fingerprints reduces the amount of biometric data stored on the device, which can ease concerns about data exposure. However, re-enrolling is essential for reliable access. A password or PIN remains a vital backup, and you should keep it fresh in case you need an immediate unlock method.
Quick takeaways
- A clean slate often fixes stubborn recognition issues.
- Enroll multiple fingerprints and test across common grips.
- Re-enroll after updates or repairs to maintain accuracy.
- Always maintain a backup unlock method for days when prints don’t cooperate.
Images that illustrate this topic can help readers visualize the enrollment process and the fingerprint sensor interaction.
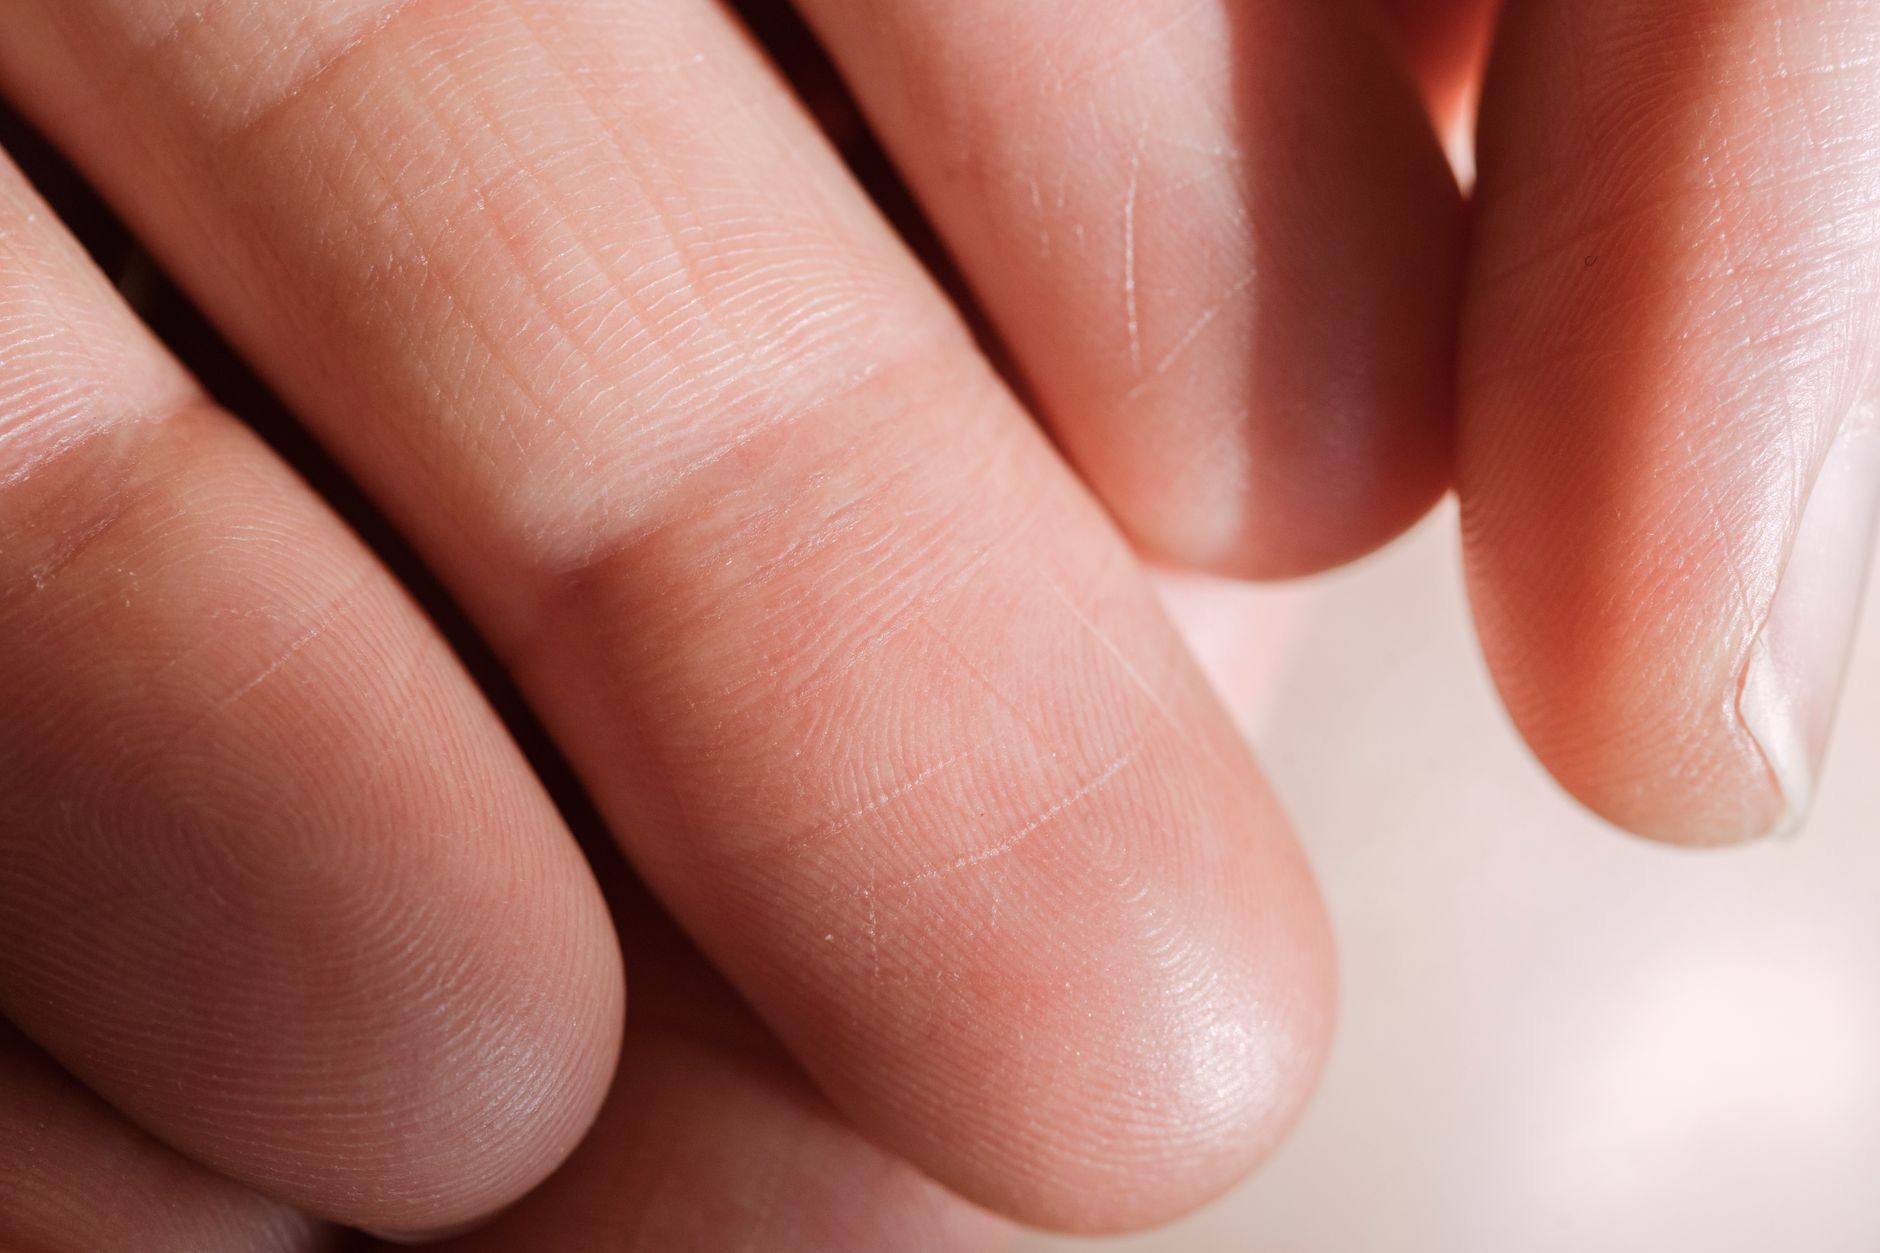 Photo by Angela Roma
If you want to dive deeper, consider broader guides on Touch ID management and best practices for reliable recognition. For example, a practical overview from iMore and GadgetHacks offers model-specific tips and robust enrollment strategies that align with the steps outlined here:
- [Touch ID not working for you? Here’s how to fix it!]https://www.imore.com/troubleshooting-touch-id
- [Make the Touch ID Fingerprint Sensor Work Perfectly on Your iPhone Every Time]https://ios.gadgethacks.com/how-to/make-touch-id-fingerprint-sensor-work-perfectly-your-iphone-every-time-0149736/
As you apply these steps, you’ll find your iPhone unlocks become more consistent and quicker. If you share your device model, I can tailor the exact menus and wording to your setup for an even smoother re-registration experience.
Pro Tips to Boost Fingerprint Accuracy Long-Term
Fingerprints can drift for many reasons, from skin changes to sensor wear. This section breaks down practical, long-term strategies to keep your fingerprint detection fast and reliable. Think of it as maintenance for your biometric key, so your phone unlocks when you need it most. The goal is steady performance across daily life, not just a perfect enrollment day.
Regular maintenance and enrollment practices
Consistency beats perfection. Re-registering prints and keeping the enrollment fresh helps the sensor learn your current ridge patterns. Aim to:
- Enroll multiple fingers you actually use daily.
- Capture prints from several angles and with varied pressure.
- Re-enroll after OS updates, screen repairs, or when you notice a drop in accuracy.
Small, deliberate steps pay off. For example, after a workout or a long day outdoors, moisture or sweat can alter readings. Re-enrolling at a cool, dry moment can restore smooth recognition. If you’re unsure where to start, a quick refresh to the most-used finger often yields the biggest gains.
External reading: see how Android-focused guides discuss re-enrollment and finger variety for better results. How to improve fingerprint accuracy on your phone
Smartphone sensor hygiene and screen considerations
Dirt, oils, and screen wear directly affect how well ridge details are read. Protect the sensor area and keep the surface clean. Practical habits include:
- Clean both finger and sensor with a dry, lint-free cloth before enrollment and daily use.
- Avoid enrolling right after indoor or outdoor activities that leave moisture or lotion on your hands.
- Use screen protectors designed for in-display sensors and replace worn protectors that could blur readings.
In-display sensors are particularly sensitive to surface irregularities. If you suspect a protector or screen wear, re-enroll after cleaning and test unlock from common grips. For a broader view on screen-protection interactions, see general troubleshooting guides from reputable sources.
Tip: keep a spare enrolled finger for days when one finger isn’t ideal due to weather or skin changes.
Software updates and how they affect accuracy
Operating system updates can shift how biometric algorithms run. A fresh update can improve recognition, but it can also alter enrollment requirements. Best practices:
- After major updates, re-register your prints or at least re-check their performance.
- Keep the device software up to date to benefit from ongoing improvements to the biometric stack.
- Review any model-specific notes from the manufacturer about fingerprint behavior post-update.
A practical reference from Google covers fingerprint setup and use on Pixel devices, which often aligns with Android-wide update behavior. How to unlock your Pixel phone with your fingerprint
Leverage multiple prints and smart labeling
Relying on a single finger can lead to misses when that finger is wet, dry, or slightly injured. Spread risk by enrolling several prints, and label them if your device supports it. Consider:
- Right thumb, left thumb, right index, left index, and a backup finger.
- Naming prints to quick-select the one that fits current conditions.
- Testing each print under different grips and lighting to gauge reliability.
Android and iPhone users often find significant gains by expanding the set of enrolled prints. A practical takeaway from platform guides is to ensure your most used prints are covered, while keeping backups ready.
Helpful context: a quick guide on general fingerprint enrollment practices, including multi-finger strategies, can be found here: Tips for setting up and using the Fingerprint scanner
Environmental awareness: moisture, temperature, and wear
Your environment shapes how well a print reads. Scenarios to anticipate:
- Humidity or sweaty conditions during outdoor activities.
- Cold, dry days that roughen skin texture.
- Dry indoor air that makes skin feel stiff.
A practical approach is to enroll prints under typical conditions you encounter. If you notice a shift, re-enroll after you return to normal conditions. In busy days you can switch to a backup unlock method to prevent frustration.
For readers who want a broader view on how environment affects sensors, a tech overview discusses factors like moisture and texture: see this overview on fingerprint accuracy improvements: How to Improve Fingerprint Accuracy on Your Phone
Privacy, security, and backup access
Long-term reliability also means staying prepared for moments when prints misbehave. Always pair your fingerprints with a backup unlock method, such as a PIN or password. This protects you during sensor hiccups and keeps your device accessible.
- Limit the number of prints stored to reduce clutter and potential false positives.
- Regularly review which fingerprints are kept and remove old ones, especially after sharing a device with others.
- Consider enabling a secondary unlock method for quick access in certain scenarios.
If you want a broad look at managing biometric data across devices, you can explore general guidance on handling data securely, including steps before selling or disposing of a device. See discussions from reputable sources about biometric data practices.
Quick-start recap: long-term maintenance checklist
- Update OS and firmware, then re-enroll if needed.
- Enroll multiple fingerprints and test across common grips.
- Clean fingers and sensors before enrollment and daily use.
- Use a backup unlock method as a fallback.
- Re-enroll after screen repairs or major accessory changes.
This approach keeps your fingerprint detection reliable across seasons and usage patterns, so your smartphone unlocks stay fast and predictable.
Images to illustrate long-term care
- Close-up of a fingerprint scanning area with a clean sensor and clean fingers.
- A person re-enrolling fingerprints on a phone after cleaning the sensor.
If you want deeper context on long-term fingerprint accuracy, consider the broader discussions around sensor performance and best practices from credible sources. For example, a recent overview highlights multiple factors affecting recognition and practical fixes you can apply today: 5 Tips to Boost the Performance of Your Mobile Fingerprint Device
External links are integrated to support practical steps and to offer additional reading for readers who want more depth.
Conclusion
Re-registering your fingerprints boosts unlock reliability on both Android and iPhone. Start with clean, dry fingers and a clean sensor, then delete old prints and enroll fresh scans from multiple angles. Add a few fingerprints you actually use daily, test in common grips, and re-enroll after software updates or screen work. Keep a solid backup method like a PIN or password for days when the sensor acts up.
Act now to reduce frustration and speed up daily access. A quick enrollment refresh can cut missed unlocks and save minutes during busy mornings. If you share your results in the comments, I can suggest tweaks tailored to your device and routine.
Smartphone reliability hinges on simple habits. Enroll prints from different fingers, label them if your model supports it, and re-check performance after updates or repairs. Maintain sensor hygiene, avoid bulky screen protectors on the sensor, and keep your OS up to date to benefit from improved biometric handling. By staying proactive, you transform a temperamental feature into a dependable daily tool.
Reliable prints make daily use smoother, faster, and more stress-free. Your smartphone becomes a trusted companion, ready to unlock at a moment’s notice. If you tell me your device model, I’ll tailor the exact steps to your menus for an even quicker setup.