Ghost notifications often occur because of software sync errors, notification cache build-ups, or minor loops in background app processes. You don’t need a factory reset to clear these stale alerts from your smartphone.
Most users can resolve this issue by simply clearing the cache or toggling specific notification settings within the system. You will find the steps to fix these persistent alerts below, starting with the most effective methods to refresh your lock screen.
Understanding Why Stale Notifications Persist on Your Smartphone
Old alerts hanging out in your notification center are more than a minor annoyance; they signal a disconnect between your applications and the system memory. When your smartphone fails to clear an alert after you have interacted with the content, the root cause usually hides in the temporary data management or synchronization protocols. Understanding how these systems communicate allows you to troubleshoot the problem without relying on extreme measures like a full device reset.
The Role of Notification Cache in Modern Mobile Devices
Your smartphone creates a temporary storage space known as a cache for every installed application. This cache holds small packets of data to speed up performance, including the text and metadata for incoming alerts. When an app receives a notification, it writes the information to this local storage so your screen displays the alert immediately.
Ideally, the system deletes this specific piece of data the moment you tap the alert or swipe it away. However, if the cache file becomes corrupted, the system loses the instruction to remove that specific entry. The notification remains in the interface because the underlying data file still exists in the system directory, even though the actual event occurred hours or days ago. Over time, these orphaned files accumulate and cause the notification center to display outdated or phantom alerts.
When Background Syncing Glitches Out
Many modern applications rely on background syncing to keep your information current without requiring you to open the app manually. Email clients, messaging services, and social media platforms constantly communicate with remote servers to check for new activity. During this process, the app assigns a unique identifier to every incoming message or alert.
Problems arise when the synchronization process encounters an interruption. If your smartphone loses internet connectivity or the app crashes during a data handshake, the device might fail to confirm that a notification was delivered or read. The server still considers the notification active, while the app on your phone retains the old ID. This mismatch forces the phone to keep showing the alert because it never received the signal to mark the task as complete.
Check your network settings to ensure the app has permission to sync data in the background.
Toggle the specific app notifications off and back on to force the system to clear the current sync ID.
Restart your smartphone to terminate any hung background processes that are preventing a clean sync cycle.
These steps frequently resolve the conflict between the server and your device. When the sync loop completes successfully, the outdated alert will finally disappear from your screen.
Simple Steps to Clear Out Old Alerts for Good
Clearing persistent notifications on your smartphone often requires more than just a quick swipe. When standard interactions fail to remove an alert, you must intervene at the system or application level to force a refresh. These methods address the underlying data conflicts that keep phantom notifications alive on your screen.
Perform a Hard Restart to Reset Notification Services
Many users confuse a soft restart with a forced restart. A soft restart involves powering off your device through the standard menu, which shuts down active apps and processes in an orderly fashion. While this helps with general performance, it often leaves hung system services running in the background. A forced restart, or hard restart, cuts power to the hardware directly. This action forces the operating system to reload its core services, including the notification polling engine, from scratch.
For iPhone users, a forced restart requires a specific button combination that varies slightly by model, usually involving the volume buttons and the side power button. Android users typically trigger a hard restart by holding the power button for an extended period, often up to 20 seconds, until the screen goes black and the device initiates a reboot. By performing this action, your smartphone terminates every active process and re-establishes a fresh connection to its notification servers upon startup. This effectively clears out any data loops that caused your device to retain old, inactive alerts.
Adjusting Notification Permissions and Preferences
If a forced restart does not resolve the issue, you can manually toggle the notification permissions for the problematic application. This process tells the operating system to drop the current connection and negotiate a new data handshake with the app server.
Follow these steps to refresh your settings:
Open the Settings app on your smartphone and navigate to the Notifications menu.
Locate the specific app that displays the persistent, incorrect alert.
Turn off the “Allow Notifications” toggle for that application.
Wait approximately 30 seconds to allow the system to clear the cached notification ID.
Toggle the permission back to the “On” position to trigger a fresh sync request.
This cycle forces the app to query its server for the true status of its inbox. Since the server likely shows no new messages, the smartphone updates its local notification center to match the current, empty state.
Clear System Cache for Persistent Notification Issues
Persistent notifications often hide within corrupted cache files that the system fails to overwrite. On Android, you have direct access to these files. Go to the Settings menu, select “Apps,” and tap on the specific application causing the trouble. Under the “Storage” section, select “Clear Cache.” This action deletes the temporary data fragments responsible for the ghost alert without removing your personal settings or login information.
For iPhone users, the process is different because iOS does not provide a manual cache-clearing option for individual apps. If an alert refuses to disappear, the most effective solution is to uninstall the app completely and reinstall it from the App Store. Deleting the application also removes its local data directory, which guarantees the removal of the corrupted cache file. Once you sign back in, the application rebuilds its notification link with a clean slate, ensuring no remnants of the old, phantom alerts remain on your smartphone.
Advanced Troubleshooting for Recurring Notification Glitches
When standard clearing methods fail, the persistence of an old notification often indicates a deeper conflict between your smartphone system resources and app background behavior. You can often resolve these stubborn cases by adjusting how your device manages power or by addressing underlying software gaps. These advanced techniques target the root of the communication breakdown rather than the visual symptom on your screen.
Managing Battery Optimization Settings
Smartphone manufacturers include aggressive power-saving modes to extend battery life, but these tools often interfere with how applications manage their alert queues. When your device enters a deep sleep state, it restricts background activity for apps that aren’t currently in use. If an app receives a notification while it is restricted, the system may prevent the app from processing the instruction to “clear” that alert once you have addressed it elsewhere.
The app becomes trapped in a state where it lacks the necessary background privileges to communicate with the system notification manager. This causes the alert to remain frozen on your lock screen because the app is technically suspended and cannot report that the action is complete. To fix this, you should grant your essential apps an exemption from these power restrictions.
Navigate to your device settings and select the battery or power management menu.
Find the list of apps that are subject to power optimization or battery saving.
Locate the app responsible for the recurring notifications in your list.
Change the setting for that specific app to “Don’t Optimize” or “Unrestricted.”
Applying these changes allows the application to maintain the background connection it needs to sync its notification status accurately. Once the app regains this permission, it can successfully send the “dismiss” command to your notification center. Most users notice the ghost alert disappears shortly after they adjust these specific battery permissions.
Updating Firmware to Patch Notification Bugs
System-level bugs occasionally break the way your smartphone handles notification stacks. When this occurs, the problem is not isolated to a single application but exists within the core firmware responsible for routing alerts to your screen. Manufacturers frequently release system updates that include specific patches for these background process management issues.
Checking for updates is a primary step in resolving widespread notification bugs that affect multiple apps simultaneously. These updates do more than provide security patches; they often rewrite the communication protocols between system services and third-party software. If your smartphone is running an outdated version of its operating system, it may rely on old code that fails to interpret newer notification signals correctly.
Open your system settings and select the menu for software or system updates.
Tap the button to check for new firmware versions.
Download and install any available updates, even if they seem minor or purely cosmetic.
Restart your device after the installation finishes to ensure all new system services load properly.
A successful update resets the notification polling engine and reconciles any discrepancies in the data stack. If the issue stems from a known firmware bug, this process resolves the persistence of old alerts without requiring further intervention. Keep your software current to ensure the underlying notification management framework remains stable and responsive to app commands.
Preventing Future Notification Clutter on Your Device
Managing your notification settings proactively stops alert buildup before it starts. You can create a quiet, organized space on your smartphone by setting strict boundaries for what demands your attention. Minor adjustments to how apps deliver information keep your lock screen clean and functional for months at a time.
Auditing Notification Channels and Categories
Most modern applications offer granular control over exactly which alerts reach your screen. You should look for settings labeled as categories or notification channels within the app info menu on your smartphone. These settings allow you to block specific types of messages, like marketing updates or social media likes, while keeping vital alerts such as direct messages active.
Refining these preferences prevents your notification center from becoming a dumping ground for low-priority alerts. You can follow these steps to review your current setup:
Open the settings menu and navigate to the apps section.
Select an application that frequently sends non-essential updates.
Tap on notifications or notification categories.
Disable alerts for features you rarely use while keeping the rest enabled.
This filter effectively separates meaningful communication from noise. Your device only displays alerts that provide real value to your day.
Establishing a Routine Maintenance Schedule
Notification clutter often builds up because users ignore the accumulation until the screen feels overwhelming. You can avoid this by designating a specific time each week to review your app permissions. A quick scan of your notification history helps you identify apps that are abusing their access by sending recurring, useless prompts.
Consider these habits to keep your smartphone organized:
Remove unused applications that still have permission to send push alerts.
Check the weekly screen time or notification summary reports provided by your operating system.
Mute persistent threads or group chats that contribute to rapid alert buildup.
Small, frequent reviews prevent the data loops that cause ghost notifications. Keeping your app list lean reduces the number of background processes competing for sync time. When you remove unnecessary apps, you also eliminate the potential for corrupted cache files.
Utilizing Focus Modes for Better Alert Management
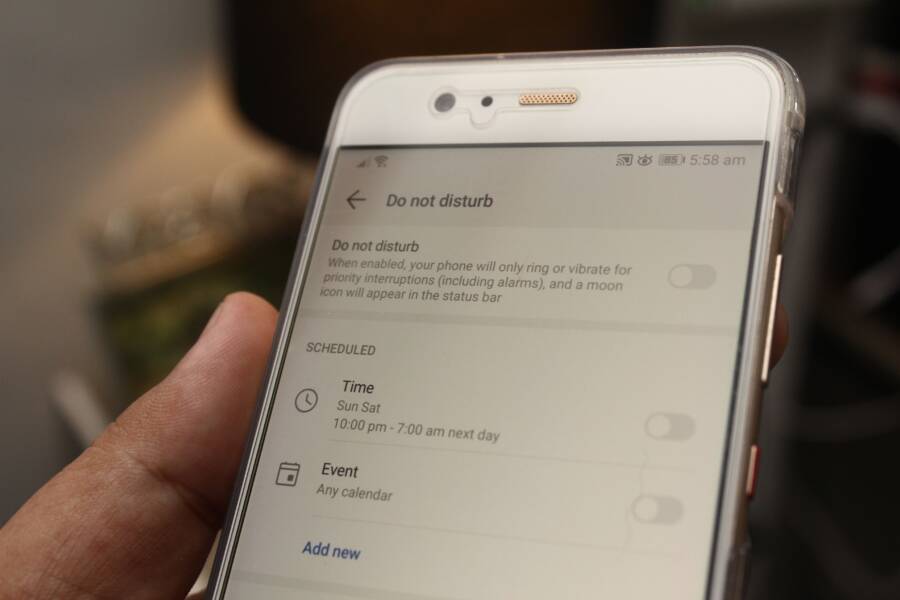
Operating systems now include robust focus or do not disturb modes that suppress alerts during specific times. You can automate these features to keep your smartphone quiet during work hours or while you sleep. These tools do not just silence your phone, but they also prevent the buildup of alerts by grouping them into scheduled summaries.
Focus modes stop the constant stream of pings that interrupt your concentration. When you review your summary later, the system presents the alerts in a single, clean list. This approach minimizes the chance of individual notifications getting lost or stuck in a sync loop. You regain control over your attention, as your device only alerts you to items you deem critical throughout the day.
Conclusion
Persistent alerts on your screen are rarely a sign of a broken smartphone. These ghost notifications usually stem from minor sync interruptions or corrupted cache files rather than permanent hardware failure.
By using methods like forced restarts, clearing cache data, or adjusting notification permissions, you regain control over your device. You now possess the practical tools to troubleshoot these glitches and maintain a clean notification center.
A consistent maintenance routine keeps your interface clear and prevents these minor irritants from coming back. Take a moment to audit your app permissions today to ensure your device only notifies you of what truly matters.