Are you tired of dictation turning your words into gibberish because the phone keeps speaking in the wrong language? A simple mismatch between what you say and what the device transcribes can ruin a note, a message, or a quick memo. In this guide, you’ll learn the practical steps to fix dictation language mismatch on a phone and get back to typing with ease.
This issue happens when the phone’s default language or regional settings don’t align with your speech. It’s especially frustrating in apps like Messages and Notes, where accuracy matters for work, school, or personal use. You’ll see how accents, mixed language input, and cloud processing can all impact results, and how to address each factor without a tech headache.
We’ll cover both major platforms so you can apply the fixes right away. For iPhone users, you’ll learn how to align dictation with the language you actually speak, while keeping other keyboard languages intact. For Android devices, you’ll find settings tweaks that prevent auto detection from grabbing the wrong language, along with tips to test mic performance and reset if needed.
By the end, you’ll have a clear, step by step plan to improve transcription accuracy across common apps and situations. With these adjustments, your smartphone becomes a more reliable tool for capturing thoughts, notes, and ideas exactly as you intend. If you’re juggling multiple languages, you’ll especially appreciate how a few precise settings can save time and reduce frustration.
Spot the Common Causes of Dictation Language Mix-Ups
When dictation goes off the rails, it’s usually a handful of small settings or habits that push the wrong language to the mic. Understanding the main culprits helps you fix the issue quickly and keep your notes accurate. Below are the two most common scenarios you’ll run into and practical steps to resolve them. A quick check now saves you hours of corrections later.
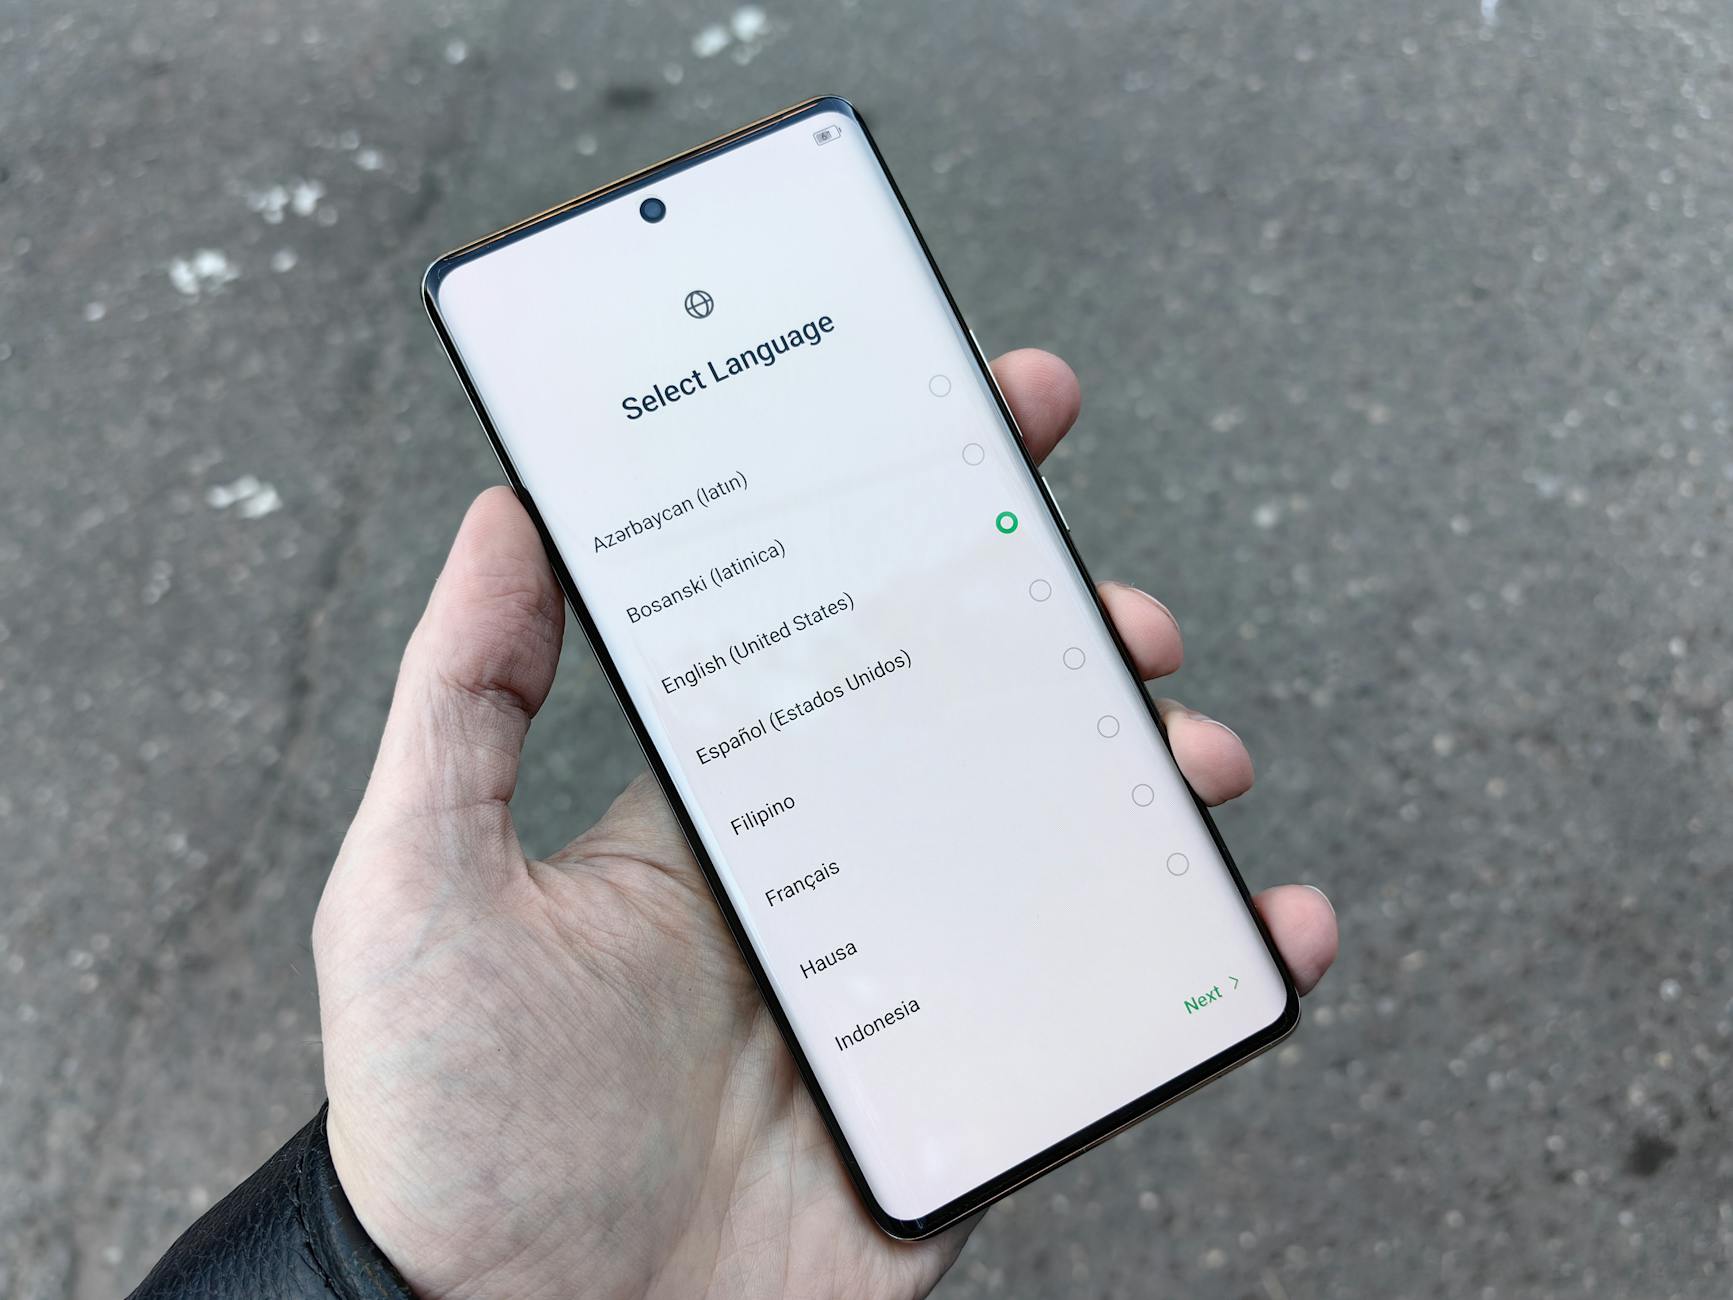
Photo by Andrey Matveev
Device Settings Don’t Match Your Speech
The easiest way to get dictation wrong is when the phone’s main language or region doesn’t line up with what you actually say. For example, the device might be set to English as the system language, but you’re speaking in Spanish, or your keyboard is set to a non native language. In this mismatch, dictation tries to interpret Spanish words as English, producing garbled results and awkward corrections.
To fix this, start with the basics:
- Check your primary language: go to the phone’s settings and confirm that Language & Region reflects the language you intend to dictate in.
- Align keyboard and dictation languages: ensure the keyboard language matches the dictation language you plan to use. If you type in Spanish but speak Spanish, keep both in sync.
- Test with a simple sentence: speak a short phrase in your target language and watch for accuracy. If it still misreads, revisit the language pair and try a different language setup to confirm the system is listening correctly.
A practical approach is to set the device language to your most common dictation language and keep a single, dedicated dictation language active for quick notes. If you often switch languages, consider creating a quick toggle or shortcut to switch dictation language without digging through menus.
Too Many Languages Turned On
Having several dictation languages enabled can confuse the system more often than not. When multiple languages are on, the phone may try to guess the language you’re speaking rather than using the language you’ve actually selected in keyboard settings. This auto detection can lead to mismatches, especially if you mix words from different languages in a single sentence.
What to do:
- Limit active languages for dictation: disable all languages except the one you plan to dictate in. This reduces guesswork for the voice recognition engine.
- Test in clean conditions: with only one language active, dictate a few sample sentences to verify accuracy.
- Reintroduce other languages gradually: if you need bilingual support, add one additional language at a time and test after each change to catch which combination works best for you.
If you frequently switch languages, a practical workflow is to keep your primary dictation language as the default and use a quick action to toggle to a secondary language only when necessary. This keeps the system focused and minimizes mistakes during important notes or messages.
Step-by-Step Fix for iPhone Dictation Issues
Dictation on iPhone can misfire when language settings, keyboard configurations, or microphone permissions diverge from how you speak. This section walks you through precise steps to align the device with your voice, minimize guesswork for the dictation engine, and test the results in real time. Follow these fixes in order, and you’ll improve transcription accuracy across Messages, Notes, and other apps you rely on.
Match Your iPhone Language and Keyboard Settings
Ensuring your iPhone’s main language and the dictation language are in harmony is the fastest way to reduce misreads. Start with the core language and region settings, then confirm that the keyboard and dictation languages match the language you actually use when speaking.
Key steps to complete:
- Set your primary language: go to Settings > General > Language & Region. Choose the language you want for dictation and confirm it with the on-screen prompts.
- Align region with language: in the same menu, set the Region to the correct area so date formats and regional speech nuances align with your voice.
- Sync keyboard and dictation languages: open Settings > General > Keyboard > Keyboards. Remove extra keyboards so you aren’t juggling multiple inputs; then ensure Dictation Languages lists only the language you plan to dictate in.
- Enable dictation: verify that Enable Dictation is turned on in the Dictation Languages area.
- Quick test: open a notes app and speak a short sentence in your target language. If it reads correctly, you’re in the clear. If not, revisit the language pairing and try a different setup to confirm the microphone is listening properly.
- Practical tip: if you type in a different language more often, keep a single, primary dictation language active and switch only when needed. This keeps the engine focused and reduces mistakes during quick notes.
What you gain from this approach is a clean baseline. With the language and keyboard aligned, you remove the most common source of confusion for the dictation engine and you make it easier to catch any remaining issues.
Check Microphone and Extra Permissions
Dictation relies on microphone access and smooth app permissions. A simple permissions check can resolve a surprising amount of misinterpretation, especially if an app has limited mic access or a temporary privacy restriction is in place.
What to do:
- Verify microphone access: go to Settings > Privacy & Security > Microphone. Ensure the apps you use for dictation, such as Messages and Notes, have permission enabled.
- Test dictation in authoritative apps: open Messages or Notes and try a few dictation samples. If the text aligns with your speech, you’re set.
- If issues persist, restart the app or device: a quick refresh often clears glitches that block the mic or confuse the dictation engine.
- If restrictions exist, adjust screen time or privacy settings: navigate to Settings > Screen Time > Content & Privacy Restrictions > Intelligence & Siri, and enable Siri & Dictation if needed.
- Final sanity check: after you adjust permissions, run a fresh dictation test in a calm environment with minimal background noise to confirm the changes took effect.
This step catches permission obstacles that block the dictation system from hearing you clearly. A clean mic pathway means fewer mistranscriptions and more accurate results in everyday tasks.
Pro tip: in busy environments, use the iPhone’s built-in dictation in a quiet space for the most reliable transcripts. If you still hear errors, it may be time to explore whether a software update is due or if you need a deeper reset of the dictation settings.
If you follow these steps and still see mismatches, consider pairing the fixes above with a quick device restart. In many cases, a short refresh is all that’s needed to restore accurate language recognition and keep your notes tidy.
Easy Fixes for Android Phones Like Samsung and Pixel
When dictation on Android devices misreads what you say, it costs time and can derail a quick note or message. The fix is usually simpler than it looks. This section focuses on practical, step by step adjustments you can make on two popular Android families: Samsung Galaxy phones and Google Pixel devices with Pure Android. By aligning language settings, keyboard configurations, and microphone permissions, you’ll see meaningful improvements in transcription accuracy across apps like Messages, Notes, and Gmail.
Set Up Voice Typing on Samsung Phones
Samsung devices commonly offer two voice typing options: Google Voice Typing and Samsung Voice Input. Most users get better results with Google’s engine, but you can choose what works best for your language and accents. Start by ensuring the language you dictate in matches the language you use to speak.
Steps to fix the language alignment on Samsung phones:
- Open Settings and navigate to General management or System depending on the model.
- Tap Keyboard list and default or Keyboard settings to locate Google Voice Typing.
- Select Google Voice Typing and then Languages. Turn off Use system language if it’s on.
- Choose your primary dictation language from the list. Download language packs if needed for offline use.
- Save the changes and exit. Test by tapping the mic in a typing app and reading a short sentence in your target language.
If you prefer Samsung’s engine, you can switch to Samsung Voice Input and follow a similar path:
- Go to Keyboard list and default or Samsung Keyboard settings.
- Tap Samsung Voice input or Voice input and then Languages and types.
- Download and enable your language, then switch to it while typing if you have multiple options available.
- Exit and run a quick test in a messaging app to confirm the engine recognizes your voice clearly.
Tips to maximize reliability:
- For most languages, Google Voice Typing tends to perform better with accents and mixed phrases.
- Always download offline language packs when you anticipate limited connectivity.
- If no language appears, a quick restart can help the system reload the available packs.
- Align the device language with the dictation language. If you dictate in Spanish, set the phone language and region accordingly for best results.
This approach keeps the engine focused on one language and reduces misreads during rapid notes or chats. If you frequently switch between languages, consider a quick toggle on the keyboard to switch dictation language without digging through menus.
Configure Pixel and Pure Android Devices
Pixel phones run a clean version of Android, often paired with Gboard for dictation. The goal here is to ensure Gboard’s Voice Typing is enabled and that the correct language is set as the default for dictation. This setup helps the engine recognize your speech more consistently across apps.
What to do first:
- Enable voice typing in Gboard. Open any app with a text field, tap the mic icon on the keyboard, and ensure Assistant voice typing is on.
- Learn how to trigger voice typing hands free: you can say “Hey Google, type” or hold the mic button to start dictation.
Next, set the language so it matches how you speak:
- Go to Settings, then System, and choose Languages & input (or Keyboard).
- Open On-screen keyboard and select Gboard.
- Tap Voice typing and then Languages. Add your language and download the offline pack if needed for better performance without internet.
- Set this language as the default for dictation. If your device supports multiple languages, arrange them so the primary language sits at the top.
A practical tip for bilingual users: keep the primary dictation language at the top and add a secondary language only when you have a specific need. This minimizes misreads during quick note taking and reduces the burden on the voice recognition engine.
On Pixel and other Pure Android devices, you can also tweak how the system handles language detection:
- In Languages & input, drag your chosen language to the top so it becomes the primary input language.
- Switch languages mid use by tapping the globe icon on the keyboard, which allows you to stay in your flow without resetting settings.
- If you notice drift between speech and transcription, reselect the language to force a fresh recognition pass.
Additional refinements for higher accuracy:
- Turn on faster voice typing in Gboard settings to reduce latency and improve real time feedback.
- Download offline recognition packs if you often work in environments with spotty connectivity.
- Ensure the microphone is clean and unobstructed. Dust or a loose connection can degrade voice input.
Why these tweaks help is simple: when the keyboard and dictation language align and the engine has the right language pack, the word boundaries and pronunciations map more accurately to your speech. This reduces the need for manual corrections and keeps your notes tidy.
A quick workflow to keep things predictable across apps:
- Set your defaults once.
- Only add a second language when you need it.
- Always run a quick test after any change in language or input settings.
This approach gives you a reliable, repeatable baseline. It reduces the cognitive load when you switch between apps like Messages, Email, or Keep, and helps you capture your thoughts without fighting the keyboard.
If you still see mismatches after trying these steps, a restart can clear lingering glitches in the dictation stack. In some cases, a software update or a reset of the voice typing settings may be needed to restore accuracy.
Remember, the goal is a calm microphone path. When your phone hears what you say clearly, your notes and messages stay precise, and your workflow stays smooth.
In both Samsung and Pixel devices, the core concept stays the same: align language, keep the right packs downloaded, and test in a quiet setting to confirm the changes take effect. With these adjustments, your smartphone becomes a more dependable tool for capturing ideas exactly as you intend.
Pro Tips to Prevent Future Dictation Problems
Dictation can misfire for many reasons, from how you speak to where you are. These practical tips help you train your phone to listen more accurately over time, reduce language mismatches, and keep your notes tidy. Think of these steps as a simple routine you run before you dictate. A little setup now saves hours of corrections later, whether you’re using a smartphone at home, in the office, or on the go.
Train Your Phone to Recognize Your Voice Better
A quiet, focused voice session is the fastest path to better transcription. Start by treating dictation like a learning process for your device. The more you repeat corrections and the more you train it to expect your patterns, the better the results.
- Repeat corrections: When the transcription is off, correct it right away and re-dictate the sentence. The system picks up your corrections and uses them to adjust future results. This is a simple form of feedback that compounds over time.
- Speak punctuation aloud: Say punctuation marks clearly as you dictate. Phrases like “period,” “comma,” “question mark,” and “new line” become part of how your device understands you. This reduces the need for manual edits later.
- Use short, clear sentences: Longer, rushed phrases confuse the engine. Break ideas into small statements and pace your speech. If you notice a recurring error, pause briefly after key words to give the engine a moment to catch up.
- Train with a consistent voice: Dictation works best when your voice remains steady. Keep a comfortable distance from the mic, avoid mumbling, and speak at a natural pace.
- Add your preferred words: If you work with names, jargon, or specialized terms, add them to the device’s vocabulary or a personal dictionary. This reduces misreads on recurring terms.
- Test with real-world samples: Try a few sentences you often dictate, then compare results across apps like Messages, Notes, and email. Consistency is the goal.
- Use a good microphone: A dedicated headset mic tends to outperform the built-in mic, especially in busy environments. A clearer signal helps the engine learn your voice more quickly.
- Create a quick reset routine: If results start to drift, restart the dictation session or the device. A fresh start clears minor glitches and resets the learning cycle.
- Practice in a predictable setting: A quiet room with minimal background noise helps the engine lock onto your voice. This makes repeat corrections more effective.
A practical takeaway is to keep a simple, repeatable routine: correct, re-dictate, and speak punctuation in every session. Over time, your device reduces misreads without extra effort from you. This approach is especially effective for busy days when you need to capture thoughts quickly on the go with your smartphone.
- Quick example: dictate “Meet me at 3 p.m., bring the report, period” and correct any mistakes on the fly. Then try again with a slightly different sentence to reinforce the learning process. You’ll notice fewer corrections in subsequent uses.
Tips for steady progress:
- Set aside a 5-minute daily practice window to train dictation.
- Focus on two or three high-frequency terms you use often.
- Keep your device updated to ensure the latest voice training improvements are available.
In short, treat dictation as a skill you teach your phone. The better your corrections, the smarter the engine becomes. When you carry your smartphone into different environments, this practice pays off in faster, more accurate transcription.
Conclusion
Fixing dictation language mismatch is about alignment. When the phone language, keyboard language, and dictation language match, the engine hears you clearly and transcribes more accurately. Use the recap below to lock in reliable results across iPhone and Android.
First, recap the key steps. For iPhone, set the primary language and region, keep dictation language in sync with the keyboard, and test in a calm environment. For Android, enable voice typing with the correct language, set a primary device language, and test in quiet conditions. Limit active languages to reduce misreads and switch only when needed. These tweaks form a solid baseline you can rely on.
Next, test fixes now. Do quick dictation tests in Messages or notes as you adjust settings. If results improve, you’re in the sweet spot. If not, try a restart or a fresh test with a single language active. Quiet practice helps your phone learn your voice faster, so pick a low-noise spot for your tests.
Finally, commit to a simple routine. Set defaults once, keep a single primary dictation language, and recheck after any app or OS update. Share your experience in the comments and subscribe for more smartphone tips. These steps reflect current methods and are proven to improve transcription accuracy. Your dictation should feel natural, fast, and dependable when you use the tips above.